
The Two Meanings of a 'Joystick Arduino Library'
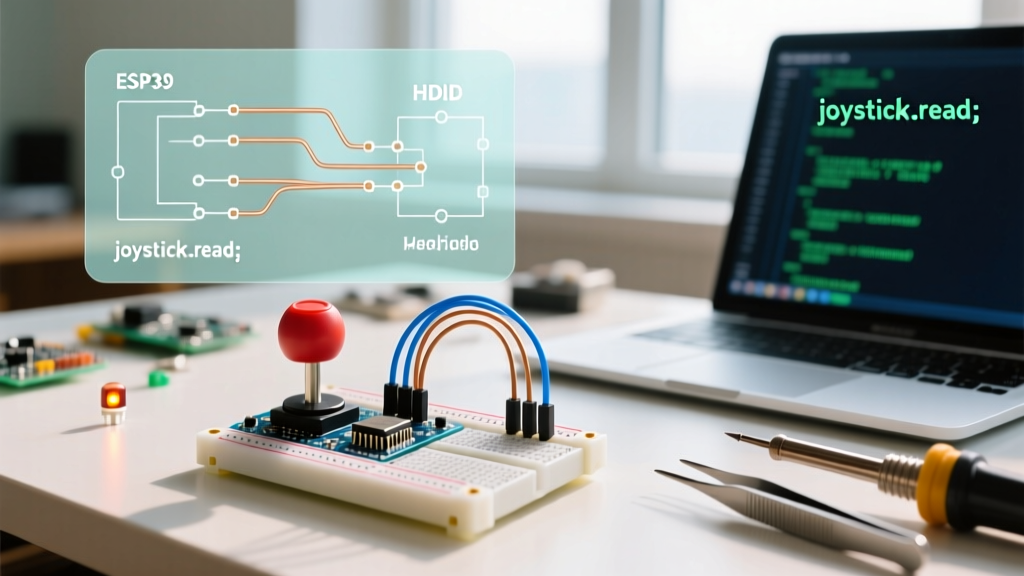
When beginners search for a joystick Arduino library, they are usually trying to accomplish one of two very different tasks. The first is reading a physical analog joystick module (like the ubiquitous KY-023) to control motors or servos. The second is emulating a USB joystick, turning the Arduino itself into a PC game controller or macro pad (Human Interface Device, or HID).
Standard Arduino boards do not require a specialized library simply to read analog voltage from a joystick potentiometer; the built-in analogRead() function handles this natively. However, if your goal is to make your Arduino appear as a native USB joystick to Windows, macOS, or Linux, you absolutely need a dedicated HID library. In this guide, we will bridge both worlds: reading a physical KY-023 joystick and feeding that data into the industry-standard Arduino Joystick Library by Matthew Heironimus to create a fully functional USB gamepad.
Hardware Selection: Why the Arduino Uno Fails at USB HID
The most common failure point for beginners in 2026 is attempting to use an Arduino Uno or standard Nano for USB HID projects. These boards utilize the ATmega328P microcontroller, which lacks native USB hardware support. It relies on a secondary bridge chip (like the ATmega16U2) for serial communication, meaning it cannot natively emulate a keyboard, mouse, or joystick without complex, unstable firmware hacks.
To use the Joystick library reliably, you must use a board with an ATmega32U4 or SAMD21 microcontroller, which features native USB controllers.
| Board Model | Microcontroller | Native USB HID? | Approx. 2026 Clone Price |
|---|---|---|---|
| Arduino Uno R3 | ATmega328P | No (Requires Bridge Hacks) | $12.00 - $15.00 |
| Arduino Leonardo | ATmega32U4 | Yes (Native) | $18.00 - $22.00 |
| Pro Micro (Clone) | ATmega32U4 | Yes (Native) | $4.00 - $6.00 |
| Nano 33 IoT | SAMD21 | Yes (Native) | $11.00 - $14.00 |
Recommendation: For custom joystick builds, the Pro Micro (5V/16MHz) is the undisputed champion. It is breadboard-friendly, incredibly cheap, and fits easily inside 3D-printed macro pad enclosures.
Step-by-Step Wiring for the KY-023 Module
The KY-023 dual-axis joystick module costs roughly $1.50 to $2.50 per unit in bulk. It outputs analog voltages for the X and Y axes, and a digital signal for the push-button (Z-axis). Wire it to your Pro Micro or Leonardo as follows:
- GND: Connect to any GND pin on the Arduino.
- +5V (VCC): Connect to the 5V pin. Do not use 3.3V, as the KY-023 voltage divider is tuned for 5V logic.
- VRx (X-Axis): Connect to Analog Pin
A0. - VRy (Y-Axis): Connect to Analog Pin
A1. - SW (Button): Connect to Digital Pin
D2.
Installing the MHeironimus Joystick Library
To emulate the USB joystick, we will use the most robust, actively maintained library in the Arduino ecosystem.
- Open Arduino IDE 2.x.
- Navigate to Sketch > Include Library > Manage Libraries.
- Search for
Joystickin the search bar. - Locate Joystick by Matthew Heironimus (usually version 2.1.1 or newer) and click Install.
Writing the Code: Mapping and Deadzones
Reading the joystick is only half the battle. The KY-023 uses 10k potentiometers. According to the official Arduino analogRead reference, a 10-bit ADC returns values from 0 to 1023. The theoretical center is 512. However, due to manufacturing tolerances, the physical resting point usually falls between 480 and 540.
If you map 0-1023 directly to the HID standard -127 to 127 range, a resting value of 500 will output a constant -3 on the axis, causing your PC character or cursor to slowly 'drift'. Implementing a software deadzone is mandatory.
#include <Joystick.h>

// Create a Joystick object with 2 axes and 1 button
Joystick_ Joystick(JOYSTICK_DEFAULT_REPORT_ID, JOYSTICK_TYPE_GAMEPAD,
  1, 0, true, true, false, false, false, false,
  false, false, false, false, false);

const int PIN_X = A0;
const int PIN_Y = A1;
const int PIN_BTN = 2;

// Deadzone threshold (adjust based on your specific module's drift)
const int DEADZONE = 15;

void setup() {
  pinMode(PIN_BTN, INPUT_PULLUP);
  Joystick.begin();
}

void loop() {
  // Read raw analog values
  int rawX = analogRead(PIN_X);
  int rawY = analogRead(PIN_Y);

  // Map 10-bit ADC (0-1023) to HID axis range (-127 to 127)
  int mappedX = map(rawX, 0, 1023, -127, 127);
  int mappedY = map(rawY, 0, 1023, -127, 127);

  // Apply Deadzone to prevent center drift
  if (mappedX > -DEADZONE && mappedX < DEADZONE) mappedX = 0;
  if (mappedY > -DEADZONE && mappedY < DEADZONE) mappedY = 0;

  // Send data to USB HID
  Joystick.setXAxis(mappedX);
  Joystick.setYAxis(mappedY);

  // Read button (Active LOW due to INPUT_PULLUP)
  bool buttonState = !digitalRead(PIN_BTN);
  Joystick.setButton(0, buttonState);

  delay(10); // Poll at roughly 100Hz
}
Critical Troubleshooting: The 'Bricked' Bootloader Issue
When working with ATmega32U4 boards and HID libraries, beginners frequently encounter a terrifying edge case: the board seemingly 'bricks' and the Arduino IDE refuses to upload new code, throwing a 'Port not found' or 'Upload timeout' error.
Expert Insight: Your board is not broken. When you upload HID code, the microcontroller stops acting as a Serial COM port and starts acting as a Gamepad. If your code crashes, or if the USB buffer floods, the bootloader cannot trigger automatically to accept a new sketch.
The Double-Tap Reset Fix
To recover a locked ATmega32U4 board, you must manually trigger the bootloader:
- Locate the tiny RST (Reset) pin on your Pro Micro or Leonardo.
- Prepare your modified sketch in the IDE and hit Upload.
- The moment the IDE console says 'Uploading...', use a jumper wire to rapidly tap the RST pin to GND twice within half a second.
- This forces the board into bootloader mode for exactly 8 seconds, allowing the new sketch to flash successfully.
For deeper hardware troubleshooting and pinout diagrams, the SparkFun Pro Micro Hookup Guide remains an invaluable resource for understanding the quirks of the 32U4 architecture.
Frequently Asked Questions
Can I use this library with an Arduino Nano Every?
No. While the Nano Every is a fantastic modern upgrade to the classic Nano, it uses the ATmega4809 chip. It does not have native USB HID capabilities built into its hardware layer in the same way the 32U4 does, and the MHeironimus library does not support it. Stick to the Leonardo, Micro, or Pro Micro for native HID.
Why is my Y-axis inverted in Windows?
The KY-023 module's silkscreen labeling for X and Y, as well as the high/low voltage orientation, is frequently printed backwards by overseas manufacturers depending on the production batch. If your Y-axis is inverted, simply change the mapping logic in your code to map(rawY, 1023, 0, -127, 127) to flip the software axis without rewiring the hardware.
How do I add throttle or rudder controls?
The Joystick_ constructor in the library allows you to enable up to 6 axes. To add a throttle (like a sliding potentiometer), change the includeThrottle parameter in the constructor from false to true, and use Joystick.setThrottle(value) in your loop. Ensure you map your 10-bit analog read to the 0-255 range expected by the throttle HID descriptor.