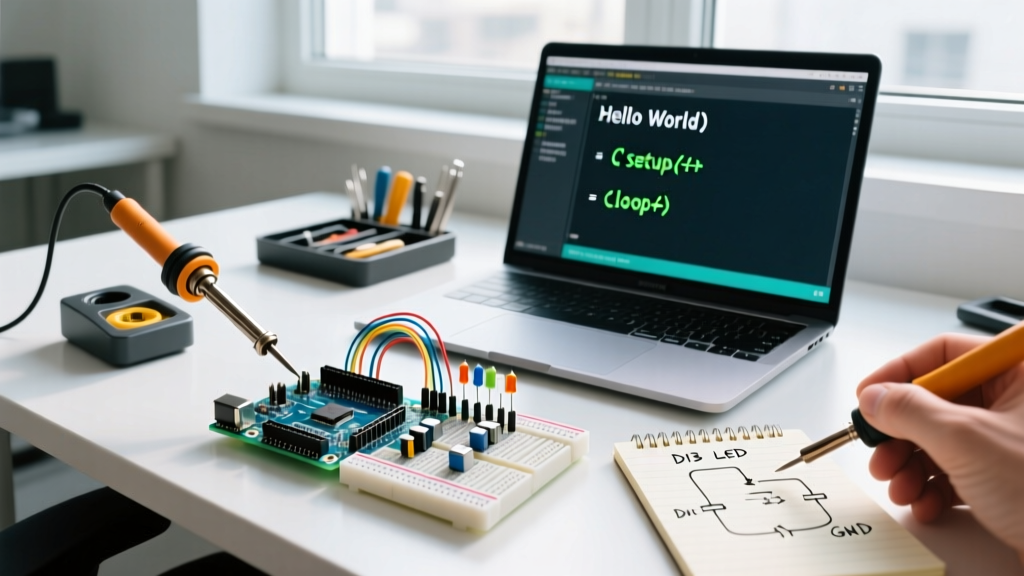

Your First Steps into Microcontroller Programming
If you are wondering how to code in Arduino, you are stepping into a world where software directly interacts with the physical environment. Unlike traditional software development that outputs to a screen, Arduino programming—often called 'sketching'—allows you to control motors, read environmental sensors, and manage power relays. In 2026, the barrier to entry is lower than ever, but understanding the underlying hardware constraints remains critical for writing stable, efficient firmware.
This guide bypasses the fluff and dives straight into the architecture of the Arduino IDE, memory management quirks, and the exact steps to deploy your first script to an Arduino Uno R4 Minima or the legacy Uno R3.
Anatomy of the Arduino IDE 2.3.x
The modern Arduino IDE (currently in the 2.3.x branch) has evolved significantly from the Java-based legacy editor. It now features a robust autocomplete engine, real-time syntax checking, and an integrated Serial Plotter. According to the official Arduino IDE v2 documentation, the new architecture is built on Eclipse Theia, providing a professional-grade environment while maintaining beginner accessibility.
Pro-Tip for Board Selection: Always verify your exact board model in the 'Boards Manager' before compiling. Selecting an 'Arduino Uno' when you have an 'Arduino Uno R4 Minima' will result in a compilation failure because the R4 uses a completely different 32-bit ARM Cortex-M4 architecture (Renesas RA4M1) compared to the R3's 8-bit AVR (ATmega328P).
The Core Architecture: setup() and loop()
Every Arduino sketch relies on a 'superloop' architecture. When the microcontroller boots, it executes a hidden bootloader that initializes hardware registers, and then immediately hands control over to your code. As detailed in the Arduino Sketch Structure Guide, your code must contain two mandatory functions:
setup(): Runs exactly once upon power-up or reset. Use this to initialize serial communication, configure pin modes (INPUT/OUTPUT), and start peripheral libraries like I2C or SPI.loop(): Runs continuously until power is severed. This is where your main logic, sensor polling, and state machines reside.
Writing Your First Hardware Script
Let us write a modified 'Blink' sketch. Instead of just turning an LED on and off, we will use the built-in serial monitor to output state changes, which is a crucial debugging habit.
// Define the pin connected to the onboard LED
const int LED_PIN = LED_BUILTIN;

void setup() {
  // Initialize serial communication at 115200 baud
  Serial.begin(115200);

  // Configure the LED pin as an output
  pinMode(LED_PIN, OUTPUT);

  // Store this string in Flash memory to save SRAM
  Serial.println(F("System Initialized. Entering main loop."));
}

void loop() {
  digitalWrite(LED_PIN, HIGH);  // Turn the LED on (HIGH voltage)
  delay(500);                   // Pause for 500 milliseconds

  digitalWrite(LED_PIN, LOW);   // Turn the LED off (LOW voltage)
  delay(500);

  Serial.println(F("Blink cycle complete."));
}
Critical Concept: Memory Constraints and the F() Macro
One of the most common mistakes beginners make when learning how to code in Arduino is ignoring SRAM limits. The classic Arduino Uno R3 possesses a mere 2,048 bytes of SRAM. If you use standard string objects or multiple Serial.print("Long status message") commands, you will rapidly exhaust the SRAM, leading to heap fragmentation and random microcontroller reboots.
Notice the F("...") macro in the code above. This macro forces the compiler to store the string literal in the 32KB Flash memory (which is abundant) rather than copying it into the precious 2KB SRAM at runtime. Make this a mandatory habit for all static text outputs.
2026 Hardware Comparison: Uno R3 vs. Uno R4 Minima
Choosing the right board dictates your memory management strategy. Here is how the legacy AVR boards compare to the modern ARM-based alternatives available today.
| Feature | Arduino Uno R3 (Legacy) | Arduino Uno R4 Minima (2026 Standard) |
|---|---|---|
| Microcontroller | ATmega328P (8-bit AVR) | Renesas RA4M1 (32-bit ARM Cortex-M4) |
| Clock Speed | 16 MHz | 48 MHz |
| Flash Memory | 32 KB | 256 KB |
| SRAM | 2 KB | 32 KB |
| Typical Price | ~$27.00 | ~$20.00 |
| DAC / Op-Amp | None | 12-bit DAC, Internal Op-Amp |
Notice that the R4 Minima is actually cheaper in 2026 while offering 16 times more SRAM, making the F() macro less critical for simple text, though still best practice for backward compatibility.
Troubleshooting: Clones, CH340 Chips, and COM Ports
Many beginners purchase $4.50 third-party 'clone' boards from online marketplaces. These boards rarely use the official Atmel Mega16U2 USB-to-Serial chip. Instead, they utilize the CH340C or CH341G chip to cut costs. If you plug one of these into a Windows 11 PC, it will likely show up as an 'Unknown Device' in the Device Manager.
- Download the Driver: Source the official CH340 driver package (widely available from SparkFun or WCH official repositories).
- Install and Reboot: Run the installer and restart your machine to clear the Windows USB driver cache.
- Verify COM Port: Open Windows Device Manager > Ports (COM & LPT). You should now see 'USB-SERIAL CH340 (COM3)' (or similar).
- IDE Selection: In Arduino IDE, go to Tools > Port, and select the exact COM port listed.
- Board Override: Select 'Arduino Uno' as the board type. The IDE does not need a specific 'CH340' board profile; it only cares about the target ATmega328P chip on the clone.
Moving Beyond delay(): The millis() Function
While the delay() function is fine for a simple blink test, it is a 'blocking' function. When the microcontroller executes delay(1000), it does literally nothing else for one second. It cannot read buttons, monitor sensors, or update displays. As you advance your skills, you must transition to non-blocking code using the millis() function, which tracks the milliseconds since the board powered on. This allows you to create state machines that handle multiple asynchronous tasks simultaneously.
Frequently Asked Questions
Do I need to know C++ to code in Arduino?
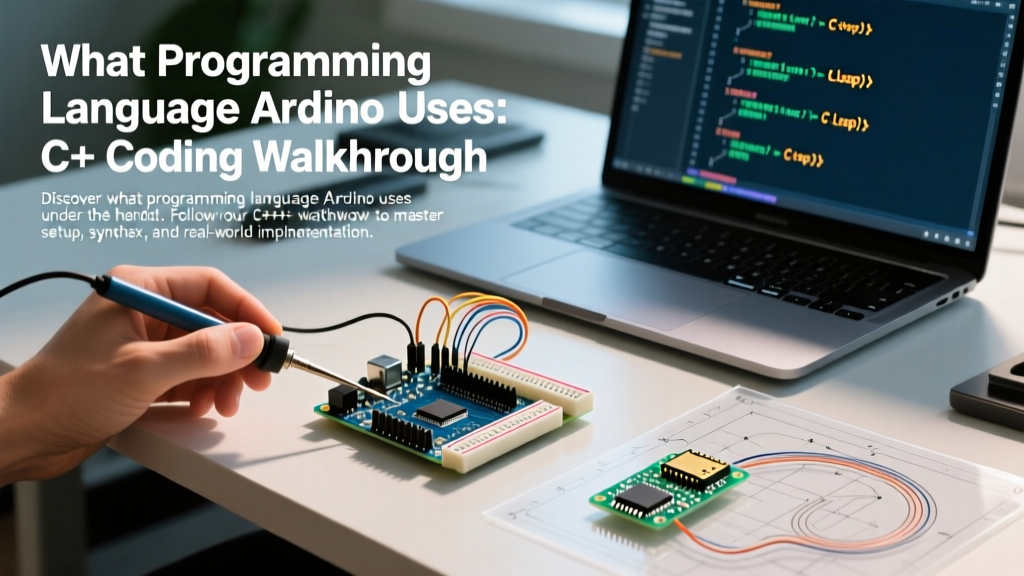
Arduino code is essentially a simplified dialect of C++. You do not need to understand advanced object-oriented programming or memory pointers to start. However, as you integrate complex sensor libraries, understanding basic C++ classes and structs will become necessary.
Why is my code compiling but not uploading?
If you receive an 'avrdude: stk500_recv(): programmer is not responding' error, 90% of the time it is a physical connection issue. Ensure you are using a data-capable USB cable, not a 'charge-only' cable. Charge-only cables lack the internal D+ and D- data wires required for serial communication.
Can I use Python instead of C++?
The native Arduino environment requires C/C++. However, if you upgrade to a board with more processing power and native USB-OTG support, like the Arduino Portenta H7 or a Raspberry Pi Pico, you can utilize MicroPython or CircuitPython. For standard Uno boards, stick to the native C++ IDE.
Mastering how to code in Arduino is a journey of iterative hardware-software integration. Start with the Blink sketch, respect the memory limits, verify your USB data lines, and gradually transition to non-blocking logic. For further reading on sensor integration and advanced communication protocols, consult the SparkFun Arduino Setup Tutorials.