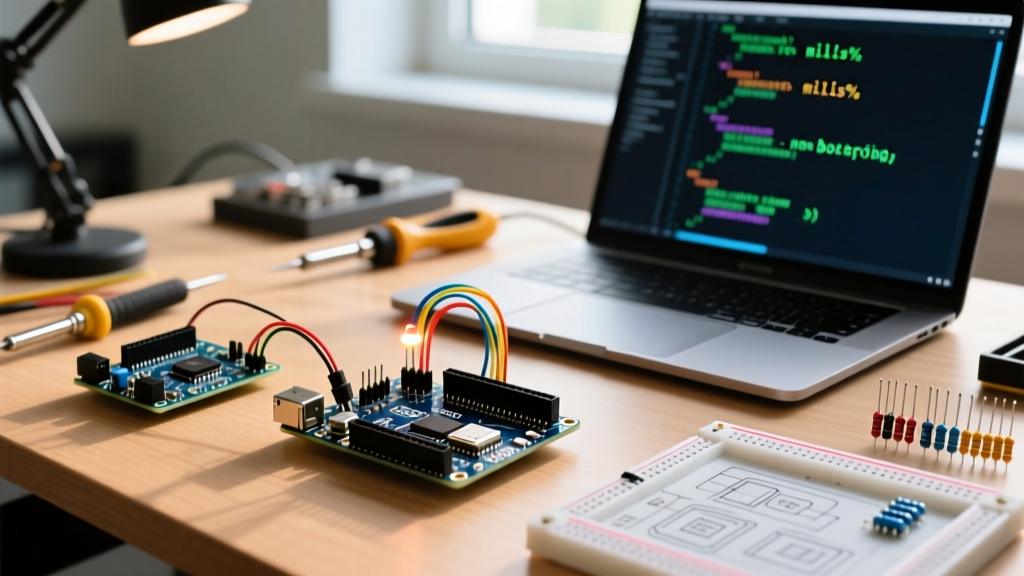

The Reality of "C" in the Arduino Ecosystem
When beginners search for C programming on Arduino, they are often met with a confusing reality: the Arduino IDE actually compiles code using C++. The familiar setup() and loop() functions are simply an abstraction layer—a C++ wrapper designed to hide the complexities of embedded systems from novices. However, understanding how to write pure C and interact directly with the microcontroller's hardware registers is a rite of passage. It transforms you from a script-assembler into a true embedded engineer.
As of 2026, while the Arduino Uno R4 Minima (based on the 32-bit Renesas RA4M1, retailing around $20.00) is the modern standard for new learners, the classic ATmega328P-based Uno R3 remains the undisputed king for learning pure AVR C programming. Its 8-bit architecture and decades of legacy documentation make it the perfect sandbox for mastering low-level logic.
Bypassing the Wrapper: Writing Pure C on AVR
To truly engage in C programming on Arduino, you must understand what happens under the hood. When you click "Verify" in the Arduino IDE, the environment takes your .ino file, generates function prototypes, and wraps it in a hidden main.cpp file. According to the official Arduino Language Reference, the hidden main loop essentially looks like this:
int main(void) {
    init();
    setup();
    for (;;) {
        loop();
    }
    return 0;
}
While the Arduino API functions like digitalWrite() are excellent for rapid prototyping, they are notoriously slow. A standard digitalWrite() call takes roughly 3 to 5 microseconds because it performs pin-mapping lookups and safety checks. In pure C, manipulating the hardware registers directly takes less than 125 nanoseconds.
Direct Register Manipulation vs. Arduino API
Let's compare the standard Arduino C++ wrapper approach with pure AVR C register manipulation. We will use Pin 13 (which maps to PORTB, Bit 5 on the ATmega328P) as our example.
| Action | Arduino API (C++ Wrapper) | Pure AVR C (Direct Register) | Execution Speed |
|---|---|---|---|
| Set Pin as Output | pinMode(13, OUTPUT); |
DDRB |= (1 << DDB5); |
~62.5 ns (Pure C) |
| Set Pin HIGH | digitalWrite(13, HIGH); |
PORTB |= (1 << PORTB5); |
~62.5 ns (Pure C) |
| Set Pin LOW | digitalWrite(13, LOW); |
PORTB &= ~(1 << PORTB5); |
~62.5 ns (Pure C) |
| Toggle Pin State | Requires digitalRead first | PINB |= (1 << PINB5); |
~62.5 ns (Pure C) |
Expert Insight: The toggle trick (PINB |= (1 << PINB5)) is a hardware feature of the AVR architecture. Writing a 1 to the Input Register (PIN) toggles the corresponding bit in the Output Register (PORT). This single-cycle operation is impossible using standard Arduino API functions without reading the pin state first.
Bitwise Operators: The Alphabet of Embedded C
You cannot master C programming on Arduino without a firm grasp of bitwise logic. Microcontrollers do not understand "Pin 13"; they understand 8-bit bytes where each bit represents a physical copper trace on the silicon die.
- OR (
|): Used to set bits HIGH without affecting other bits. (PORTB |= (1 << 5)) - AND (
&): Used to mask or clear bits. Combined with NOT (~), it sets bits LOW. (PORTB &= ~(1 << 5)) - XOR (
^): Used to flip or toggle specific bits. - Left Shift (
<<): Moves a binary 1 into the correct positional slot (e.g.,1 << 5results in0b00100000).
Memory Management: Surviving the 2KB SRAM Limit
The most common point of failure for beginners transitioning to pure C on the ATmega328P is memory exhaustion. The chip features 32KB of Flash memory (for your code) but only 2KB of SRAM (for variables and runtime data). When SRAM overflows, the stack collides with the heap, causing silent, catastrophic reboots.
The PROGMEM Solution
By default, when you define a string or a large lookup array, the C compiler copies it from Flash into precious SRAM at startup. To prevent this, you must use the PROGMEM attribute, documented extensively in the AVR Libc User Manual.
#include <avr/pgmspace.h>

// Stored in Flash, saving SRAM
const char myString[] PROGMEM = "ElectricalFlux 2026 Embedded Guide";

void setup() {
    Serial.begin(115200);
    // Read directly from Flash
    Serial.println((__FlashStringHelper*)myString);
}
Pro-Tip: If you are using the Arduino IDE's Serial print functions, you can bypass manual PROGMEM casting by wrapping your string literals in the F() macro: Serial.println(F("This stays in Flash"));. This single habit will save your project from random memory crashes.
Essential Debugging Toolchain for 2026
When writing pure C, Serial.print() is often too slow or intrusive to debug timing-critical hardware protocols like SPI or I2C. You need hardware-level visibility.
- Logic Analyzer: Skip the $200+ Saleae Pro models for now. A generic 24MHz 8-Channel Logic Analyzer (based on the Cypress CY7C68013A chip) costs roughly $12 to $15 on Amazon or AliExpress. When paired with the open-source PulseView software, it perfectly decodes I2C, UART, and SPI buses.
- Hardware Debugger: For step-through debugging of pure C code, the Atmel-ICE (approx. $45.00) allows you to set breakpoints, inspect CPU registers, and view SRAM in real-time via Microchip Studio or VS Code with the Cortex-Debug/AVR extensions.
- Multimeter: A true-RMS meter like the Brymen BM235 (~$115) is essential for verifying pull-up resistor values on I2C lines, a frequent culprit in communication failures.
Common Edge Cases and Failure Modes
When moving from high-level Arduino code to low-level C, beginners frequently encounter these hardware edge cases:
- Missing I2C Pull-ups: The ATmega328P's internal pull-ups are roughly 30kΩ to 50kΩ, which is too weak for high-speed I2C. If your I2C bus hangs, add external 4.7kΩ resistors to both SDA and SCL lines tied to 5V.
- Interrupt Flag Clearing: When writing pure C Interrupt Service Routines (ISRs), you must manually clear the interrupt flag in the peripheral's control register before exiting the ISR, or the microcontroller will infinitely loop the interrupt.
- Watchdog Timer Traps: If you enable the hardware Watchdog Timer (WDT) in pure C and fail to reset it within your main loop, the chip will reset. If the WDT timeout is shorter than your bootloader initialization, your Arduino will enter a permanent "boot-loop of death," requiring an external ISP programmer to erase the chip.
Frequently Asked Questions
Can I write pure C in the Arduino IDE?
Yes. While the IDE expects .ino files, you can create .c and .h files within the same sketch folder. The Arduino build system (which uses avr-gcc under the hood) will automatically compile standard C files alongside your C++ sketch.
Is C programming on Arduino still relevant in 2026?
Absolutely. While 32-bit boards like the ESP32 and Arduino R4 use RTOS (Real-Time Operating Systems) and higher-level frameworks, 8-bit AVR C programming remains the foundational bedrock for understanding memory constraints, clock cycles, and direct hardware manipulation. It makes you a vastly superior programmer on any architecture.
Why does my pure C code compile but do nothing?
Check your fuse bits and clock definitions. Pure C delay functions like _delay_ms() from <util/delay.h> rely on the F_CPU macro. If your code assumes 16MHz but the board is running at 8MHz (or vice versa), your timing will be completely broken, and hardware initialization sequences may fail silently.