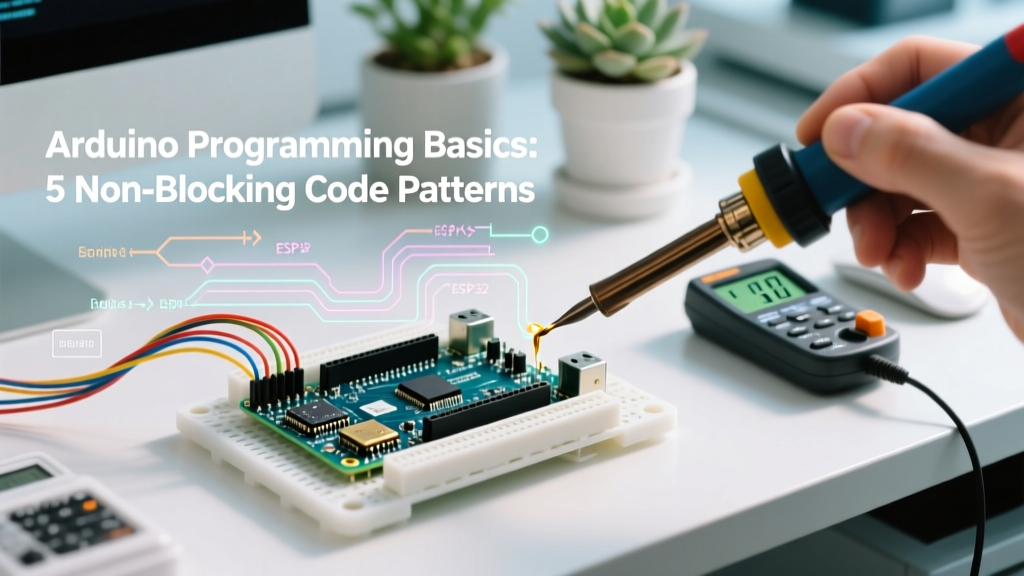

The Hidden Cost of Blocking Code in Modern Firmware
When engineers and hobbyists first dive into arduino programming basics, they are almost immediately taught the delay() function. It is intuitive, easy to read, and works perfectly for blinking a single LED. However, as projects scale to include I2C sensors, UART telemetry, and user interfaces, blocking code becomes a critical liability.
On a classic ATmega328P running at 16 MHz, a delay(1000) instruction wastes 16 million clock cycles. The CPU literally sits idle, unable to poll buttons, read serial buffers, or service interrupts. In 2026, with modern ecosystems heavily utilizing 32-bit boards like the Arduino Uno R4 Minima (Renesas RA4M1, 48 MHz) or the Arduino Nano ESP32, relying on blocking delays guarantees dropped WiFi packets, overflowing serial buffers, and unresponsive hardware. True mastery of arduino programming basics requires transitioning from linear, blocking scripts to event-driven, non-blocking architectures.
Below are five essential code patterns that separate beginner sketches from production-grade firmware.
Pattern 1: The Rollover-Safe millis() Timestamp
The foundational non-blocking pattern replaces delay() with the millis() timer. However, a common pitfall in early firmware development is the '49.7-day bug'. The millis() function returns a 32-bit unsigned integer, which overflows and resets to zero after approximately 49.7 days of continuous uptime.
Amateur code often uses absolute time comparisons (e.g., if (currentMillis > previousMillis + interval)), which catastrophically fails during an overflow event. The correct approach leverages unsigned integer underflow mechanics.
#include <stdint.h>

uint32_t previousMillis = 0;
const uint32_t interval = 1000; // 1 second

void loop() {
  uint32_t currentMillis = millis();

  // Rollover-safe subtraction
  if (currentMillis - previousMillis >= interval) {
    previousMillis = currentMillis;

    // Execute non-blocking task here
    toggleLED();
  }

  // CPU is free to handle other tasks, read sensors, etc.
  readSensors();
}
Why this works: By subtracting the previous timestamp from the current one, the result is always the exact elapsed time, even if currentMillis has rolled over to a small number and previousMillis is a massive number near the 32-bit limit. Always use uint32_t from <stdint.h> instead of unsigned long to guarantee 32-bit width across both 8-bit AVR and 32-bit ARM architectures.
Pattern 2: Finite State Machines (FSM) for Complex Logic
As projects grow, nested if-else statements create 'spaghetti code' that is impossible to debug. A Finite State Machine (FSM) isolates logic into discrete, mutually exclusive states. This is crucial for applications like motor control, HVAC systems, or multi-stage chemical dosing.
enum SystemState {
  STATE_IDLE,
  STATE_HEATING,
  STATE_COOLING,
  STATE_ERROR
};

SystemState currentState = STATE_IDLE;

void loop() {
  switch (currentState) {
    case STATE_IDLE:
      if (startButtonPressed()) {
        currentState = STATE_HEATING;
      }
      break;

    case STATE_HEATING:
      runHeater();
      if (targetTempReached()) currentState = STATE_COOLING;
      if (overheatDetected()) currentState = STATE_ERROR;
      break;

    case STATE_COOLING:
      runCooler();
      if (cycleComplete()) currentState = STATE_IDLE;
      break;

    case STATE_ERROR:
      triggerAlarm();
      if (resetPressed()) currentState = STATE_IDLE;
      break;
  }
}
Best Practice: Never use blocking delays inside an FSM case. If a state requires a timeout, implement the millis() pattern (Pattern 1) inside that specific case block to transition to the next state only when the time condition is met.
Pattern 3: Non-Blocking Switch Debouncing
Mechanical switches suffer from contact bounce, generating multiple false electrical transitions over a 5 to 50-millisecond window. The beginner approach is to use delay(50) after reading a pin. As noted in Jack Ganssle's legendary guide to debouncing, blocking the CPU for 50ms is unacceptable in systems requiring precise timing or rapid user inputs.
Instead, track the last time the button state changed and only accept a new state if the pin has been stable for the debounce interval.
const uint8_t buttonPin = 2;
uint32_t lastDebounceTime = 0;
const uint32_t debounceDelay = 50; // 50ms
bool lastButtonState = HIGH;
bool stableButtonState = HIGH;

void loop() {
  bool currentReading = digitalRead(buttonPin);

  if (currentReading != lastButtonState) {
    lastDebounceTime = millis(); // Reset timer on any change
  }

  if ((millis() - lastDebounceTime) > debounceDelay) {
    if (currentReading != stableButtonState) {
      stableButtonState = currentReading;
      if (stableButtonState == LOW) {
        onButtonConfirmedPress(); // Action triggered cleanly
      }
    }
  }
  lastButtonState = currentReading;
}
Pattern 4: Event-Driven ISR Flags
For high-speed signals (like rotary encoders or flow meters), polling pins in the loop() is too slow. Hardware Interrupts (ISRs) are required. However, a common violation of arduino programming basics is performing heavy computation or serial printing inside the ISR itself.
The Golden Rule of ISRs: Keep them under 5 microseconds. Set a volatile flag and exit immediately.
volatile bool encoderTick = false;
volatile int32_t pulseCount = 0;

void setup() {
  attachInterrupt(digitalPinToInterrupt(2), encoderISR, RISING);
}

void encoderISR() {
  pulseCount++;
  encoderTick = true; // Set flag, do nothing else
}

void loop() {
  if (encoderTick) {
    encoderTick = false; // Clear flag
    // Safely process the count, update displays, send UART data
    processEncoderData(pulseCount);
  }
}
Note: Variables shared between the ISR and the main loop must be declared as volatile to prevent the compiler from optimizing them into CPU registers, which would cause the main loop to miss updates.
Pattern 5: Memory Optimization and Heap Fragmentation
Memory management is a core pillar of robust embedded design. The standard Arduino String class is notorious for causing heap fragmentation, especially on 8-bit AVRs with only 2KB of SRAM (like the ATmega328P). Every time you concatenate a String, the microcontroller requests a new, contiguous block of RAM. Over hours of operation, the heap fractures, leading to random reboots and memory allocation failures.
Memory Footprint Comparison
| Method | SRAM Impact | Heap Fragmentation Risk | Use Case |
|---|---|---|---|
String Class |
High (Dynamic Allocation) | Severe | Quick prototyping only |
char[] Arrays |
Low (Static Allocation) | None | Production UART/Buffer parsing |
F() Macro |
Zero SRAM (Stored in Flash) | None | All static Serial.print() strings |
Always wrap static string literals in the F() macro. This forces the compiler to leave the string in Flash memory (PROGMEM) and stream it directly to the serial port, saving precious SRAM.
// BAD: Consumes 45 bytes of SRAM
Serial.println("System initialized and ready for telemetry.");

// GOOD: Consumes 0 bytes of SRAM, reads from 32KB Flash
Serial.println(F("System initialized and ready for telemetry."));
For dynamic string manipulation, utilize fixed-size char arrays with snprintf(). The official Arduino Memory Guide strongly recommends this approach for any device expected to run for more than a few hours without a watchdog reset.
Summary Checklist for Production Firmware
To elevate your code from a weekend prototype to a reliable 2026 industrial deployment, run your sketches through this checklist:
- Zero
delay()calls: All timing is handled viamillis()or hardware timers. - State-driven logic: Complex sequences are managed via
switch-caseFSMs. - ISR Minimalism: Interrupts only toggle
volatileflags; processing happens in the main loop. - Memory Safety: The
Stringclass is banned;F()macros are used for all static text. - Watchdog Timer (WDT): Enabled to automatically reset the MCU if the main loop hangs due to an I2C bus lockup.
By internalizing these patterns, you move beyond simple arduino programming basics and begin writing resilient, scalable firmware capable of handling the demands of modern IoT and embedded robotics. For deeper architectural insights, refer to the Arduino Language Reference and study the underlying C++ AVR-LIBC implementations.