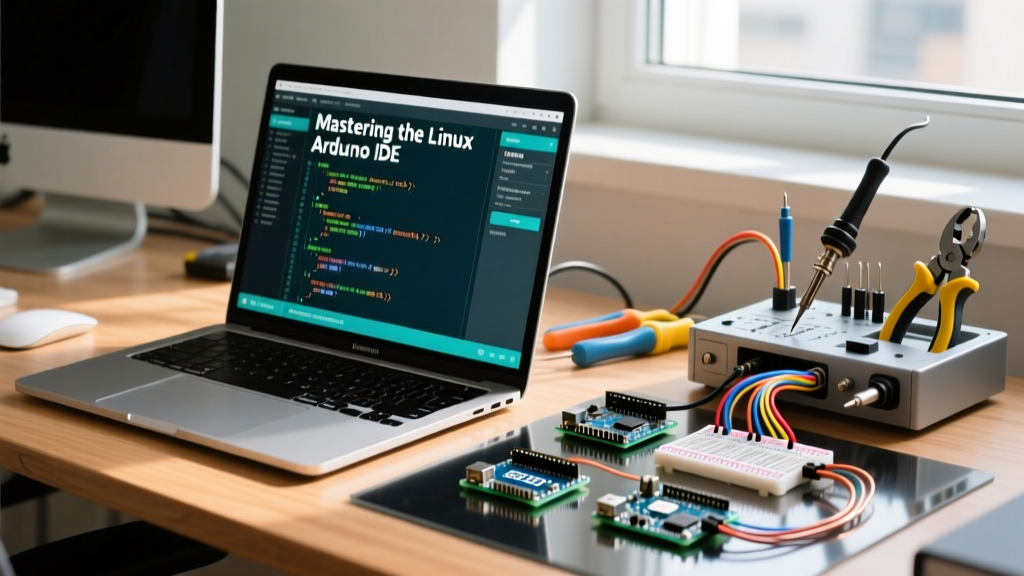

Why Choose the Linux Arduino IDE for Embedded Development?
For embedded systems engineers and DIY enthusiasts, the Linux Arduino IDE offers a significantly more robust, low-overhead environment compared to its Windows or macOS counterparts. Linux provides native access to serial terminals, powerful command-line toolchains, and seamless integration with version control systems like Git. With the transition to the Eclipse Theia-based Arduino IDE 2.x architecture, Linux users now benefit from advanced code completion, real-time syntax checking, and an integrated serial plotter that runs flawlessly on X11 and Wayland display servers.
However, migrating to or setting up a fresh Linux development environment introduces unique hurdles—specifically regarding USB serial permissions, device manager (udev) rules, and background service conflicts. This comprehensive walkthrough will guide you through installing the Linux Arduino IDE, configuring hardware permissions, and troubleshooting common upload failures.
Step 1: Installing the Arduino IDE 2.x via AppImage
While you can install the IDE via Flatpak or your distribution's package manager (like apt or pacman), these sandboxed or community-maintained versions often suffer from restricted hardware access or outdated board manager URLs. The official AppImage is the gold standard for Linux deployments in 2026, as it bundles all necessary dependencies and runs with standard user privileges.
Terminal Commands for AppImage Setup
Open your terminal and execute the following commands to download, make executable, and launch the IDE:
# Download the latest 64-bit Linux AppImage
wget https://downloads.arduino.cc/arduino-ide/arduino-ide_2.3.2_Linux_64bit.AppImage

# Grant execution permissions
chmod +x arduino-ide_2.3.2_Linux_64bit.AppImage

# Move to a local applications directory (optional but recommended)
mkdir -p ~/Applications
mv arduino-ide_2.3.2_Linux_64bit.AppImage ~/Applications/

# Launch the IDE
~/Applications/arduino-ide_2.3.2_Linux_64bit.AppImage
For a complete overview of the Theia-based interface and board manager configurations, refer to the official Arduino IDE Documentation.
Step 2: Resolving Serial Port Permissions (The dialout Group)
The most frequent error encountered by Linux users is the "Permission denied" or "Serial port not found" error when attempting to upload a sketch. By default, Linux restricts raw access to serial devices (like /dev/ttyACM0 or /dev/ttyUSB0) to the root user and members of the dialout (or uucp on Arch-based systems) group.
- Identify your user groups: Run
groupsin the terminal. Ifdialoutis missing, you lack serial permissions. - Add your user to the group: Execute the following command:
sudo usermod -a -G dialout $USERNote: If you are using Arch Linux, Manjaro, or EndeavourOS, replace dialout with uucp.
- Apply the changes: You must completely log out of your desktop environment and log back in, or reboot your machine for the group policy changes to take effect.
Step 3: Writing udev Rules for Clone Microcontrollers
If you are using budget-friendly Arduino clones equipped with CH340 or CP2102 USB-to-Serial chips, the Linux kernel might assign them restrictive permissions or inconsistent device names. We can solve this by writing custom udev rules to force specific permission modes and create persistent symlinks. For a deeper understanding of device manager rules, consult the systemd udev documentation.
Creating the Rules File
Create a new rules file using your preferred text editor with root privileges:
sudo nano /etc/udev/rules.d/99-arduino-clones.rulesPaste the following configurations into the file. These rules target the specific Vendor IDs (VID) and Product IDs (PID) of the most common clone chips:
# CH340 / CH341 (Common in Uno/Mega clones)
SUBSYSTEM=="usb", ATTRS{idVendor}=="1a86", ATTRS{idProduct}=="7523", MODE="0666", GROUP="dialout", SYMLINK+="arduino_ch340"

# CP2102 / CP2104 (Common in NodeMCU / ESP8266 / ESP32 boards)
SUBSYSTEM=="usb", ATTRS{idVendor}=="10c4", ATTRS{idProduct}=="ea60", MODE="0666", GROUP="dialout", SYMLINK+="arduino_cp2102"

# FTDI FT232R (Genuine older boards and high-end clones)
SUBSYSTEM=="usb", ATTRS{idVendor}=="0403", ATTRS{idProduct}=="6001", MODE="0666", GROUP="dialout", SYMLINK+="arduino_ftdi"
Save the file and reload the udev daemon to apply the rules immediately without rebooting:
sudo udevadm control --reload-rules
sudo udevadm trigger
Step 4: Eliminating ModemManager Interference
Expert Troubleshooting Tip: If your Arduino IDE connects to the board but the upload hangs at "Uploading..." and eventually times out, ModemManager is likely the culprit. This background service aggressively probes newly connected USB serial devices to check if they are 3G/4G cellular modems, temporarily locking the serial port and corrupting the bootloader handshake.
To fix this, you must either disable the service or blacklist the Arduino USB IDs. Disabling is the safest route for dedicated development machines:
sudo systemctl stop ModemManager
sudo systemctl disable ModemManager
Headless Development: Integrating arduino-cli
For advanced users running headless Linux servers, Raspberry Pi 5 clusters, or CI/CD pipelines, the GUI is unnecessary. The arduino-cli tool provides complete parity with the IDE's backend. You can install it via the official install script:
curl -fsSL https://raw.githubusercontent.com/arduino/arduino-cli/master/install.sh | shOnce installed, you can compile and upload over SSH seamlessly. For comprehensive command references, review the arduino-cli official documentation.
# List connected boards and their FQBN
arduino-cli board list

# Compile and upload in one line
arduino-cli compile --fqbn arduino:avr:uno -u -p /dev/ttyACM0 ~/Arduino/Blink/Blink.ino
Linux Arduino IDE Directory Structure
Unlike Windows, Linux separates user-generated content from core IDE configurations. Understanding this file tree is critical for manual library installations and backup routines.
| Directory Path | Purpose | Contents |
|---|---|---|
~/Arduino |
Default Sketchbook | Your .ino projects and manually installed libraries. |
~/.arduino15 |
Core Configuration | Board manager packages, preferences.txt, and IDE cache. |
~/.config/arduino-ide |
UI State (IDE 2.x) | Window layouts, themes, and Theia workspace states. |
Troubleshooting Common Linux-Specific Upload Errors
| Error Message | Root Cause | Resolution |
|---|---|---|
| Permission denied: '/dev/ttyACM0' | User is not in the dialout group. |
Run sudo usermod -a -G dialout $USER and reboot. |
| avrdude: ser_open(): can't open device | ModemManager is locking the port, or wrong port selected. | Disable ModemManager; verify port via ls /dev/tty*. |
| Board at /dev/ttyUSB0 is not available | USB cable is charge-only (lacks data lines) or udev rule missing. | Swap to a verified data-sync USB cable; check dmesg | grep tty. |
| Missing library dependencies in IDE 2.x | Library installed in root /usr/share instead of user space. |
Move libraries to ~/Arduino/libraries and restart the IDE. |
Conclusion
Configuring the Linux Arduino IDE requires a few extra terminal commands compared to plug-and-play operating systems, but the payoff in system stability, native serial debugging, and automation capabilities is immense. By properly setting up your AppImage, securing your dialout permissions, and neutralizing ModemManager, you create a bulletproof embedded development environment capable of handling everything from basic ATmega328P sketches to complex ESP32 multi-threaded firmware builds.