
Welcome to the Red Text: Understanding the Console
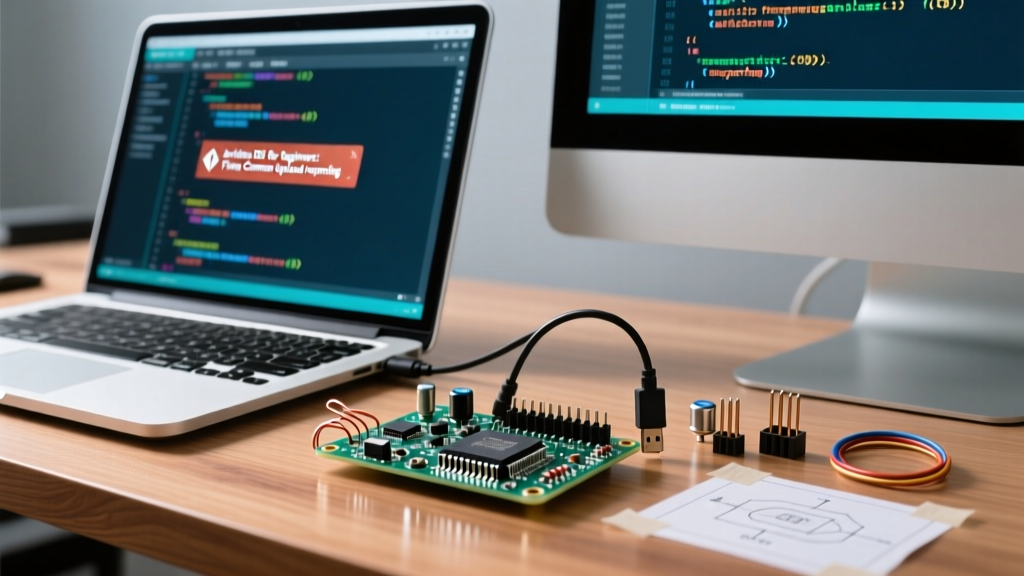
If you are exploring the Arduino IDE for beginners, you have likely encountered the dreaded wall of red text in the output console. When transitioning from visual programming to C++ microcontroller development, compilation and upload errors are a rite of passage. As of 2026, the Arduino IDE 2.x series is the undisputed standard, featuring real-time linting, an integrated debugger, and a modernized arduino-cli backend. However, these architectural upgrades also mean that legacy error messages have evolved.
This guide bypasses generic advice and dives straight into the exact failure modes, hardware quirks, and software conflicts that cause the most common upload and compilation errors. We will decode the console output and provide actionable, step-by-step fixes to get your code onto the silicon.
Error 1: "Port Not Found" or "Board at [port] is not available"
This is the most frequent roadblock when setting up the Arduino IDE for beginners. You click Upload, and the console immediately throws an error stating the selected serial port does not exist or is busy.
The Root Cause: Clone Board Chipsets and Driver Gaps
Official Arduino boards (like the Uno R4 Minima) use native USB or high-end FTDI chips that are natively recognized by Windows 11 and macOS. However, most beginners start with $5 to $12 third-party clones (from brands like Elegoo or HiLetgo). These clones almost universally use the CH340G or CH340C USB-to-serial chipset to cut costs.
- Windows Fix: Open Device Manager and look under Ports (COM & LPT). If you see an "Unknown Device" or a device with a yellow triangle, you are missing the WCH driver. Download the official CH341SER.EXE installer. Once installed, the board will appear as
USB-SERIAL CH340 (COM3)(or similar). Select that exact COM port in the IDE. - macOS Fix: Modern macOS versions (Sonoma/Sequoia) no longer require kernel extensions for the CH340. Ensure you are using CH340 driver version 3.8 or newer. If the port still doesn't show up under Tools > Port, check System Settings > Privacy & Security to ensure the accessory was allowed to connect.
Error 2: "avrdude: ser_open(): can't open device"
You have selected the correct board, the correct port, and the code compiles perfectly. But during the upload phase, the console spits out:
avrdude: ser_open(): can't open device "/dev/ttyACM0": Permission denied
avrdude: ser_send(): write error: Bad file descriptor
The Root Cause: OS Permissions and Cable Hardware
This error stems from one of two highly specific issues:
- Linux Dialout Permissions: If you are on Ubuntu or Debian, your user account lacks permission to access the serial hardware. Open your terminal and run:
sudo usermod -a -G dialout $USER. You must log out and log back in (or reboot) for the group policy to apply. - The "Charge-Only" Cable Trap: Micro-USB and USB-C cables are not created equal. Many cheap cables only have the VCC (5V) and GND wires soldered inside, completely omitting the D+ and D- data lines. If your board powers on (the green LED lights up) but the IDE refuses to acknowledge it, swap to a verified data-sync cable. You can test this with a multimeter by checking for continuity on the inner two pins of the USB-A connector.
Error 3: "Sketch too big, see text on how to reduce it"
The Arduino IDE for beginners makes it easy to write code, but it doesn't automatically teach memory management. If you see this error, your compiled binary exceeds the physical flash memory of the microcontroller.
The Root Cause: Flash Overflow and String Bloat
The classic ATmega328P (found on the Uno R3) has exactly 32,256 bytes of flash memory. The Optiboot bootloader reserves 512 bytes, leaving you with roughly 31.7 KB for your sketch. When you use standard string printing, the compiler stores those text literals in both Flash and SRAM, causing massive bloat.
The Fix: Force PROGMEM Usage
Wrap your static text strings in the F() macro. This tells the compiler to leave the string in Flash memory and fetch it directly during execution, completely bypassing SRAM.
Bad (Causes Overflow):
Serial.println("This is a very long status message that wastes precious SRAM and inflates the binary size.");
Good (Optimized):
Serial.println(F("This is a very long status message that wastes precious SRAM and inflates the binary size."));
Using the F() macro can routinely shave 2KB to 5KB off your compiled sketch size, pulling you back under the hardware limit.
Error 4: "Multiple libraries were found for..."
When working with sensors like the BME280 or displays like the SSD1306, you will install third-party libraries. Often, the console will halt with a warning:
Multiple libraries were found for "SPI.h"
Used: C:\Users\Name\Documents\Arduino\libraries\SPI
Not used: C:\Program Files\Arduino IDE\resources\app\lib\backend\resources\libraries\SPI
The Root Cause: Include Resolution Conflicts
The arduino-cli backend scans your local libraries folder before scanning the IDE's built-in core libraries. If you previously downloaded a raw GitHub ZIP of a library and extracted it manually, you now have duplicate versions. While this is technically a warning and not a fatal error, it can cause silent failures if the IDE selects an outdated, incompatible fork of the library.
The Fix: Navigate to your Arduino sketchbook folder (usually Documents/Arduino/libraries). Search for the conflicting folder (e.g., an old Adafruit_SSD1306 folder) and delete it. Rely exclusively on the IDE's built-in Library Manager (Ctrl+Shift+I) to handle dependencies and versioning automatically.
Quick-Reference Troubleshooting Matrix
Keep this table handy when the console throws an unexpected error. For more foundational knowledge, refer to the Official Arduino Troubleshooting Guide or the Arduino IDE V2 Documentation.
| Console Error Snippet | Root Cause | 1-Click / Fast Fix |
|---|---|---|
Board at COM3 is not available |
Missing CH340 driver or dead USB port. | Install WCH CH341SER driver; try a rear motherboard USB port. |
avrdude: stk500_recv(): programmer is not responding |
Wrong board selected (e.g., Uno instead of Nano) or bad bootloader. | Verify exact board model. For Nano clones, select ATmega328P (Old Bootloader). |
fatal error: Wire.h: No such file or directory |
Target board does not support I2C natively or core is corrupted. | Reinstall the board core via Boards Manager. Ensure #include <Wire.h> is at the top. |
expected ';' before '}' token |
Syntax error; missing semicolon on the line above the flagged line. | Check the preceding line. IDE 2.x linting usually underlines this in real-time. |
Pro Tips for a Smooth Coding Experience in 2026
To minimize errors before they happen, leverage the modern features of the Arduino IDE for beginners:
- Enable Verbose Output: Go to File > Preferences and check "Show verbose output during: upload". This reveals the exact
avrdudecommand being executed, which is invaluable for diagnosing baud-rate mismatches. - Use the Serial Plotter: Instead of guessing why your sensor is returning
NaNor0, use Tools > Serial Plotter (Ctrl+Shift+L). It graphs incoming serial data in real-time, making it obvious if a wire is loose or if a sensor is saturating. - Validate Your Power Source: Many "random" upload errors occur because the PC's USB port is browning out during the flash-memory erase cycle. If uploading to a board with many peripherals attached (like a 5V relay module), power the peripherals via an external 5V 2A buck converter rather than relying on the Arduino's onboard 5V regulator.
By understanding the underlying mechanics of the arduino-cli backend and the physical limitations of microcontroller memory, you transform from a frustrated beginner into a capable embedded systems developer. When the red text appears, read it carefully—it is always telling you exactly what went wrong.