
The Evolution of MCU Debugging: Arduino IDE 2.0 in 2026
As we navigate the embedded development landscape in 2026, the transition from the legacy 1.8.x environment to the Eclipse Theia-based Arduino IDE 2.0 (now matured into the 2.3.x branch) has fundamentally changed how developers interact with microcontrollers. While wireless debugging and SWD/JTAG probes have become more accessible, UART and USB-CDC serial communication remain the undisputed backbone of rapid MCU prototyping and sensor validation.
However, the underlying architecture of serial communication has shifted. Modern boards like the Arduino Uno R4 Minima (Renesas RA4M1) and Nano ESP32 (ESP32-S3) utilize native USB CDC-ACM, eliminating the need for external USB-to-Serial bridge chips like the ATmega16U2 or CH340G. This guide provides a deep-dive, expert-level walkthrough on configuring, leveraging, and troubleshooting serial communication setups specifically within the Arduino IDE 2.0 environment.
Core Architecture: Hardware UART vs. Native USB CDC-ACM
Before configuring the IDE, it is critical to understand the physical layer your board uses, as this dictates baud rate behavior and port enumeration in Arduino IDE 2.0.
- Legacy Hardware UART (e.g., Uno R3, Mega 2560): Relies on a secondary bridge chip (ATmega16U2 or CH340) to convert USB signals to TTL UART. The baud rate is strictly enforced by the hardware timer. A mismatch between
Serial.begin(9600)and the IDE Monitor will yield garbage characters. - Native USB CDC-ACM (e.g., Uno R4, Nano ESP32, Leonardo): The MCU handles USB communication directly via virtual COM ports. Because the data is packetized over USB, the baud rate specified in
Serial.begin()is largely ignored by the transport layer. You can setSerial.begin(115200)in code and open the IDE 2.0 Monitor at 9600, and data will still transmit perfectly. However, maintaining matching rates is a best practice for code portability.
Expert Insight: On native USB boards, the serial port is dynamically created when the MCU boots. If your code crashes before Serial.begin() is called, or if the USB stack hangs, the COM port will disappear entirely from the Arduino IDE 2.0 dropdown menu. Always implement a hardware reset (double-tapping the reset button) to force the board into bootloader mode and recover the port.
Step-by-Step: Configuring the Arduino IDE 2.0 Serial Monitor
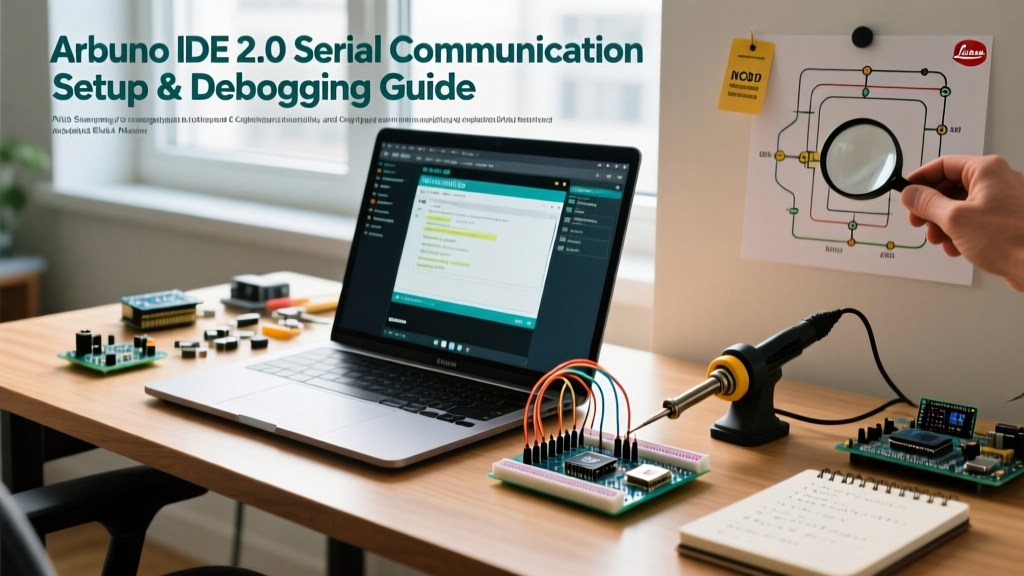
The Serial Monitor in Arduino IDE 2.0 has been decoupled from the main console and moved to a dedicated bottom pane, offering enhanced filtering and state retention.
1. Port Enumeration and Selection
Unlike the legacy Tools menu, IDE 2.0 utilizes a unified dropdown at the top center of the interface. When you plug in an ESP32-S3 or Uno R4, the IDE queries the USB VID/PID and automatically suggests the correct board and port. If multiple identical boards are connected, click the 'Show all ports' toggle to view the raw COM/TTY designations (e.g., /dev/ttyACM0 on Linux or COM4 on Windows).
2. Baud Rate and Line Ending Configuration
At the bottom of the Serial Monitor pane, configure your transmission parameters:
- Baud Rate: Default to 115200 for native USB boards and modern ESP32 setups. Use 9600 only if interfacing with legacy GPS modules or software-serial bridges.
- Line Endings: Crucial when sending AT commands to cellular/WiFi modems or parsing strings via
Serial.readStringUntil(). Set to Both NL & CR (CRLF) for standard AT command sets, or Newline (LF) for standard Linux-based terminal emulation. - Timestamps: Toggle the clock icon to prepend millisecond-accurate timestamps to incoming data. This is invaluable for calculating delta-times between sensor interrupts without writing custom timing code.
Advanced Data Visualization: Mastering the Serial Plotter
The Arduino IDE 2.0 Serial Plotter has been rewritten to support higher refresh rates and multi-variable graphing. To use it effectively, your firmware must output data in a specific key-value syntax.
According to the official Arduino IDE 2.0 documentation, the plotter parses strings separated by tabs or commas, and assigns colors based on labels.
Optimal Plotter Syntax
void loop() {
  float temp = readSensor(0);
  float hum = readSensor(1);

  // Syntax: Label:Value[tab]Label:Value[newline]
  Serial.print("Temp:");
  Serial.print(temp);
  Serial.print("\t");
  Serial.print("Hum:");
  Serial.println(hum);

  delay(50); // 20Hz refresh rate is optimal for the IDE 2.0 Plotter
}
By including the Label: prefix, the IDE 2.0 Plotter automatically generates a color-coded legend. If you omit the label and just print raw numbers separated by commas, the plotter will assign generic 'Series 1' and 'Series 2' tags, making complex debugging difficult.
SoftwareSerial vs. Hardware UART in the Modern Era
A common communication setup dilemma involves routing secondary data streams (like a secondary GPS or RS485 transceiver). In the Arduino IDE 2.0 ecosystem, the approach depends heavily on your silicon:
| Architecture | Secondary Serial Strategy | Max Reliable Baud Rate | IDE 2.0 Library Support |
|---|---|---|---|
| AVR (ATmega328P) | SoftwareSerial (Bit-banging) | 38400 bps | Native, but blocks interrupts |
| ESP32 / ESP32-S3 | HardwareSerial (UART1, UART2) | 921600 bps | Remappable pins via Serial.begin(baud, config, rx, tx) |
| Renesas (Uno R4) | HardwareSerial (SCI peripherals) | 1000000+ bps | Use predefined Serial1 objects |
Pro-Tip for ESP32 Users: Stop using the SoftwareSerial library on ESP32 chips. The Arduino IDE 2.0 board definitions for ESP32 fully support hardware pin remapping. You can assign any available GPIO to UART1 or UART2 natively, freeing up CPU cycles and preventing buffer overflows at high baud rates. For a deeper understanding of UART protocols, SparkFun's Serial Communication Guide remains an excellent foundational resource.
Troubleshooting Matrix: Common Port & Communication Failures
Even with the improved architecture of Arduino IDE 2.0, developers frequently encounter port locking and driver enumeration issues. Below is a diagnostic matrix for the most common edge cases observed in professional and hobbyist environments.
| Symptom | Root Cause | Actionable Fix |
|---|---|---|
| Port is greyed out / Missing from dropdown | Another process (e.g., Cura, PrusaSlicer, or a background Python script) has locked the COM port. | Close slicing software. On Windows, use Process Explorer to find the handle locking COMx. On Linux, ensure your user is in the dialout group. |
| Garbage characters on Monitor (Legacy Boards) | Baud rate mismatch, or using an internal oscillator with high clock drift instead of an external crystal. | Verify Serial.begin() matches the Monitor dropdown. If using a clone board with an uncalibrated internal RC oscillator, drop baud rate to 4800. |
| Board auto-resets when Monitor opens | DTR (Data Terminal Ready) line is toggling the reset capacitor circuit. | This is normal for AVR boards to trigger the bootloader. To prevent it, disable 'Auto-reset on Serial Monitor' in IDE 2.0 Preferences, or physically remove the 0.1µF DTR capacitor on the board. |
| Upload succeeds, but Serial Monitor is blank | USB CDC stack crashed, or Serial.begin() is placed inside a conditional block that never executes. | Add a blocking while(!Serial); immediately after Serial.begin() for native USB boards to wait for the host PC to open the port before transmitting. |
Linux-Specific Edge Case: Udev Rules and Permissions
If you are developing on Ubuntu or Debian in 2026, you may find that the Arduino IDE 2.0 AppImage or Flatpak cannot access /dev/ttyACM0 or /dev/ttyUSB0 without root privileges. This is a permissions issue, not an IDE bug. You must create a custom udev rule.
- Open terminal and create a new rule file:
sudo nano /etc/udev/rules.d/99-arduino.rules - Add the following line to grant read/write access to the dialout group:
SUBSYSTEM=="tty", ATTRS{idVendor}=="2341", MODE="0666"(Replace 2341 with your specific VID if using a third-party ESP32 board). - Reload the rules:
sudo udevadm control --reload-rules && sudo udevadm trigger
Windows-Specific Edge Case: CH340 Driver Conflicts
Cheap clone boards utilizing the CH340G USB-to-Serial chip often fail to enumerate in Windows 11, showing as an 'Unknown USB Device' in Device Manager. While the Arduino IDE GitHub repository tracks various hardware compatibility issues, this is strictly a Windows driver signing issue. Download the latest signed CH340 drivers directly from the chip manufacturer (WCH) rather than relying on outdated third-party blogs. Alternatively, use Zadig to force the WinUSB driver if you are doing low-level libusb debugging.
Conclusion: Optimizing Your Workflow
Mastering serial communication in Arduino IDE 2.0 requires moving beyond simple Serial.println() debugging. By leveraging the multi-variable Serial Plotter, understanding the distinction between CDC-ACM and Hardware UART, and proactively managing OS-level port permissions, you can drastically reduce your development cycle time. Whether you are tuning PID loops on a robot chassis or parsing NMEA sentences from a GPS module, a robust serial setup is the foundation of reliable embedded systems engineering.