
Why Your Step Motor Code Arduino Setup is Failing
When building CNC routers, 3D printers, or automated camera sliders, mastering your step motor code Arduino implementation is the difference between a smooth, precise machine and a stuttering, unreliable prototype. Stepper motors, particularly the ubiquitous NEMA 17 (such as the 17HS4401 rated at 1.7A and 40Ncm), demand precise timing. Unlike standard DC motors, steppers rely on discrete digital pulses. If your code misses a pulse, or if the pulse width violates the driver's datasheet specifications, the motor will jitter, stall, or lose its absolute position.
In 2026, while hardware has evolved with ultra-silent drivers like the Trinamic TMC2209 (typically priced around $5.50 per module) and legacy workhorses like the A4988 ($2.50) and DRV8825 ($3.00), the fundamental software bottlenecks remain the same. Most developers blame the hardware when the actual culprit is a blocking delay() function or an improperly configured interrupt service routine (ISR). This guide provides a deep-dive diagnostic approach to fixing the most persistent step motor code Arduino errors.
Diagnostic Matrix: Symptom vs. Root Cause
Before rewriting your entire sketch, use this diagnostic matrix to identify the exact failure mode of your stepper system. This table separates perceived hardware failures from actual software timing violations.
| Observed Symptom | Suspected Code Error | Actual Root Cause | Targeted Fix |
|---|---|---|---|
| Motor vibrates loudly but shaft does not rotate. | Missing stepper.run() in loop. | Acceleration value is too high for the rotor's inertia, causing immediate stall. | Reduce setAcceleration() by 50% and verify microstep jumper settings. |
| Missed steps only at high RPM (>800 RPM). | Using delayMicroseconds() for pulsing. | Pulse width is shorter than the driver's minimum HIGH/LOW time requirement. | Enforce minimum 1µs (A4988) or 2µs (DRV8825) pulse width via micros(). |
| Random micro-stutters during continuous movement. | None apparent in stepper logic. | Background tasks like Serial.print() or Wire.requestFrom() are blocking the main loop. | Move to hardware-timer-based libraries like MobaTools or implement non-blocking state machines. |
| Motor runs smoothly but position drifts over time. | Incorrect steps-per-revolution constant. | Microstepping configuration in code does not match physical driver jumpers (MS1, MS2, MS3). | Recalculate STEPS_PER_REV (e.g., 200 * 16 = 3200) and verify jumper voltage. |
Error 1: Micro-Jitter and the AccelStepper Polling Trap
The most popular library for this task is AccelStepper. However, a fundamental misunderstanding of how its run() and runSpeed() methods operate leads to severe micro-jitter. These methods are non-blocking, meaning they do not pause the code. Instead, they rely on being called repeatedly inside the loop() to check if it is time to send the next pulse based on micros().
Expert Insight: If your loop() takes 5 milliseconds to execute because you are reading an I2C sensor or updating an OLED display, AccelStepper can only generate a maximum of 200 steps per second. This artificial software speed limit manifests as physical jitter and lost torque.Fixing the Polling Bottleneck
To fix this without abandoning AccelStepper, you must decouple your sensor reading from the stepper polling. Use a blink-without-delay architecture for your sensors, ensuring stepper.run() is called at the very top of the loop() on every single iteration.
- Bad Architecture: Read Sensor -> Process Data -> Update Display ->
stepper.run(). - Optimized Architecture:
stepper.run()-> Check if 100ms has passed -> Read Sensor -> Process Data.
For authoritative implementation details, always refer to the Arduino AccelStepper Reference to ensure you are utilizing the latest non-blocking methods correctly.
Error 2: Missed Steps at High Speeds and Pulse Width Constraints
When you push a NEMA 17 motor past 1000 RPM using a 1/16 microstep configuration, you are demanding over 53,000 pulses per second. At this frequency, the physical limitations of the stepper driver chips become the primary point of failure. Many developers write step motor code Arduino sketches that toggle the STEP pin as fast as the microcontroller allows, completely ignoring the driver's datasheet.
Datasheet Timing Requirements
Different drivers require different minimum pulse widths (the time the STEP pin must remain HIGH, and subsequently LOW). If your code pulses faster than these thresholds, the driver's internal logic gates simply ignore the signal, resulting in missed steps.
- Allegro A4988: Requires a minimum of 1µs HIGH and 1µs LOW pulse width. For detailed electrical characteristics and timing diagrams, consult the Pololu A4988 Stepper Motor Driver Carrier documentation.
- Ti DRV8825: Requires a minimum of 2µs HIGH and 2µs LOW pulse width.
- Trinamic TMC2209: Highly forgiving, but requires careful handling if utilizing the UART interface simultaneously.
If you are using direct port manipulation (e.g., PORTD |= (1 << PD2);) on an ATmega328P to achieve high speeds, you must insert a precise delayMicroseconds(2); or use a hardware timer interrupt to guarantee the pulse width. Relying on instruction-cycle counting is unreliable across different Arduino cores, especially if you migrate your code to an ESP32-S3 in the future.
Error 3: The "Ghost Stall" and UART Interference
In modern 2026 builds, the TMC2209 has largely replaced the A4988 due to its StealthChop2 technology, which renders motors virtually silent. However, the TMC2209 introduces a new software hurdle: UART configuration. Many developers use the Arduino's hardware serial (or SoftwareSerial) to send RMS current and microstepping commands to the driver.
A "ghost stall" occurs when the motor suddenly stops or stutters precisely when the Arduino sends a UART configuration packet. This happens because SoftwareSerial disables global interrupts (cli()) while bit-banging the serial signal. If your step pulses are generated via a hardware timer interrupt, disabling global interrupts will pause the pulse train, causing the motor to stall.
The UART Code Fix
To resolve this, you must separate the configuration phase from the motion phase. Send all UART commands to the TMC2209 in the setup() function before motion begins. If you must change current limits dynamically (e.g., reducing current during a holding state to prevent overheating), use the ESP32's hardware UART peripherals rather than SoftwareSerial, ensuring interrupt service routines remain untouched.
Advanced Architecture: Upgrading to MobaTools
For projects requiring multiple synchronized steppers, high speeds, and simultaneous sensor polling, AccelStepper's software-polling architecture often reaches its absolute limit. This is where the MobaTools library provides a massive information gain for advanced developers.
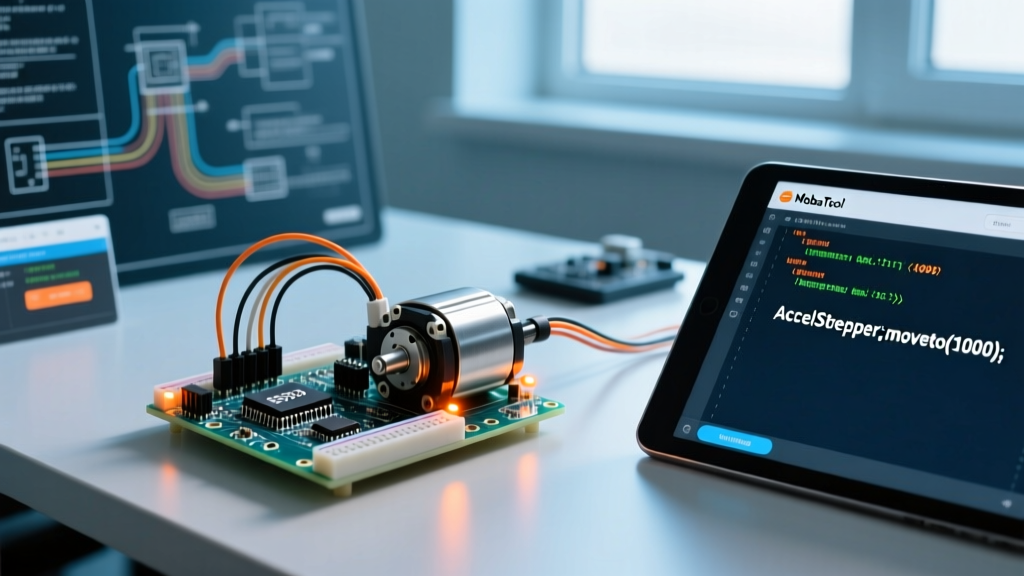
Unlike AccelStepper, MobaTools utilizes hardware timers (like Timer1 on the Uno, or the MCPWM/Step-Dir peripherals on the ESP32). Once you issue a movement command like myStepper.moveTo(targetPos), the hardware timer takes over the pulse generation entirely in the background. Your loop() is 100% free to handle complex I2C sensor fusion, WiFi telemetry, or SD card logging without ever dropping a single step pulse.
Migration Checklist: AccelStepper to MobaTools
- Remove Polling: Delete all instances of
stepper.run()from yourloop(). - Adjust Speed Metrics: MobaTools calculates speed in RPM or steps per second differently than AccelStepper's arbitrary units. Recalibrate your
setSpeed()parameters based on physical RPM requirements. - Timer Conflicts: Ensure no other libraries (like the standard Servo library or IRremote) are attempting to claim Timer1, as this will cause a compilation or runtime collision.
Summary: Writing Bulletproof Stepper Firmware
Debugging step motor code Arduino sketches requires looking beyond the logic of your loops and into the microsecond-level realities of hardware drivers. By eliminating blocking delays, respecting minimum pulse width constraints, avoiding SoftwareSerial during motion, and leveraging hardware-timer libraries like MobaTools for high-load applications, you can transform a jittery prototype into industrial-grade motion control. Always verify your physical microstep jumper settings against your software constants, and remember that in stepper control, timing is not just a suggestion—it is the physical force that moves the rotor.