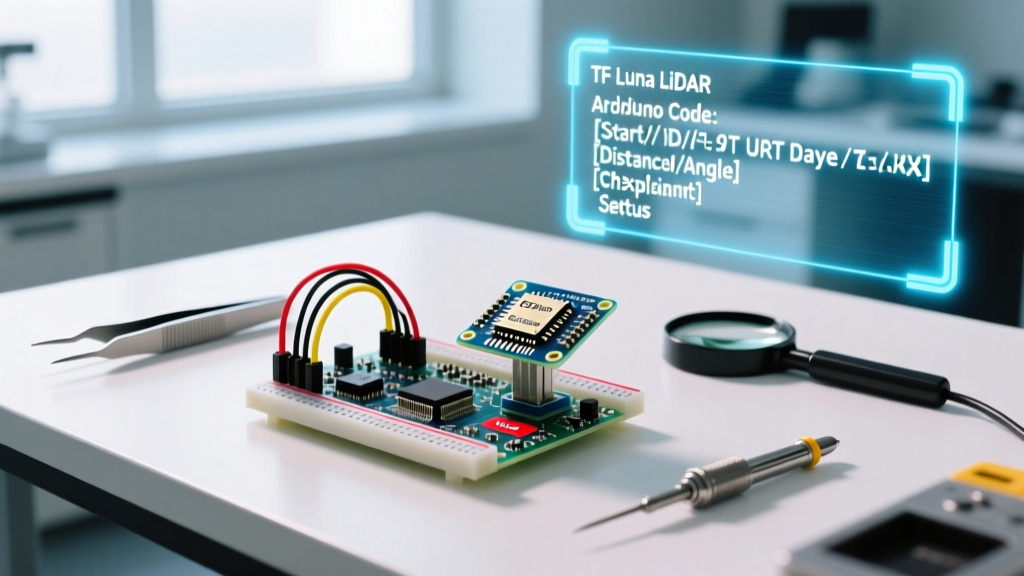

Introduction to the Benewake TF-Luna LiDAR
When building autonomous rovers, indoor drones, or precision altimeters, time-of-flight (ToF) sensors are indispensable. The Benewake TF-Luna has become a staple in the maker and embedded engineering communities due to its compact footprint, 850nm VCSEL (Vertical-Cavity Surface-Emitting Laser) technology, and aggressive price point. As of 2026, you can typically source a genuine TF-Luna for between $18 and $22 USD, making it vastly more accessible than industrial-grade LiDAR modules.
However, simply wiring the sensor to a microcontroller and calling Serial.read() is a recipe for frustration. To build reliable robotics, you must understand the underlying UART protocol, manage logic-level voltages correctly, and implement a non-blocking state machine in your firmware. This guide breaks down the exact TF Luna LiDAR Arduino code and protocol mechanics required to get robust, noise-resistant distance readings.
Hardware Specifications & Operating Limits
Before diving into the code, it is critical to understand the physical and electrical boundaries of the TF-Luna. Pushing the sensor beyond these limits will result in phantom readings or hardware damage.
| Parameter | Specification | Engineering Notes |
|---|---|---|
| Operating Range | 0.2m to 8m | Objects closer than 20cm fall into the optical blind spot due to TX/RX crosstalk. |
| Accuracy | ±6cm (0.2-6m) | Degrades to ±1% at distances between 6m and 8m. |
| Frame Rate | 1Hz to 250Hz | Default is 100Hz. Higher rates require robust UART buffer management. |
| Interface | UART / I2C | UART is default (115200 baud). I2C requires configuration via the Benewake GUI. |
| Logic Level | 3.3V | WARNING: RX/TX pins are NOT 5V tolerant. Level shifting is mandatory for 5V Arduinos. |
| Light Source | 850nm VCSEL | Susceptible to high ambient IR (direct sunlight) which reduces max range. |
Deconstructing the UART Protocol Frame
The TF-Luna outputs data continuously over UART at a default baud rate of 115200 bps. Unlike simple ASCII strings, the sensor transmits a binary 9-byte data frame. If your Arduino code does not properly synchronize with the start of this frame, you will parse garbage data, leading to erratic robot behavior.
According to the Benewake TF-Luna Official Product Page, the 9-byte frame is structured as follows:
- Byte 0 & 1: Header (
0x59,0x59) - Byte 2 & 3: Distance (Little-endian, in centimeters)
- Byte 4 & 5: Signal Amplitude (Little-endian, indicates signal strength)
- Byte 6 & 7: Chip Temperature (Little-endian, in 1/8 Kelvin)
- Byte 8: Checksum (Sum of Bytes 0-7, masked to 8 bits)
The most critical byte for troubleshooting is the Amplitude. If the amplitude drops below 100, the sensor is struggling to resolve the phase shift of the returning 850nm photons, usually due to low-reflectivity targets (like black foam) or heavy infrared interference from sunlight.
Wiring and the 5V Logic Trap
A common failure mode among beginners is frying the TF-Luna's RX pin. While the sensor's VCC pin accepts 5V, the data pins operate strictly at 3.3V CMOS logic. If you are using a 5V Arduino Uno or Nano, connecting the Arduino's TX pin directly to the TF-Luna's RX pin will push 5V into a 3.3V input, eventually degrading or destroying the sensor's internal UART receiver.
Proper Level Shifting
To interface a 5V Arduino with the 3.3V TF-Luna safely, you must step down the voltage on the TX line. You have two reliable options:
- Voltage Divider: Use a 2kΩ resistor in series with the Arduino TX, and a 3.3kΩ resistor to ground. This drops the 5V signal to a safe ~3.1V.
- Logic Level Converter: Use a BSS138-based bi-directional logic level shifter board for clean, high-speed edge transitions, which is recommended if you plan to push the baud rate or use long wire runs.
Note: The TF-Luna TX pin outputs 3.3V, which the ATmega328P on an Arduino Uno reliably reads as a logical HIGH (threshold is typically >2.0V). No level shifting is required on the RX side of the Arduino.
Writing the TF Luna LiDAR Arduino Code
Novice implementations often use blocking delay() functions or assume that if Serial.available() >= 9, the buffer is perfectly aligned with the header. In reality, electrical noise or a missed byte during boot will shift the buffer by one byte, causing every subsequent read to fail the checksum test.
The professional approach is to use a Finite State Machine (FSM). This non-blocking method processes one byte at a time as it arrives, ensuring perfect frame alignment.
The Robust State-Machine Sketch
The following code utilizes the Arduino SoftwareSerial Documentation guidelines to implement a non-blocking parser. For best results on an Arduino Uno, use hardware serial for debugging and SoftwareSerial for the sensor, or upgrade to an Arduino Mega/Teensy for multiple hardware UART ports.
#include <SoftwareSerial.h>

// Define pins (Remember to use a voltage divider on Arduino TX -> Sensor RX)
const int SENSOR_RX = 10;
const int SENSOR_TX = 11;
SoftwareSerial tfLunaSerial(SENSOR_RX, SENSOR_TX);

enum ParseState {
  WAITING_FOR_HEADER_1,
  WAITING_FOR_HEADER_2,
  READING_PAYLOAD,
  VERIFYING_CHECKSUM
};

ParseState currentState = WAITING_FOR_HEADER_1;
uint8_t frameBuffer[9];
uint8_t byteIndex = 0;

// Output variables
int distance_cm = 0;
int amplitude = 0;
bool newDataAvailable = false;

void setup() {
  Serial.begin(115200); // Debug serial
  tfLunaSerial.begin(115200); // Sensor serial
  Serial.println("TF-Luna State Machine Parser Initialized.");
}

void loop() {
  parseTfLunaData();

  if (newDataAvailable) {
    newDataAvailable = false;
    Serial.print("Distance: ");
    Serial.print(distance_cm);
    Serial.print(" cm | Amplitude: ");
    Serial.println(amplitude);
  }

  // Run other robot logic here without blocking
}

void parseTfLunaData() {
  while (tfLunaSerial.available() > 0) {
    uint8_t incomingByte = tfLunaSerial.read();

    switch (currentState) {
      case WAITING_FOR_HEADER_1:
        if (incomingByte == 0x59) {
          frameBuffer[0] = incomingByte;
          currentState = WAITING_FOR_HEADER_2;
        }
        break;

      case WAITING_FOR_HEADER_2:
        if (incomingByte == 0x59) {
          frameBuffer[1] = incomingByte;
          byteIndex = 2;
          currentState = READING_PAYLOAD;
        } else {
          currentState = WAITING_FOR_HEADER_1; // Reset if false header
        }
        break;

      case READING_PAYLOAD:
        frameBuffer[byteIndex] = incomingByte;
        byteIndex++;
        if (byteIndex == 8) {
          currentState = VERIFYING_CHECKSUM;
        }
        break;

      case VERIFYING_CHECKSUM:
        frameBuffer[8] = incomingByte;
        uint8_t checksum = 0;
        for (int i = 0; i < 8; i++) {
          checksum += frameBuffer[i];
        }

        if (checksum == frameBuffer[8]) {
          // Valid frame, extract little-endian data
          distance_cm = frameBuffer[2] | (frameBuffer[3] << 8);
          amplitude = frameBuffer[4] | (frameBuffer[5] << 8);
          newDataAvailable = true;
        }
        currentState = WAITING_FOR_HEADER_1; // Reset for next frame
        break;
    }
  }
}
Edge Cases & Protocol Troubleshooting
Even with perfect code, environmental physics can disrupt ToF sensors. Here is how to handle real-world edge cases in your firmware logic.
1. The 20cm Blind Spot
If an object is placed closer than 20cm to the TF-Luna, the sensor's internal DSP cannot resolve the phase difference between the emitted and reflected VCSEL pulses. The distance output will lock at a previous value or output an error code. Fix: Add a logic check in your code: if (distance_cm < 20) distance_cm = 0; to prevent your rover from thinking a wall is 3 meters away when it is actually touching the bumper.
2. Sunlight and Amplitude Thresholds
The sun emits massive amounts of broadband infrared light, which saturates the TF-Luna's CMOS receiver. When operating outdoors, the sensor may report a distance of 800cm (max range) even if a wall is at 100cm. Fix: Always monitor the amplitude variable. If amplitude < 120, flag the distance reading as unreliable and fall back to an ultrasonic sensor or halt autonomous movement.
3. Checksum Failures and Wire Noise
If your serial monitor shows sporadic distance jumps or the state machine rarely finds a valid checksum, you are likely suffering from electromagnetic interference (EMI) on the UART lines. Fix: Keep UART wires under 50cm. If longer runs are required, use twisted-pair cables and ensure the ground wire is thick enough to prevent ground loops. For further reading on optical sensor limitations, the Wikipedia entry on Time-of-Flight Cameras provides excellent background on ambient IR interference.
Conclusion
Mastering the TF Luna LiDAR Arduino code requires moving beyond simple serial reads and embracing protocol-level parsing. By implementing a finite state machine, respecting 3.3V logic thresholds, and monitoring signal amplitude, you transform a cheap $20 sensor into a highly reliable navigation tool for your embedded projects.