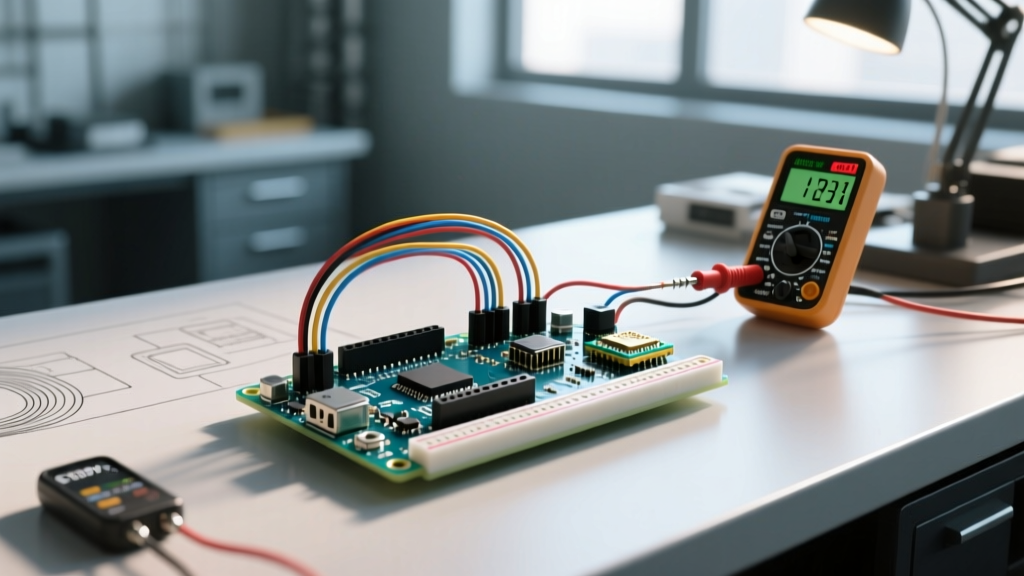

The Reality of I2C Bus Failures on Arduino
The Inter-Integrated Circuit (I2C) protocol is the undisputed workhorse of Arduino sensor networks. Whether you are connecting a BME280 environmental sensor, a PCF8574 LCD backpack, or an MPU6050 IMU, I2C requires only two wires: SDA (data) and SCL (clock). However, beneath this simplicity lies a fragile electrical and state-machine architecture. When an Arduino with I2C stops communicating, the resulting bus lockups or silent failures can halt an entire project.
In 2026, with the widespread adoption of the 3.3V Arduino Uno R4 Minima and WiFi variants alongside legacy 5V ATmega328P boards, mixing logic levels and bus capacitances has become the leading cause of I2C failures. This guide bypasses generic advice and dives deep into the electrical and software root causes of I2C errors, providing exact engineering fixes to get your bus running reliably.
Step Zero: The I2C Scanner Diagnostic
Before modifying hardware or rewriting code, you must establish a baseline. Upload the standard I2C Scanner sketch (available via the Arduino IDE File > Examples > Wire menu). This sketch sweeps addresses from 0x01 to 0x7F. If the serial monitor returns No I2C devices found, or if it hangs indefinitely, you have a physical layer or state-machine failure. Proceed to the specific error profiles below.
Error Profile 1: Silent Dropouts and "No Devices Found"
Root Cause: Missing Pull-Up Resistors or Excessive Capacitance
I2C uses an open-drain architecture. Devices can only pull the SDA and SCL lines LOW; they cannot drive them HIGH. The lines rely on external pull-up resistors to return to the logic HIGH state. While some breakout boards include 10kΩ surface-mount pull-ups, these are often too weak for buses with multiple modules or long wires.
Furthermore, every wire and module adds parasitic capacitance to the bus. According to the NXP I2C Bus Specification (UM10204), the maximum allowable bus capacitance is 400pF for standard-mode (100kHz) operation. If you daisy-chain five sensors on a 30cm ribbon cable, you will easily exceed this limit, causing the rising edges of the SCL clock to slope lazily, resulting in missed bits.
The Fix: Calculate and Install Proper Pull-Ups
Do not guess your resistor values. Use the Texas Instruments Application Note SLVA689 methodology to calculate the optimal pull-up resistor ($R_p$) based on your bus capacitance ($C_b$) and desired rise time ($t_r$).
- Standard Fix: Solder a 4.7kΩ resistor between SDA and VCC, and another between SCL and VCC. This handles most 100kHz setups up to 200pF.
- Fast-Mode (400kHz) Fix: Drop to 2.2kΩ pull-ups to overcome capacitance and achieve the required 300ns rise time.
- Long-Distance Fix: If your wires exceed 50cm, abandon standard pull-ups. Use an active I2C bus extender IC like the P82B96 or LTC4311 (approximately $4.50 per IC), which actively accelerates the rising edge and buffers the capacitance.
Error Profile 2: The Wire.h Library Hang (TWI Lockup)
Root Cause: SDA Stuck LOW During Power Cycling
This is the most notorious software-level failure when using an Arduino with I2C. If the Arduino resets or loses power exactly while a slave device is transmitting a '0' bit, the SDA line is left pulled LOW. When the Arduino reboots and calls Wire.begin(), the internal AVR TWI (Two-Wire Interface) hardware state machine detects the LOW SDA line, assumes the bus is busy, and locks up indefinitely. Your code will freeze on the first Wire.endTransmission() call.
The Fix: Software Bus Clear and Timeouts
To prevent a bricked loop, you must manually toggle the SCL line to force the slave device to release SDA before initializing the Wire library. Add this bus-clearing routine to your setup() function:
// I2C Bus Clear Routine for AVR Lockups
#include <Wire.h>

void clearI2CBus() {
  pinMode(SCL, OUTPUT);
  // Toggle SCL up to 9 times to release a stuck slave
  for (int i = 0; i < 9; i++) {
    digitalWrite(SCL, LOW);
    delayMicroseconds(5);
    digitalWrite(SCL, HIGH);
    delayMicroseconds(5);
  }
  pinMode(SCL, INPUT_PULLUP);
}

void setup() {
  Serial.begin(115200);
  clearI2CBus();
  Wire.begin();

  // Enable hardware timeouts (Arduino AVR Core 1.8.6+)
  Wire.setWireTimeout(25000, true); // 25ms timeout, auto-reset
}
As documented in the official Arduino Wire Library Reference, utilizing Wire.setWireTimeout() is critical for modern robust firmware. It prevents the microcontroller from hanging indefinitely if a bus collision occurs mid-operation.
Error Profile 3: Address Collisions and 7-Bit vs 8-Bit Confusion
Root Cause: Shifting Hexadecimal Paradigms
I2C natively uses a 7-bit addressing scheme, allowing 128 unique addresses (0x00 to 0x7F). However, many silicon manufacturers (and cheap clone module datasheets) list the 8-bit address, which appends the Read/Write bit to the end of the 7-bit address. For example, a common PCF8574 LCD backpack might be listed as 0x4E in a Chinese datasheet, but the Arduino Wire library requires the 7-bit equivalent: 0x27 (0x4E shifted right by 1).
The Fix: Address Mapping and Hardware Jumpers
If the I2C scanner finds the device at an unexpected address, divide the datasheet address by two (or bit-shift right). If you are using multiple identical modules (e.g., three INA219 current sensors), they will all default to 0x40. You must resolve this physically:
- Locate the A0, A1, and A2 solder pads on the breakout board.
- Cut the default trace (if necessary) and solder the pads to VCC or GND to alter the address offset.
- For the INA219, bridging A0 to VCC changes the address to
0x41, allowing up to 16 unique sensors on one bus.
Error Profile 4: Logic Level Mismatches (The Silent Killer)
Root Cause: Mixing 5V and 3.3V Architectures
Connecting a 5V Arduino Uno R3 directly to a 3.3V sensor (like the modern Adafruit BME280 or an ESP8266) without level shifting is a recipe for degraded signals and eventual silicon death. The 3.3V device will output a HIGH signal at 3.3V, which the 5V Arduino might misread as a floating state if the V_IH (Input High Voltage) threshold is strictly 3.0V or higher. Conversely, the Arduino pushing 5V into a 3.3V SDA pin will overstress the slave's internal ESD protection diodes.
The Fix: Bi-Directional Logic Level Translation
Do not use simple resistor voltage dividers for I2C; the parasitic capacitance of the resistors will ruin the bus speed. Instead, use a BSS138 N-channel MOSFET bi-directional logic level converter (available from SparkFun or generic suppliers for roughly $1.50 to $3.00). This circuit safely translates the 5V pull-up side to the 3.3V pull-up side without degrading the open-drain rise times.
I2C Hardware Troubleshooting Matrix
| Symptom on Serial Monitor | Probable Root Cause | Hardware / Software Fix |
|---|---|---|
Hangs on Wire.endTransmission() |
TWI State Machine Lockup (SDA stuck LOW) | Implement SCL toggle routine; enable setWireTimeout() |
| Intermittent "Device Not Found" | Bus Capacitance > 400pF / Weak Pull-ups | Reduce pull-up to 2.2kΩ; use twisted-pair wiring |
| Scanner shows wrong address | 7-bit vs 8-bit datasheet confusion | Divide datasheet hex address by 2 (Bit-shift right) |
| Works on Uno R3, fails on Uno R4 | Logic Level Mismatch (R4 is strictly 3.3V I/O) | Ensure pull-ups tie to 3.3V; use BSS138 level shifter if mixing |
Expert Tip: Never route I2C traces near high-current PWM lines, motor drivers, or switching power supplies. The high dV/dt noise from a motor driver can easily couple into the high-impedance SDA line, triggering phantom clock pulses and corrupting your data payload. If you must run I2C near noise sources, use a shielded twisted-pair cable with the shield tied to ground at one end only to prevent ground loops.
Summary Checklist for a Bulletproof I2C Bus
To ensure your Arduino with I2C operates flawlessly in production or harsh environments, verify these four pillars before finalizing your enclosure:
- Pull-ups Verified: 4.7kΩ for standard setups, 2.2kΩ for fast-mode or multi-drop buses.
- Timeouts Enabled:
Wire.setWireTimeout()is active in your firmware to prevent infinite hangs. - Voltage Matched: Pull-up resistors are tied to the correct logic voltage (3.3V or 5V) matching the master/slave lowest common denominator.
- Capacitance Managed: Total wire length is kept under 50cm, or an active bus buffer IC is deployed for remote sensors.
By treating I2C not just as a software library, but as a sensitive analog electrical bus, you eliminate 99% of the communication errors that plague embedded systems.