
The Hidden Cost of Native tone() in Complex Projects
When developers search for basic arduino code for buzzer applications, they almost universally land on the native tone(pin, frequency, duration) function. While adequate for simple diagnostic beeps, this function harbors a critical architectural flaw for complex, multi-peripheral projects: it monopolizes the ATmega328P's Timer 2 (an 8-bit hardware timer).
According to the official Arduino tone() reference, this timer dependency means you cannot simultaneously use the tone() function alongside libraries that rely on Timer 2. The most common casualty is the widely used IRremote library for infrared decoding. If you attempt to play a melody while receiving IR signals, you will experience silent failures, corrupted IR data, or erratic PWM behavior on pins 3 and 11.
In 2026, with IoT devices routinely combining audio feedback, wireless communication, and sensor polling, relying on blocking, timer-hogging native functions is no longer viable. This deep dive explores advanced library alternatives, RTTTL melody parsing, and the hardware driver topologies required to protect your microcontroller.
Library Comparison Matrix: Native vs. Advanced Alternatives
To resolve hardware timer conflicts and improve audio quality, the open-source community has developed several robust alternatives. Below is a technical comparison of the most reliable buzzer libraries available for AVR and ESP32 architectures.
| Library | Timer Dependency | Audio Quality / Volume | Blocking Behavior | Best Use Case |
|---|---|---|---|---|
| Native tone() | Timer 2 (AVR) | Standard (Single-ended) | Blocks if duration specified | Simple debug beeps |
| NewTone | Timer 1 (AVR) | Standard (Single-ended) | Non-blocking options available | Projects using IRremote (Timer 2) |
| ToneAC | Timer 1 (Push-Pull) | High (Doubled voltage swing) | Non-blocking | Loud alarms, outdoor signaling |
| RTTTL Parser | Varies (User defined) | Complex Polyphony/Melodies | Strictly Non-blocking | UI feedback, complex ringtones |
Push-Pull Audio: The ToneAC Advantage
If your project requires high decibel output without an external amplifier, the ToneAC library is a game-changer. Instead of driving the buzzer between a single GPIO pin and Ground (yielding a maximum 5V peak-to-peak swing on a 5V Arduino), ToneAC uses two pins driven 180 degrees out of phase.
When Pin A goes HIGH (5V), Pin B goes LOW (0V). When Pin A goes LOW, Pin B goes HIGH. This effectively doubles the voltage swing across the piezo transducer to 10V peak-to-peak, resulting in nearly four times the acoustic power output. Note: ToneAC requires the buzzer to be connected between two specific hardware-tied pins (e.g., Pins 9 and 10 on the Uno), as it utilizes the ATmega328P's Timer 1 complementary PWM outputs.
RTTTL: The Secret to Complex Melodies
Hardcoding arrays of frequencies and durations for a melody like the Super Mario theme is tedious and consumes valuable SRAM. The RTTTL (Ring Tone Text Transfer Language) format, originally developed by Nokia, compresses entire songs into a single, human-readable string.
An RTTTL string consists of three sections separated by colons: Name:Defaults:Notes.
- Name: A simple identifier (e.g.,
SuperMario). - Defaults: Sets the default duration (d), octave (o), and beats per minute (b). Example:
d=4,o=5,b=120. - Notes: A comma-separated list of notes, where numbers indicate duration overrides and sharps are denoted by
#. Example:8e6,8e6,8p,8e6.
By utilizing an RTTTL parsing library (such as PlayRtttl or custom state-machine parsers), your arduino code for buzzer melodies can be stored in PROGMEM, freeing up SRAM for network buffers or sensor arrays. The Arduino toneMelody example demonstrates the traditional array method, but migrating to RTTTL strings reduces code footprint by up to 60% for complex arrangements.
Hardware Driver Topologies: Protecting the ATmega328P
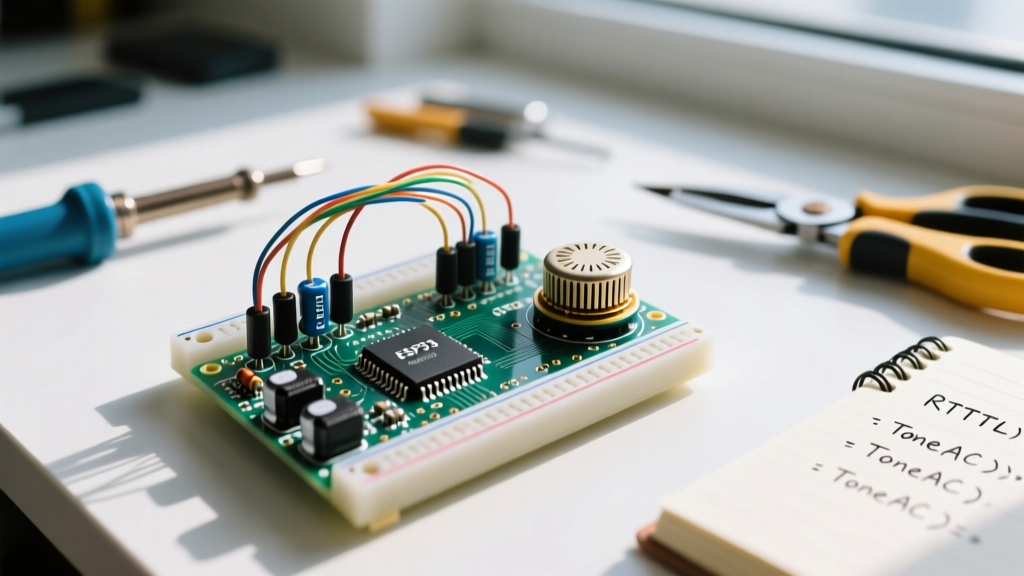
Software optimization is useless if your hardware topology degrades the microcontroller. A common beginner mistake is wiring a piezo buzzer directly to a GPIO pin. While a piezo transducer (like the Murata 7BB-20-6L0, retailing around $0.45 in 2026) draws minimal steady-state current, it acts as a capacitor.
Expert Warning: Driving a piezo directly from an ATmega328P pin can cause high inrush currents and voltage spikes (back-EMF) when the pin switches states. Over time, this degrades the silicon's GPIO junction. Always use a driver circuit for production-grade designs.
The Production-Grade Piezo Driver
- The Transistor Switch: Use a 2N3904 NPN transistor. Connect the Arduino PWM pin to the base via a 100Ω current-limiting resistor.
- The Discharge Resistor: Place a 1kΩ to 4.7kΩ resistor in parallel with the piezo buzzer. This provides a discharge path for the piezo's internal capacitance when the transistor turns off, preventing DC offset buildup and resulting in a crisper, cleaner audio cutoff.
- Current Capacity: The Microchip ATmega328P datasheet specifies an absolute maximum of 40mA per I/O pin, with a recommended operating limit of 20mA. The transistor completely isolates the MCU from the buzzer's transient current demands.
Electromagnetic Buzzer Considerations
If you are using an electromagnetic buzzer (which contains an internal coil and oscillator, typically rated at 8Ω to 16Ω impedance), you must include a flyback diode (such as a 1N4148 or 1N4007) wired in reverse bias across the buzzer terminals. This clamps the inductive voltage spike generated when the magnetic field collapses, protecting your switching transistor from catastrophic avalanche breakdown.
Non-Blocking Execution Pattern
To ensure your buzzer code doesn't halt your main loop, avoid the delay() function entirely. Implement a non-blocking state machine using millis().
Core Logic Flow:
- Store the RTTTL string or melody array in PROGMEM.
- Track
previousMillisandcurrentNoteIndex. - In the
loop(), check ifmillis() - previousMillis >= currentNoteDuration. - If true, advance the index, fetch the next frequency/duration via a lookup table, call
tone()(or your library equivalent), and updatepreviousMillis. - If the end of the melody array is reached, call
noTone()and reset the index.
This pattern allows your microcontroller to simultaneously poll I2C sensors, manage WiFi connections via the ESP32, and handle serial commands while a complex melody plays uninterrupted in the background.
Troubleshooting Common Buzzer Failures
- PWM Whine / High-Pitched Squeal: Often caused by an inadequate PWM frequency or missing parallel discharge resistor on a piezo. Ensure your timer is configured for at least 1kHz - 4kHz base frequency.
- Volume Drops Over Time: Piezo elements can depolarize if subjected to continuous DC voltage or excessive heat. Ensure your driving signal is purely AC (square wave) and never leave a GPIO pin HIGH on a piezo without a discharge path.
- IRremote / Servo Jitter: If your servos twitch when the buzzer plays, you are experiencing a Timer 1 or Timer 2 conflict. Migrate your buzzer code to
NewToneor switch to an ESP32 where hardware LEDC PWM channels are entirely independent of the CPU timers.
Frequently Asked Questions (FAQ)
Can I use an active buzzer to play melodies?
No. Active buzzers contain an internal oscillator circuit and are designed to produce a single, fixed frequency when DC voltage is applied. To play melodies or variable tones via arduino code for buzzer applications, you must use a passive piezo or passive electromagnetic transducer, which relies on the microcontroller to generate the AC square wave.
Why does my ESP32 crash when using the native tone() function?
The ESP32 architecture differs fundamentally from the AVR ATmega328P. On the ESP32, audio generation should be handled by the LEDC (LED Control) peripheral using ledcSetup() and ledcWriteTone(). Using legacy AVR-style tone() wrappers on the ESP32 can cause watchdog timer resets or core panics due to improper interrupt mapping in older ESP32 Arduino core versions (pre-3.0).
How do I increase the volume of a passive piezo without an amplifier IC?
Utilize the ToneAC library to drive the piezo in push-pull mode, effectively doubling the voltage swing. Additionally, mounting the piezo element to a resonant cavity (like a plastic enclosure with a precisely sized acoustic port) can amplify the acoustic output by 10dB to 15dB through Helmholtz resonance principles.