
What Exactly is an Arduino Bootloader?
At its core, an Arduino bootloader is a small piece of firmware residing in a dedicated, protected section of the microcontroller's flash memory. When you power on or reset an ATmega328P, the bootloader executes first. It listens for incoming serial data from the Arduino IDE for a brief window (typically 500ms to 1 second). If it detects a valid upload request, it intercepts the new sketch and writes it to the application flash area. If no upload request is detected, it jumps to the start of your existing application code.
Without this intermediary program, you would need a dedicated hardware programmer (like an AVR ISP MKII or USBasp) connected to the ICSP headers every single time you wanted to update your code. The bootloader enables the convenience of USB-to-Serial uploading. However, bootloaders can become corrupted due to power brownouts during uploads, incorrect fuse configurations, or accidental overwrites via ISP programming. When this happens, your board appears "bricked," and you must manually burn a fresh Arduino bootloader to restore functionality.
Hardware BOM and 2026 Pricing
Before diving into the code and wiring, you need the right hardware. While you can use a dedicated programmer, the "Arduino as ISP" method remains the most accessible and cost-effective approach for hobbyists and rapid prototyping labs.
- Donor Arduino (The Programmer): Any board with an ATmega328P or ATmega16U2 (Uno, Nano, Duemilanove). Cost: ~$12-$18 for clones, $27 for genuine.
- Target Microcontroller: A blank ATmega328P-PU (DIP-28) or a bricked board. In 2026, blank DIP chips from authorized distributors like Mouser or DigiKey cost approximately $3.20 to $3.80 each in single quantities.
- 16MHz Crystal Oscillator & 22pF Capacitors: Required if you are burning the standard Uno bootloader to a bare chip. Cost: ~$0.50 for a kit.
- 10kΩ Resistor: Used as a pull-up on the RESET pin to prevent the donor board from auto-resetting during the burn process.
- Jumper Wires & Breadboard: Standard prototyping gear.
ISP Wiring Matrix
When using an Arduino Uno as an In-System Programmer (ISP), you must map the SPI (Serial Peripheral Interface) pins from the donor board to the ICSP header or raw pins of the target ATmega328P. Miswiring the MISO and MOSI lines is the most common cause of burn failures.
| Donor Arduino (Uno/Nano) | Target ATmega328P (DIP-28) | Function / Notes |
|---|---|---|
| Pin 10 (SS) | Pin 1 (RESET / PC6) | Resets target to enter programming mode |
| Pin 11 (MOSI) | Pin 17 (MOSI / PB3) | Master Out, Slave In (Data to target) |
| Pin 12 (MISO) | Pin 18 (MISO / PB4) | Master In, Slave Out (Data from target) |
| Pin 13 (SCK) | Pin 19 (SCK / PB5) | Serial Clock signal |
| 5V | Pins 7, 20 (VCC, AVCC) | Power supply (Ensure target is not externally powered) |
| GND | Pins 8, 22 (GND) | Common ground reference |
Pro-Tip: If you are programming a bare ATmega328P chip on a breadboard, you MUST connect a 16MHz crystal between pins 9 and 10, with 22pF capacitors tying each crystal leg to ground. Without a clock source, the chip cannot process the SPI instructions, and the burn will immediately fail.
Step-by-Step: Burning the Optiboot Bootloader
The standard Arduino Uno and Nano use Optiboot, a highly optimized bootloader that consumes only 512 bytes of flash memory (compared to the 2KB footprint of legacy bootloaders). Follow these exact steps to burn it via the Arduino IDE.
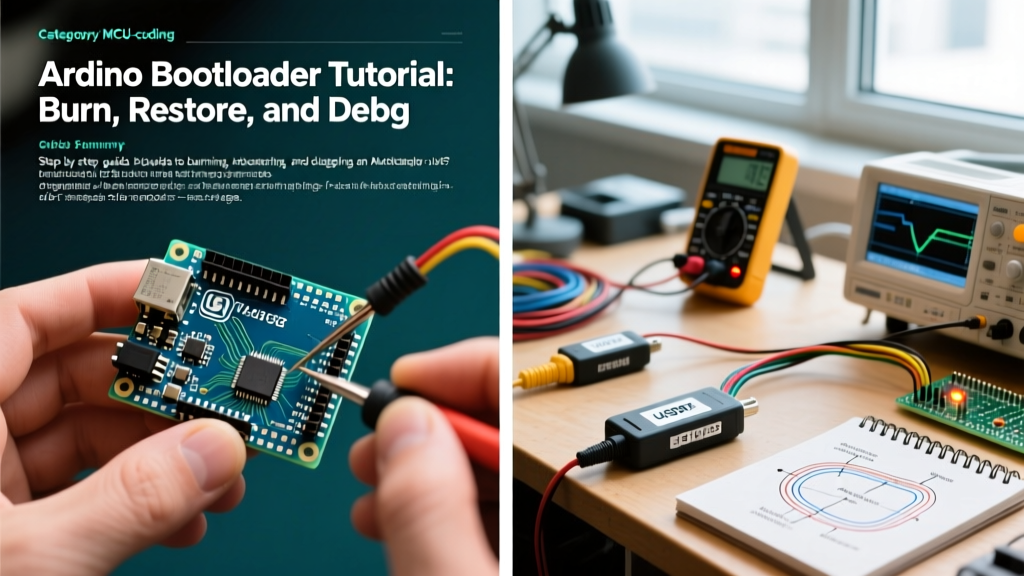
- Prepare the Donor Board: Connect your donor Arduino to your PC via USB. Open the Arduino IDE, navigate to File > Examples > 11.ArduinoISP > ArduinoISP, and upload this sketch to the donor board. This turns your Arduino into a hardware programmer.
- Add the Reset Capacitor (Optional but recommended): Place a 10µF electrolytic capacitor between the RESET and GND pins on the donor Arduino. This disables the auto-reset feature triggered by the serial port, ensuring the donor board stays in ISP mode during the burn. (Alternatively, use the 10kΩ pull-up resistor on the target's reset line).
- Wire the Target: Connect the donor board to the target ATmega328P or bricked board using the ISP Wiring Matrix defined above.
- Configure the IDE: In the Arduino IDE, go to Tools > Board and select the exact target board (e.g., "Arduino Uno"). Then, go to Tools > Programmer and select "Arduino as ISP". Do not select "ArduinoISP"—that is a different, obsolete protocol.
- Execute the Burn: Click Tools > Burn Bootloader. The IDE will invoke
avrdudein the background. You should see the TX/RX LEDs on the donor board flicker rapidly. The process takes about 10 to 15 seconds. - Verify Success: The IDE console will display
avrdude done. Thank you.If you are burning a bare chip, the onboard LED (Pin 13) will now blink at a 1Hz rate, indicating the Optiboot bootloader is running its default heartbeat sequence.
Bootloader Architecture Comparison
Not all Arduino boards use the same bootloader. Understanding the differences is critical when configuring custom boards in the boards.txt file or working with third-party cores.
| Bootloader Name | Target MCUs | Flash Footprint | Communication Interface | Key Characteristics |
|---|---|---|---|---|
| Optiboot | ATmega328P, ATmega168 | 512 Bytes | Hardware UART (Serial) | Fast, lightweight, standard for Uno/Nano. Supports watchdog timer. |
| Caterina | ATmega32U4 | 4 KB | Native USB (CDC) | Used on Leonardo/Micro. Emulates serial over USB. Requires specific VID/PID. |
| Micronucleus | ATtiny85, ATtiny84 | ~2 KB | Native USB (V-USB) | Software USB implementation. Allows tiny AVRs to be programmed directly via USB without a serial adapter. |
| ATmegaBOOT_168 | Legacy ATmega168/328P | 2 KB | Hardware UART | Obsolete. Prone to watchdog reset loops. Replaced by Optiboot in 2011. |
Advanced Troubleshooting: Decoding avrdude Errors
When a bootloader burn fails, the Arduino IDE outputs raw avrdude errors. Knowing how to read these is the difference between a 5-minute fix and hours of frustration. For deeper architectural insights, refer to the official Arduino ISP Documentation.
1. The "Invalid Device Signature" Trap
Error: avrdude: Expected signature for ATmega328P is 1E 95 0F. Double check chip, or use -F to override this check.
Root Cause: The programmer is reading the chip's signature bytes, but they are returning as 0x000000, 0xFFFFFF, or random garbage. This almost always indicates a clocking failure. The ATmega328P ships from the factory configured to use its internal 8MHz RC oscillator. If your boards.txt configuration expects an external 16MHz crystal, but you haven't wired one to the bare chip, the SPI communication timing will be completely out of sync.
Fix: Either wire the 16MHz crystal and caps to the breadboard, or temporarily select a board definition that uses the internal clock (like the "LilyPad Arduino" or a custom raw ATmega328P core) to burn the initial fuses before switching to the Uno profile.
2. Programmer Not Responding
Error: avrdude: stk500_recv(): programmer is not responding
Root Cause: The IDE is trying to talk to the donor Arduino's serial port, but the ArduinoISP sketch isn't running, or the donor board is auto-resetting.
Fix: Verify you uploaded the ArduinoISP sketch (not just opened it). Ensure the 10µF capacitor is placed between RESET and GND on the donor board to defeat the auto-reset circuit.
3. Verification Errors on Fuse Bytes
Error: avrdude: verification error, first mismatch at byte 0x0000 / 0xff != 0xde
Root Cause: The IDE successfully wrote the fuse bytes, but when it read them back to verify, the values didn't match. This often happens if the target chip is locked, or if the SPI clock speed of the programmer is too fast for the target's current clock configuration.
Fix: In the ArduinoISP sketch, locate the SPI_CLOCK definition. If it is set to (1000000), lower it to (125000) to slow down the programming speed, re-upload the ISP sketch, and try burning again.
Fuse Byte Deep Dive
When you click "Burn Bootloader," the IDE doesn't just write the Hex file; it programs the AVR fuse bytes. These fuses dictate the hardware behavior of the chip. For a standard Arduino Uno (Optiboot, 16MHz external crystal), the exact fuse configuration is:
- Low Fuse (0xFF): Configures the clock source to Full Swing Crystal Oscillator, with a startup time of 16K CK + 65ms.
- High Fuse (0xDE): Sets the bootloader size to 512 words (1024 bytes) and enables the BOOTRST fuse, forcing the chip to jump to the bootloader address on reset instead of address 0x0000.
- Extended Fuse (0xFD): Sets the Brown-out Detection (BOD) level to 2.7V, preventing the chip from executing code during voltage drops that could corrupt the flash memory.
Understanding these fuses allows you to create custom hardware profiles. For instance, if you are building a low-power battery node, you might burn a bootloader configured for the internal 8MHz oscillator (Low Fuse: 0xE2) to eliminate the quiescent current draw of the external crystal. Mastery of the Arduino bootloader and its underlying fuse architecture transforms you from a simple sketch uploader into a true embedded systems engineer.