
The Evolution of Visual Microcontroller Programming
In 2026, visual programming for microcontrollers has transcended its educational roots. Modern Arduino block code environments like mBlock 5 and Visuino now compile directly into highly optimized C++ machine code, supporting advanced boards like the Arduino Uno R4 Minima ($20) and the ESP32-S3 ($8). For makers and engineers who prefer visual logic flows over text-based syntax, setting up robust communication protocols—such as UART, I2C, and WiFi—is entirely possible using drag-and-drop blocks.
However, block environments abstract away critical hardware details. This abstraction can lead to silent failures, buffer overflows, and bus collisions if you do not understand what the blocks are doing under the hood. This guide provides a deep-dive communication setup strategy for visual programming environments, focusing on real-world edge cases and hardware-specific configurations.
Selecting Your Block Code Environment
Not all visual programming platforms handle hardware communication equally. Before wiring your sensors and radios, choose the environment that best supports your target protocol.
| Environment | Cost (2026) | Best For | Communication Protocol Support | Compilation Method |
|---|---|---|---|---|
| mBlock 5 | Free | IoT, ESP32 WiFi, General Serial | UART, I2C, SPI, MQTT, HTTP | Interpreted (Live) & Compiled (Upload) |
| Tinkercad Circuits | Free | Simulation, Basic UART | UART, Basic I2C (Simulated) | Simulated AVR GCC |
| Visuino | $39 - $99 | Complex DSP, Advanced I2C/SPI | Full Hardware Abstraction Layer | Native C++ Compilation |
UART (Serial) Communication Setup
Universal Asynchronous Receiver-Transmitter (UART) is the backbone of Arduino debugging and GPS/Bluetooth module integration. When using block code, the primary challenge is managing the hardware serial buffer and understanding environment-specific telemetry hijacking.
The 'Live Mode' vs. 'Upload Mode' Trap
In mBlock 5, users can operate in Live Mode (drag-and-drop blocks while connected to the PC) or Upload Mode (compile blocks to C++ and flash the firmware).
Expert Insight: In Live Mode, mBlock uploads a hidden interpreter firmware to your Arduino Uno. This firmware hijacks the primary hardware UART (Pins 0 and 1) to maintain a constant telemetry stream with your PC. If you attempt to use standard Serial Read/Write blocks to communicate with an external HC-05 Bluetooth module or a NMEA GPS receiver while in Live Mode, your data will collide with the mBlock telemetry stream, resulting in corrupted bytes. Always use Upload Mode for external UART communication, or route external devices through SoftwareSerial blocks on Pins 10 (RX) and 11 (TX).
Step-by-Step UART Configuration (Upload Mode)
- Initialize the Bus: Drag the
Serial.begin(9600)block into theWhen Arduino Powers Onevent. For modern ESP32-S3 boards communicating with high-speed telemetry, increase this to115200. - Buffer Management: Block code often hides the 64-byte TX buffer limit of the ATmega328P. If you use a
Serial.print()block to send a 100-byte JSON string, the last 36 bytes will be truncated. Break long strings into multipleSerial.print()blocks, or use a loop block with a 10-millisecond delay to allow the hardware shift register to clear. - Parsing Incoming Data: Use the
Serial.available() > 0condition block inside aForeverloop. Pair it withSerial.readStringUntil('\n')to capture complete data packets from external sensors without fragmenting the payload.
For deeper hardware-level understanding of buffer limits, refer to the official Arduino Serial Reference.
I2C Bus Configuration & Sensor Polling
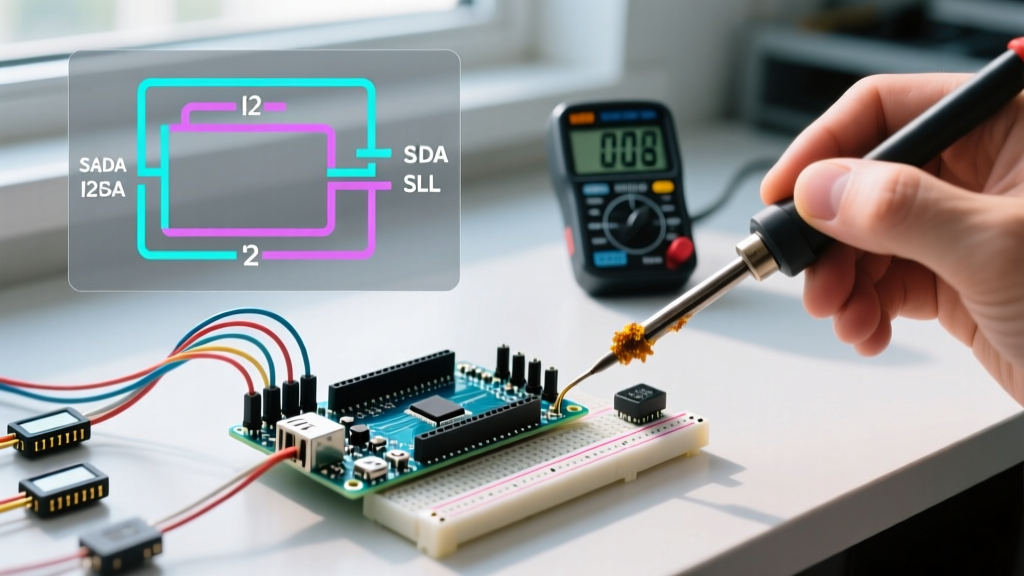
Inter-Integrated Circuit (I2C) allows multiple sensors to share just two wires (SDA and SCL). Setting up I2C in Arduino block code requires careful attention to address formatting and electrical pull-up requirements.
Hexadecimal vs. Decimal Address Translation
Hardware datasheets universally list I2C addresses in hexadecimal (e.g., the BME280 environmental sensor uses 0x76 or 0x77). However, most block code palettes (including Tinkercad and basic mBlock extensions) only accept decimal integers in their I2C address input fields.
- BME280 Default Address:
0x76(Hex) = 118 (Decimal) - MPU6050 IMU Address:
0x68(Hex) = 104 (Decimal) - SSD1306 OLED Display:
0x3C(Hex) = 60 (Decimal)
If your block code fails to initialize the sensor, verify that you have not accidentally typed '76' into a decimal field, which points the microcontroller to the wrong physical chip.
Electrical Edge Cases: Pull-Up Resistors
When you drag an I2C initialization block onto the canvas, the underlying C++ code calls Wire.begin(). This function automatically enables the microcontroller's internal 20kΩ–50kΩ pull-up resistors. While this works for short, single-sensor setups, it fails in complex environments.
Hardware Rule: If your I2C bus exceeds 200pF of capacitance (e.g., using long ribbon cables or connecting more than three sensors), or if you are running the bus at 400kHz (Fast Mode), internal pull-ups are too weak. The SDA/SCL rise times will be too slow, causing NACK (Not Acknowledged) errors. You must manually solder external 4.7kΩ resistors between the SDA/SCL lines and your logic voltage (3.3V or 5V).
Furthermore, never connect a 5V Arduino Uno directly to a 3.3V ESP32 or modern I2C sensor without a bidirectional logic level converter (like the BSS138 MOSFET module, ~$1.50). Block code cannot protect your hardware from overvoltage damage on the SDA line. Review the Arduino Wire (I2C) Library documentation for timing specifics.
Wireless Communication: ESP32 WiFi via Blocks
The ESP32-S3 has become the undisputed king of DIY IoT. Using the mBlock IoT extension, you can establish WiFi and MQTT connections without writing complex C++ socket handlers.
Setting Up MQTT for Smart Home Telemetry
- Install the Extension: In mBlock 5, navigate to Extensions and add the 'IoT' and 'MQTT' modules.
- Connect to AP: Use the
Connect to WiFi [SSID] [Password]block. Add aWait until WiFi Connectedblock immediately after to prevent the code from executing network calls before the DHCP handshake completes. - MQTT Broker Setup: Drag the
Connect to MQTT Broker [IP] Port [1883]block. Use a local broker like Mosquitto running on a Raspberry Pi for zero-latency local control. - Publishing Data: Use a
Foreverloop with aDelay 2000msblock. Inside, useMQTT Publish Topic [sensor/data] Payload [Variable]. Avoid publishing faster than once per 500ms; the ESP32's WiFi stack can drop packets or trigger the hardware watchdog reset if the RF radio is saturated.
Troubleshooting Common Block Code Communication Failures
When visual code fails, the error messages are often less descriptive than a standard C++ compiler. Use this matrix to diagnose communication breakdowns.
| Symptom | Block Code Cause | Hardware / C++ Equivalent Fix |
|---|---|---|
| Serial Monitor outputs gibberish or random symbols. | Baud rate dropdown in the block does not match the external device or serial monitor. | Ensure both the Serial.begin() block and the receiving terminal are set to the exact same rate (e.g., 115200). |
| I2C sensor block returns '0' or '-1' constantly. | Address entered in Hex instead of Decimal, or missing physical pull-up resistors. | Convert Hex address to Decimal. Add 4.7kΩ external pull-ups. Check wiring continuity. |
| ESP32 WiFi block connects, but MQTT payload never arrives. | Missing delay block after WiFi connection; DHCP IP not assigned before MQTT handshake. | Add a Wait 2 seconds block after WiFi connection. Verify router isn't blocking local MQTT port 1883. |
| Program freezes randomly after 5 minutes of Serial logging. | Memory leak caused by string concatenation blocks inside a loop without clearing variables. | Reset string variables to empty after transmission. Use fixed-size character arrays if possible. |
Conclusion
Mastering Arduino block code for communication protocols requires looking past the colorful interface and understanding the underlying hardware realities. By respecting UART buffer limits, correctly translating I2C addresses, managing physical pull-up resistors, and handling WiFi handshake timings, you can build enterprise-grade IoT and sensor networks using visual programming. Whether you are using mBlock 5 for rapid ESP32 prototyping or Visuino for complex signal routing, the key to success lies in combining visual logic with strict hardware discipline.