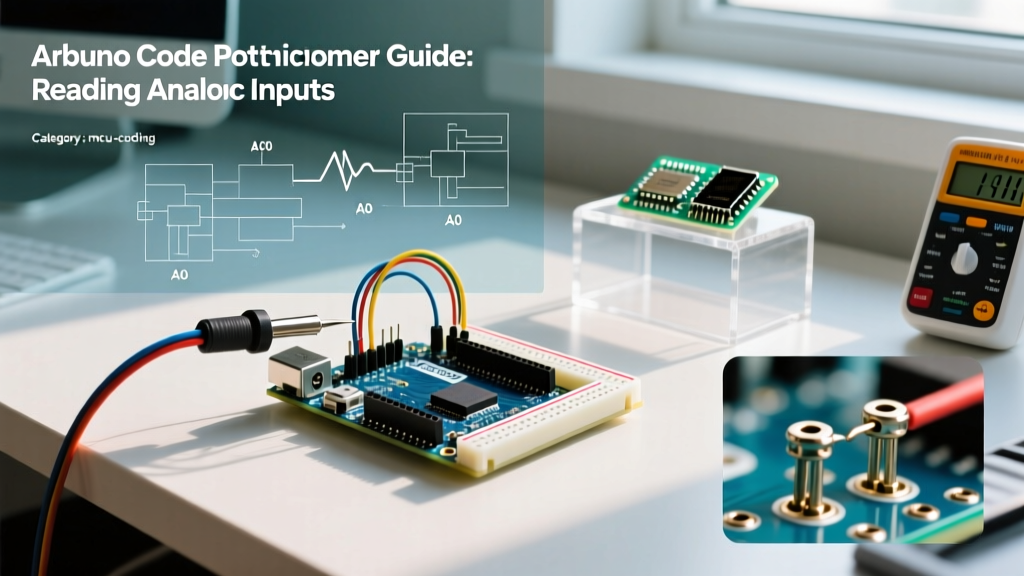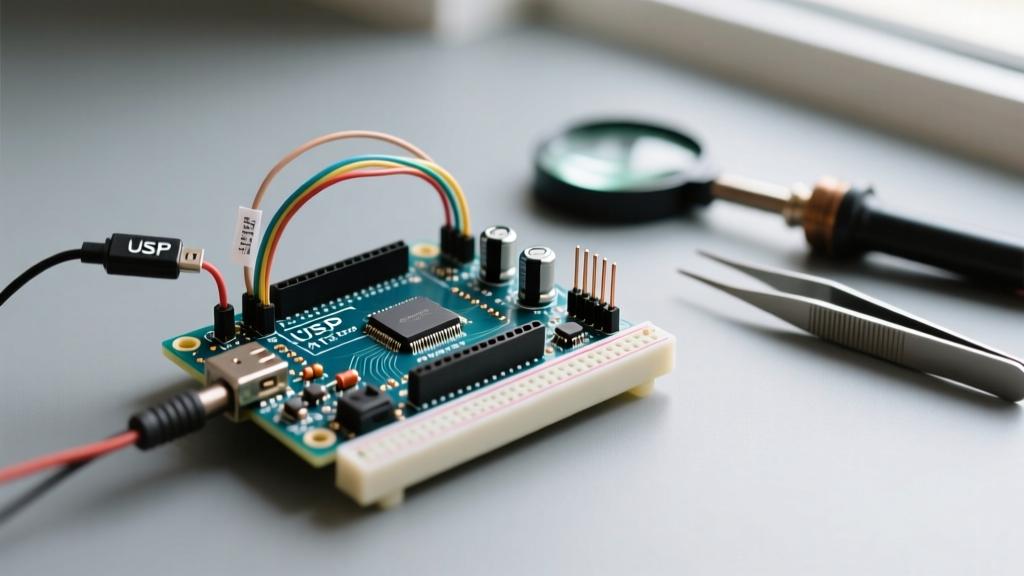

Why Use an Arduino to Arduino Bootloader Setup?
When you buy a fresh ATmega328P microcontroller or accidentally corrupt the firmware on your existing board, you need a way to restore the core communication layer. Performing an Arduino to Arduino bootloader flash is the most cost-effective, accessible method for beginners to revive bricked boards or program bare chips for custom PCB projects. By utilizing In-System Programming (ISP) via the SPI protocol, you can turn a spare, working Arduino into a dedicated hardware programmer, bypassing the need for specialized tools like the Atmel ICE or USBasp.
This guide provides a deep-dive, 2026-updated approach to the ArduinoISP method, addressing modern hardware quirks, exact wiring matrices, and the specific failure modes that trap most beginners.
2026 Hardware Bill of Materials (BOM)
Before diving into the IDE, you must select the correct hardware. As of 2026, the market is flooded with newer ARM and Renesas-based boards (like the Uno R4 Minima), which complicate traditional ISP routines. For this tutorial, you must use an AVR-based board as the programmer.
- Programmer Board: Arduino Uno R3 (ATmega328P) or Nano V3. Pricing: ~$27.00 for genuine, ~$9.00 for CH340-based clones.
- Target Board: Bricked Uno/Nano or a bare ATmega328P-PU DIP chip. Pricing: ~$3.15 per chip on DigiKey/Mouser.
- The Bypass Capacitor: 10µF electrolytic capacitor (Crucial for Uno R3 programmers).
- Breadboard & Jumper Wires: Minimum 6 male-to-male or male-to-female jumpers.
- Bare Chip Extras (If not using a pre-assembled board): 16MHz HC-49S crystal oscillator, two 22pF ceramic capacitors, and one 10kΩ pull-up resistor.
The Critical 10µF Capacitor Trick
The most common point of failure for beginners attempting an Arduino to Arduino bootloader flash is the auto-reset circuit on the Uno R3. When the Arduino IDE initiates the programming sequence, it briefly opens the serial port, which triggers the DTR line and resets the programmer board. If your programmer resets while trying to send SPI data, the process fails immediately.
Expert Fix: Place a 10µF electrolytic capacitor between the RESET and GND pins on the Programmer Uno R3. The negative stripe (cathode) goes to GND. This absorbs the DTR voltage spike, keeping the programmer awake during the ISP handshake. Note: If you are using a Nano V3 as the programmer, you can often bypass this step by disabling the auto-reset trace, but the capacitor method is universally safer.
SPI Wiring Matrix: Programmer to Target
ISP programming relies on the Serial Peripheral Interface (SPI). You must connect the SPI pins of the programmer to the corresponding ICSP headers or GPIO pins of the target. Below is the exact wiring matrix.
| Programmer (Uno R3) | Target (Uno/Nano ICSP Header) | Target (Bare ATmega328P Pins) | Function |
|---|---|---|---|
| Pin 10 (SS) | RESET (Pin 5 on ICSP) | Pin 1 (PC6/RESET) | Target Reset Control |
| Pin 11 (MOSI) | MOSI (Pin 4 on ICSP) | Pin 17 (PB3/MOSI) | Master Out, Slave In |
| Pin 12 (MISO) | MISO (Pin 1 on ICSP) | Pin 18 (PB4/MISO) | Master In, Slave Out |
| Pin 13 (SCK) | SCK (Pin 3 on ICSP) | Pin 19 (PB5/SCK) | Serial Clock |
| 5V | 5V (Pin 2 on ICSP) | Pins 7, 20 (VCC, AVCC) | Power Supply |
| GND | GND (Pin 6 on ICSP) | Pins 8, 22 (GND) | Common Ground |
Note: Always double-check the ICSP header orientation. The small white dot on the PCB silkscreen indicates Pin 1 (MISO). Plugging the cable in backward will cross 5V and GND, potentially destroying the target's voltage regulator.
Step-by-Step Execution
Phase 1: Flash the ArduinoISP Sketch
- Connect your Programmer Uno R3 to your PC via USB. Leave the target disconnected for now.
- Open the Arduino IDE (v2.3+ recommended for 2026).
- Navigate to File > Examples > 11.ArduinoISP > ArduinoISP.
- Verify your Board is set to 'Arduino Uno' and the correct COM port is selected.
- Click Upload. Once the TX/RX LEDs flash and the onboard LED (Pin 9) begins a slow 'heartbeat' pulse, the programmer is ready.
- Disconnect USB, install the 10µF capacitor between RESET and GND on the programmer, and wire the SPI matrix to the target.
- Reconnect the Programmer to USB. The target will now draw power from the programmer's 5V rail.
Phase 2: Configure and Burn
- In the IDE, go to Tools > Board and select the exact board you are trying to restore (e.g., 'Arduino Uno' for a 16MHz external crystal setup).
- Go to Tools > Programmer and select 'Arduino as ISP'. (Warning: Do NOT select 'ArduinoISP'—that is a different, deprecated protocol).
- Ensure the correct COM port for the Programmer is still selected.
- Navigate to Tools > Burn Bootloader.
- The IDE will compile
avrdudecommands in the background. The process takes roughly 15 to 30 seconds. A 'Done' message in the console confirms the fuses are set and the Optiboot bootloader is flashed.
Advanced Edge Case: Bare ATmega328P-PU on a Breadboard
If your target is a bare DIP chip rather than a pre-assembled PCB, the Arduino to Arduino bootloader flash will fail unless you provide an external clock signal and stable logic levels. The ATmega328P ships from the factory configured to use an internal 8MHz oscillator. However, the standard 'Arduino Uno' board definition expects a 16MHz external crystal.
Required Breadboard Additions:
- Clock Circuit: Connect a 16MHz crystal across Pins 9 (XTAL1) and 10 (XTAL2). Connect a 22pF ceramic capacitor from each of these pins to GND.
- Reset Pull-Up: Connect a 10kΩ resistor between Pin 1 (RESET) and 5V. Without this, the chip's reset pin floats, causing random brownouts and ISP sync failures.
- Decoupling: Place a 0.1µF ceramic capacitor as close to the chip's VCC and GND pins as possible to filter high-frequency SPI noise.
For deeper insights into AVR fuse bits and clock configurations, refer to the SparkFun Bootloader Installation Guide, which remains an industry-standard reference for bare-metal AVR setups.
Real-World Troubleshooting & Failure Modes
Even with perfect wiring, avrdude errors are common. Here is how to decode the most frequent failure modes:
- 'avrdude: stk500_recv(): programmer is not responding'
Cause: The programmer auto-reset during the handshake.
Fix: You forgot the 10µF capacitor on the Programmer Uno, or the capacitor is installed with reversed polarity. - 'avrdude: Device signature = 0x000000'
Cause: The target chip is not receiving a clock signal, or MISO/MOSI are swapped.
Fix: If using a bare chip, verify the 16MHz crystal is seated properly in the breadboard (crystals do not work if pushed into the same parallel row). Check SPI wiring continuity with a multimeter. - 'avrdude: Expected signature for ATmega328P is 1E 95 0F'
Cause: You purchased an ATmega328 (without the 'P' for pico-power) or an older ATmega168.
Fix: You must edit theboards.txtfile or use a custom board manager package like MiniCore to define the correct signature. The official avrdude documentation provides extensive tables on overriding device signatures via the command line. - 'Error while burning bootloader: Could not find USBtiny device'
Cause: You selected the wrong programmer in the IDE menu.
Fix: Ensure Arduino as ISP is selected, not 'ArduinoISP' or 'USBtinyISP'.
Final Thoughts on ISP Programming
Mastering the Arduino to Arduino bootloader technique is a rite of passage for embedded systems hobbyists. It bridges the gap between simply uploading sketches via USB and understanding the underlying hardware architecture of the AVR ecosystem. By keeping a dedicated, older AVR-based Uno R3 in your toolkit specifically for ISP recovery, you ensure that a corrupted bootloader never turns a $4 microcontroller into e-waste. For the official schematic and codebase, always consult the Arduino ISP Documentation before modifying the core programmer sketch.