
Introduction to the Arduino Uno Ecosystem
Learning how to program an Arduino Uno is the most reliable gateway into embedded systems, robotics, and IoT prototyping. Whether you are building a simple automated plant waterer or a complex weather station, the Uno remains the industry standard for beginners and professionals alike. However, the transition from unboxing the board to successfully uploading your first C++ sketch is often fraught with hidden hurdles—specifically regarding driver conflicts, cable selection, and IDE configuration.
This guide bypasses the fluff and provides a rigorous, step-by-step technical walkthrough to get your Arduino Uno communicating with your computer and executing code in 2026.
Step 1: Hardware Selection and Verification
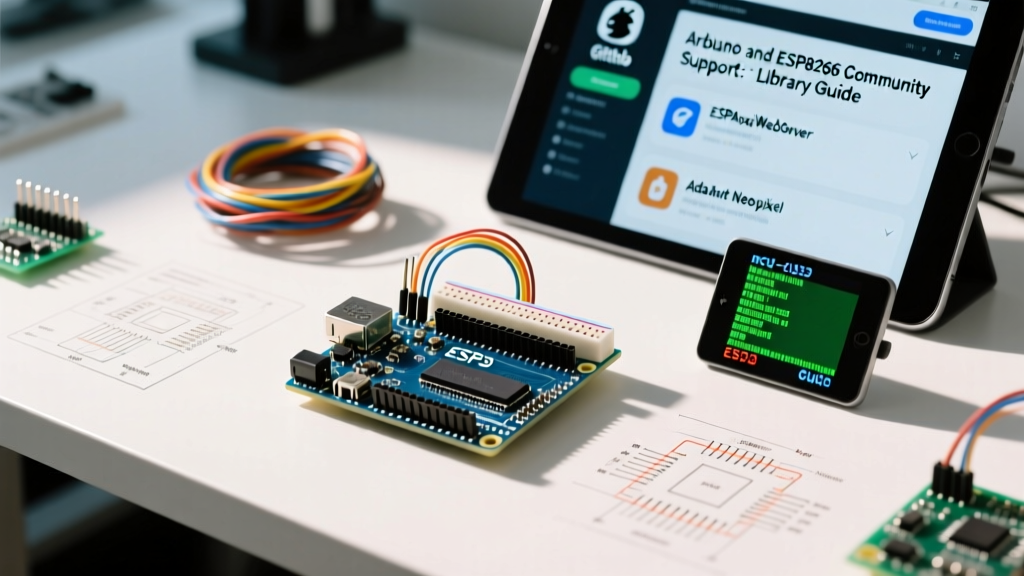
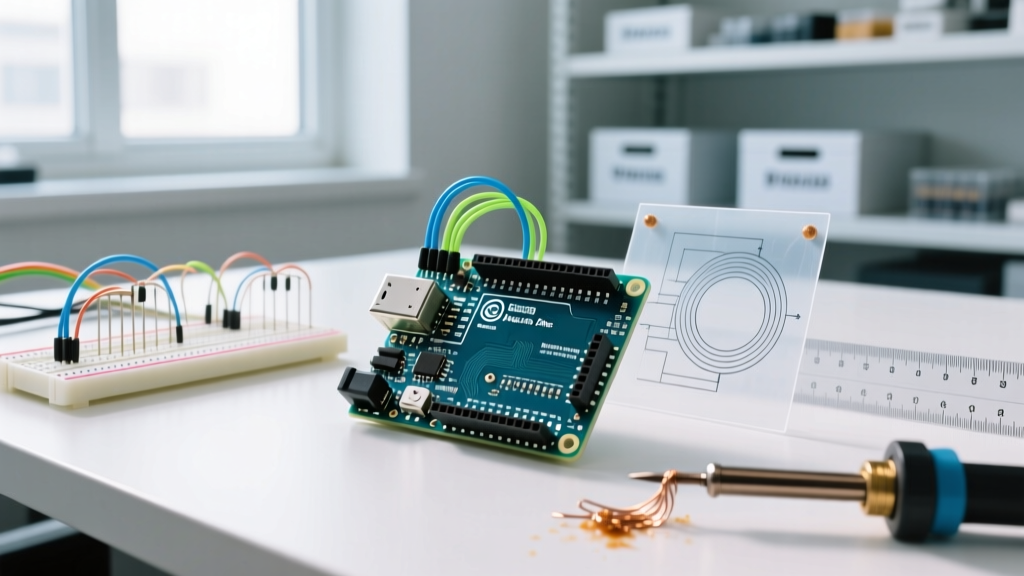
Before writing code, you must identify exactly which version of the Uno you possess. The market is currently split between the legacy Uno R3 and the modern Uno R4 series. Knowing your board dictates your cable requirements and driver installations.
| Board Model | Microcontroller | USB Interface | Avg. Price (Genuine) | Clone Availability |
|---|---|---|---|---|
| Uno R3 | ATmega328P (8-bit AVR) | USB Type-B | $27.00 | High (~$13.00) |
| Uno R4 Minima | RA4M1 (32-bit ARM Cortex-M4) | USB Type-C | $19.90 | Low |
| Uno R4 WiFi | RA4M1 + ESP32-S3 | USB Type-C | $27.50 | Low |
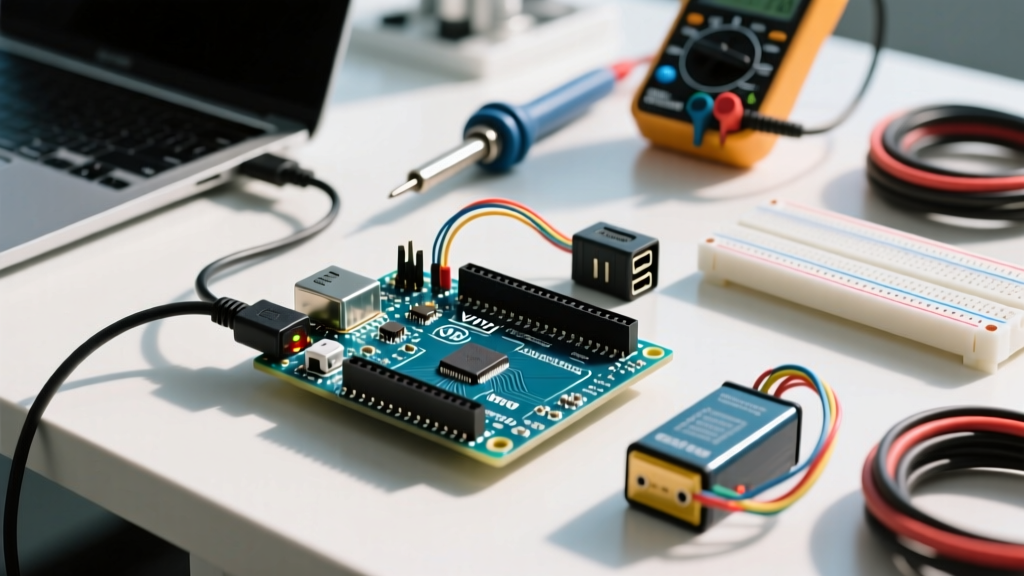
Critical Hardware Warning: If you are using an Uno R3, you must use a USB Type-A to Type-B cable that supports data transfer. Over 40% of beginner failures stem from using a 'charge-only' cable scavenged from an old printer or appliance. If your computer does not make a USB connection sound when plugging in the board, swap the cable immediately.
Step 2: Installing the Arduino IDE
To program the board, you need an Integrated Development Environment (IDE). While cloud-based compilers exist, local development is essential for offline work and advanced library management.
- Navigate to the official Arduino Software Page and download the latest version of the Arduino IDE (currently version 2.3.x or newer).
- Install the IDE on your Windows, macOS, or Linux machine. Windows users should allow the installer to install the default USB drivers when prompted.
- Launch the IDE. The interface is divided into the code editor, the output console (crucial for debugging), and the board selector at the top left.
The 'Clone' Driver Trap: CH340 vs. ATmega16U2
If you purchased a budget-friendly Uno R3 clone (often branded as Elegoo, Smraza, or generic), it likely uses a CH340G USB-to-Serial chip instead of the genuine ATmega16U2 chip found on official boards. Windows 11 sometimes fails to automatically fetch the CH340 driver, resulting in the board not showing up in your COM ports.
How to fix the CH340 Driver Issue:
- Download the official CH340 driver package from a trusted repository like the SparkFun CH340 Installation Guide.
- Run the installer and click 'Install'.
- Restart your computer and reconnect the Arduino. It should now appear in the Windows Device Manager under 'Ports (COM & LPT)' as
USB-SERIAL CH340 (COMx).
Step 3: Configuring the IDE for Your Board
With the IDE open and the board plugged in, you must map the software to the physical hardware.
- Click the Board and Port selector at the top left of the IDE.
- Under the 'Arduino AVR Boards' category, select Arduino Uno (for R3) or navigate to 'Arduino UNO R4 Boards' if you are using the newer ARM-based models. For deeper technical specs on the R4 architecture, refer to the official Uno R4 Minima documentation.
- Select the correct COM port (Windows) or
/dev/cu.usbmodem...(macOS). If the port is grayed out, your cable is charge-only, or your drivers are missing.
Step 4: Anatomy of Your First Sketch
Arduino code, known as a 'sketch', is written in C++. Every sketch requires two fundamental functions to compile: setup() and loop().
The Blink Test Code
Navigate to File > Examples > 01.Basics > Blink. The IDE will populate with the following code:
void setup() {
  pinMode(LED_BUILTIN, OUTPUT);
}

void loop() {
  digitalWrite(LED_BUILTIN, HIGH);
  delay(1000);
  digitalWrite(LED_BUILTIN, LOW);
  delay(1000);
}
Code Breakdown for Beginners
pinMode(LED_BUILTIN, OUTPUT);- This tells the microcontroller to configure the internal LED pin (Pin 13 on R3) as an output, allowing it to send voltage out.digitalWrite(LED_BUILTIN, HIGH);- This sets the pin to 5V (or 3.3V on R4), turning the LED on.delay(1000);- This halts the processor for 1000 milliseconds (1 second). Note thatdelay()is a blocking function; the board cannot read sensors while delaying.
Step 5: Uploading and Verifying Execution
Click the Upload button (the right-facing arrow in the top left toolbar). The IDE will first Verify (compile) the C++ code into machine-readable hex code, and then Upload it via the serial connection.
Visual Feedback: During the upload process, the TX and RX LEDs on the Uno board will flicker rapidly. This indicates serial data transmission. Once complete, the onboard LED should begin blinking at a 1-second interval.
Advanced Troubleshooting: Common Upload Errors
Beginners frequently encounter compilation or upload errors. Here is how to diagnose the three most common failure modes.
Error 1: 'avrdude: stk500_recv(): programmer is not responding'
This is a serial communication timeout. The IDE is trying to talk to the bootloader, but the board isn't answering.
Fix: Ensure you have selected the correct COM port. If the port is correct, press and hold the physical 'RESET' button on the Uno, click Upload in the IDE, and release the RESET button the moment the console says 'Uploading...'. This forces the board into bootloader mode.
Error 2: 'Port grayed out / Board not found'
The operating system does not recognize the USB device.
Fix: 90% of the time, this is a charge-only USB cable. Swap to a verified data-sync cable. If using a clone board, reinstall the CH340 drivers as outlined in Step 2.
Error 3: 'Sketch too big' or Memory Overflow
The ATmega328P on the Uno R3 only has 32KB of Flash memory, with about 31.5KB available for your sketch after the bootloader takes its share.
Fix: Optimize your code by using the F() macro for serial print strings (e.g., Serial.println(F("Hello"));) to store text in Flash memory rather than precious SRAM, or upgrade to an Uno R4 Minima which boasts 256KB of Flash.
Next Steps: Expanding Your I/O
Once you have mastered the Blink sketch and the upload pipeline, the next logical step is interacting with external hardware. You will need a basic electronics kit containing a breadboard, jumper wires, 220Ω resistors, and 5mm LEDs. Always remember to use a current-limiting resistor when wiring external LEDs to the Uno's digital pins to prevent drawing more than the 20mA safe limit per pin, which can permanently damage the microcontroller's GPIO bank.
Frequently Asked Questions
Can I program the Arduino Uno without a computer?
Not directly via the standard IDE, but you can use the Arduino IoT Cloud if you have an Uno R4 WiFi. The R4 allows for Over-The-Air (OTA) updates, meaning you can write code in a web browser and push it to the board via Wi-Fi after the initial setup.
What happens if I wire 5V into a 3.3V pin on the R4?
The Uno R4 Minima operates at 5V logic levels despite using an ARM Cortex-M4 (which natively prefers 3.3V). However, feeding external voltages exceeding 5.5V into the 5V pin, or miswiring the power rails, will bypass the onboard voltage regulator and instantly fry the RA4M1 chip. Always double-check power rails on your breadboard.
Do I need to install Python to use Arduino?
No. The Arduino IDE uses a C++ compiler (avr-gcc for R3, arm-none-eabi-gcc for R4). Python is only required if you are writing external scripts on your PC to communicate with the Arduino via the PySerial library for data logging.