
Welcome to the ARM Era: Your First Steps with the Arduino Uno R4 Minima
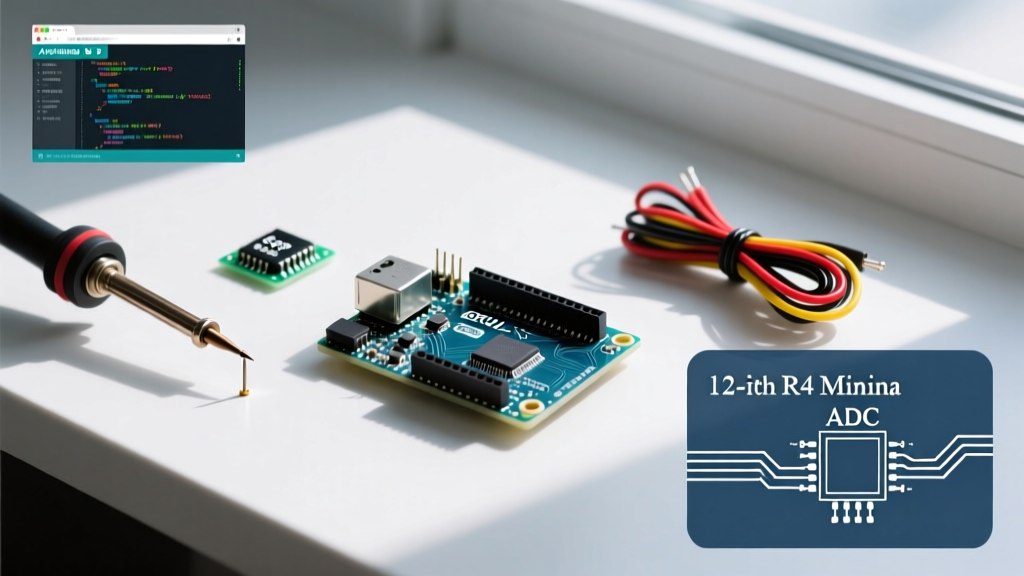
For over a decade, the 8-bit ATmega328P powered the maker movement. But as projects demand faster math, higher-resolution sensors, and native USB capabilities, the 8-bit architecture hits a hard ceiling. Enter the Arduino Uno R4 Minima (Model ABX00080). Priced around $22 USD in 2026, it retains the beloved Uno form factor but swaps the legacy AVR chip for a 32-bit Renesas RA4M1 ARM Cortex-M4 processor running at 48 MHz.
If you are transitioning from an older Uno R3 or starting fresh, this guide will walk you through the critical hardware differences, the notorious 3.3V logic trap, and how to configure the Arduino IDE for your first upload.
The 3.3V Logic Trap: Why Your 5V Sensors Might Fry the Board
Before you wire a single LED, you must understand the most common beginner failure mode with the R4 Minima: GPIO voltage tolerance.
The classic Uno R3 operated at 5V logic. You could plug a 5V HC-SR04 ultrasonic sensor or a 5V I2C LCD directly into the pins without a second thought. The Renesas RA4M1 on the R4 Minima, however, is strictly a 3.3V device.
CRITICAL WARNING: Feeding a 5V signal into any digital or analog input pin on the Uno R4 Minima will permanently damage the microcontroller's silicon. The board does not have internal 5V-tolerant clamping diodes on standard GPIOs.
How to Safely Interface 5V Modules
- Logic Level Shifters: Use a dedicated IC like the CD4050BE (unidirectional) or a BSS138-based bi-directional MOSFET board for I2C lines.
- Resistor Voltage Dividers: For simple one-way signals (like the Echo pin of an ultrasonic sensor), use a 1kΩ and 2kΩ resistor divider to step 5V down to a safe 3.33V.
- Native 3.3V Sensors: Whenever possible, buy 3.3V-native modules (e.g., BME280 instead of DHT11, or modern Qwiic/Stemma QT I2C sensors).
Hardware Tour: What Changed on the PCB?
While the mounting holes and header spacing remain identical to the R3, the silicon and supporting circuitry have been entirely redesigned. For a complete pinout reference, always keep the official Arduino R4 Minima Cheat Sheet bookmarked.
Key Upgrades and Hidden Features
- USB-C Native Interface: The secondary ATmega16U2 USB-to-Serial chip is gone. The RA4M1 handles USB natively, meaning you can program the board to act as a native HID keyboard or mouse without third-party libraries.
- The VUSB Jumper: Look near the USB-C port for a pair of unpopulated pads labeled 'VUSB'. By default, the 5V pin on the header is not powered via USB to protect 3.3V shields. If you need 5V from the USB port to power a relay module, you must solder a jumper across these pads.
- SWD Debugging: Hidden near the center of the board are pads for Serial Wire Debug (SWD). Advanced users can solder a 1.27mm pitch header to attach a J-Link or CMSIS-DAP debugger for hardware-level breakpoint debugging.
Arduino Uno R3 vs. R4 Minima: Specification Matrix
Understanding the raw hardware differences helps you write more efficient code and select the right peripherals.
| Feature | Uno R3 (Legacy) | Uno R4 Minima (ABX00080) |
|---|---|---|
| Microcontroller | ATmega328P (8-bit AVR) | Renesas RA4M1 (32-bit ARM Cortex-M4) |
| Clock Speed | 16 MHz | 48 MHz |
| Flash Memory | 32 KB | 256 KB |
| SRAM | 2 KB | 32 KB |
| Logic Level | 5V Tolerant | 3.3V (Strict) |
| ADC Resolution | 10-bit | 14-bit (Hardware), 12-bit (Default API) |
| DAC (True Analog Out) | None (PWM only) | 12-bit DAC on Pin A0 |
| USB Connector | USB Type-B | USB Type-C |
Step-by-Step: Arduino IDE 2.x Setup
As of 2026, the Arduino IDE 2.3+ is the standard environment. The R4 Minima requires a specific core package to compile code for the ARM architecture.
- Install the IDE: Download the latest Arduino IDE from the official Arduino software page.
- Open Boards Manager: Click the Board Manager icon on the left sidebar.
- Install the Core: Search for 'Arduino UNO R4 Boards' and install the latest release by Arduino.
- Select the Board: Go to Tools > Board > Arduino UNO R4 Boards and select Arduino UNO R4 Minima.
- Verify the Port: Plug the board in via a high-quality USB-C data cable (beware of charge-only cables). Select the COM port that appears under Tools > Port.
Beginner Project: Generating True Analog with the 12-Bit DAC
On the old R3, analogWrite() was a misnomer; it merely output a 490 Hz PWM square wave. The R4 Minima features a genuine 12-bit Digital-to-Analog Converter (DAC) mapped to pin A0. This allows you to output a true, steady DC voltage between 0V and 3.3V, which is invaluable for driving analog synthesizers, legacy audio equipment, or precise voltage references.
Sine Wave Generation Code
The following sketch uses the built-in math library to generate a smooth sine wave on the DAC pin. Because the DAC is 12-bit, the resolution ranges from 0 to 4095 (compared to the 8-bit 0-255 range of the R3).
#include <math.h>

const int dacPin = A0; // The dedicated DAC pin on R4 Minima
const float pi = 3.14159265;

void setup() {
  // No pinMode needed for the dedicated DAC pin
  analogWriteResolution(12); // Set DAC to 12-bit resolution (0-4095)
}

void loop() {
  for (int i = 0; i < 360; i++) {
    // Calculate sine value (-1.0 to 1.0), scale to 0-4095
    float rad = i * (pi / 180.0);
    int dacValue = (int)((sin(rad) + 1.0) * 2047.5);

    analogWrite(dacPin, dacValue);
    delayMicroseconds(50); // Controls the frequency of the wave
  }
}
Pro Tip: If you connect an oscilloscope to A0, you will see a perfectly smooth sine wave, completely free of the high-frequency PWM noise that plagued the older Uno boards.
Unlocking Advanced Peripherals: CAN Bus and Op-Amp
The Renesas RA4M1 is a powerhouse that includes peripherals rarely seen at this price point. While the Arduino hardware documentation outlines the basics, here is what you need to know to actually use them:
- CAN Bus: The MCU has a native CAN controller, but it lacks the physical transceiver. To connect your Uno R4 Minima to a car's OBD-II port or industrial machinery, you must wire an external transceiver like the MCP2551 or TJA1050 to the designated CAN TX/RX pins.
- Internal Op-Amp: The chip includes a programmable gain amplifier (PGA). You can route weak analog signals (like those from a raw thermocouple or strain gauge) directly into the chip and amplify them internally before they hit the 14-bit ADC, eliminating the need for external op-amp ICs like the LM358.
Frequently Asked Questions (FAQ)
Can I use my old 5V shields on the Uno R4 Minima?
Physically, yes. Electrically, it depends. If the shield only draws power from the 5V pin and sends 5V signals back to the GPIOs, it will damage the board. Shields designed for the 3.3V Arduino Due or Zero will work perfectly. Always check the logic voltage of the shield's data pins.
Why isn't my board showing up in the IDE?
90% of connection issues stem from using a 'charge-only' USB-C cable that lacks internal data wires. Swap to a verified data cable. Additionally, if you uploaded code that crashes the USB stack (e.g., an infinite loop blocking the USB task), double-tap the reset button quickly to force the board into bootloader mode, then re-select the port.
Is the R4 Minima compatible with standard Arduino libraries?
Most modern, well-maintained libraries (like Adafruit's sensor suites or FastLED) have been updated to support the ARM Cortex-M4 architecture. However, highly specific legacy libraries that use direct AVR register manipulation (e.g., PORTB |= (1 << PB5)) will fail to compile and must be rewritten using standard digitalWrite() or ARM CMSIS equivalents.