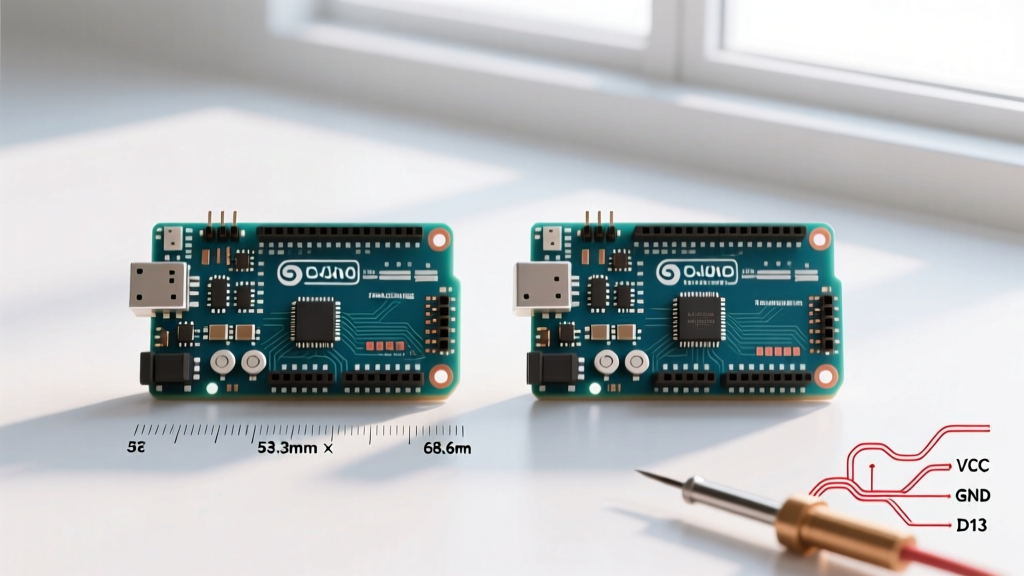

The Mechanical Legacy: Why Arduino Uno R3 Size Still Matters in 2026
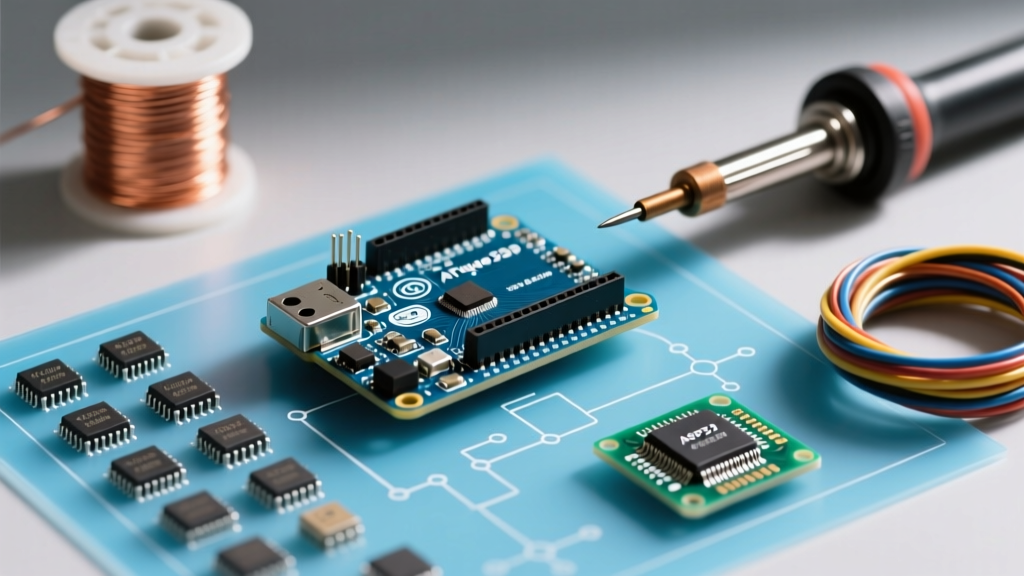
Even as the microcontroller landscape evolves with the release of the Arduino Uno R4 and advanced ESP32 variants, the physical Arduino Uno R3 size remains the undisputed mechanical benchmark for the DIY electronics industry. Measuring exactly 68.6 mm by 53.4 mm (2.7 x 2.1 inches), this footprint dictates the design of thousands of third-party CNC shields, relay modules, 3D-printed enclosures, and laser-cut acrylic cases. When sourcing boards for a project, makers are immediately confronted with a choice: purchase an official/premium board or opt for a budget clone. While the silicon might perform identically, the physical dimensional tolerances between a $5 clone and a $30 premium board can make or break your hardware integration.
In this guide, we deconstruct the exact dimensional specifications of the Uno R3 form factor, analyze where budget manufacturers cut corners on physical sizing, and provide a decision framework for selecting the right board based on your enclosure and shield requirements.
The Official Blueprint: Deconstructing the Footprint
To understand where deviations occur, we must first establish the baseline. According to the official Arduino mechanical specifications, the board is defined by three critical axes.
X and Y Axis: The 2D Footprint and Header Spacing
The overall board dimensions are strictly 68.6 mm (length) by 53.4 mm (width). However, the most critical X/Y measurement for shield compatibility is the distance between the two long parallel header rows. This inner span must be exactly 48.26 mm (1.9 inches). Furthermore, the four mounting holes are positioned to accommodate standard M3 or #4-40 screws, with the top holes spaced 58.4 mm apart. Any deviation in these metrics prevents rigid shields from seating properly.
Z Axis: The Hidden Height Traps
The Z-axis (height) is where budget clones most frequently fail. The standard height from the bottom of the PCB to the top of the USB-B port is approximately 11.5 mm. The DC barrel jack sits at a similar profile. Premium boards maintain strict Z-axis uniformity, ensuring that when you stack a shield or mount the board in a low-profile enclosure, no components collide with the casing roof.
Budget Clones ($4–$9): Where the Dimensions Drift
Budget clones, typically utilizing the CH340G USB-to-serial chip and manufactured on high-volume, low-margin assembly lines, often treat the Arduino Uno R3 size as a 'suggestion' rather than a strict rule. While they will successfully blink an LED, their physical deviations cause severe mechanical headaches.
- The USB-B Overhang: On official boards, the USB-B connector is flush with or recessed slightly from the 68.6 mm board edge. On 80% of budget clones, the USB port protrudes 1.5 mm to 2.0 mm past the PCB edge. If you are designing a flush-mount 3D-printed enclosure, this overhang will prevent the back panel from closing.
- Header Row Skew: Cheap PCB routing and manual header soldering often result in the 48.26 mm header span being off by 0.5 mm to 1.0 mm. While flexible jumper wires don't care, rigid PCB shields (like the Adafruit Motor Shield) will bind, requiring you to bend the shield's header pins to force a fit.
- DC Barrel Jack Shift: Budget clones frequently shift the 5.5x2.1mm DC barrel jack 1 mm to the left or right to accommodate cheaper trace routing. This misalignment ruins compatibility with pre-cut acrylic enclosures that feature precise side-panel cutouts for power access.
Pro-Tip for Clone Users: If you must use budget clones for a custom 3D-printed enclosure, always print a 'tolerance test ring' and measure your specific clone's USB overhang before slicing the final back-panel STL. Never assume the 68.6 mm length includes the ports on a sub-$8 board.
Premium and Official Boards ($28–$35): Guaranteed Tolerances
When you purchase an official Arduino Uno R3, or a premium third-party equivalent like the Seeeduino V4.2 or Pololu A-Star, you are paying for mechanical precision. These manufacturers use automated, high-tolerance PCB routing and reflow soldering processes that guarantee the Arduino Uno R3 size down to a fraction of a millimeter.
Premium boards feature plated mounting holes with precise 3.2 mm diameters, ensuring a snug fit for M3 standoffs without cracking the PCB laminate. The USB and DC ports are sourced from premium suppliers (like Amphenol or Molex) that adhere strictly to the Z-axis height limits. Furthermore, premium boards often feature a 0.1-inch (2.54 mm) grid alignment for all components, meaning that if you are designing a custom daughterboard or perf-board shield, the physical geometry will perfectly mirror your CAD files.
Dimensional Comparison Matrix
| Feature / Metric | Budget Clone (CH340G) | Official / Premium R3 | Impact on Project |
|---|---|---|---|
| Overall Length (X-Axis) | 68.6 mm + 2.0 mm (Port overhang) | Strict 68.6 mm (Flush ports) | Clone overhang breaks flush-mount enclosures. |
| Header Span (Inner) | 47.8 mm - 48.8 mm (Inconsistent) | Exact 48.26 mm (1.9 inches) | Clone skew causes rigid shield pin-binding. |
| Mounting Hole Diameter | 3.0 mm - 3.4 mm (Unplated) | 3.2 mm (Plated & Grounded) | Clone holes may crack under M3 screw torque. |
| Z-Axis Port Height | 11.5 mm - 13.0 mm (Variable) | Strict 11.5 mm | Tall clone ports block low-profile acrylic lids. |
| PCB Thickness | 1.2 mm - 1.6 mm | 1.6 mm (Standard FR4) | Thin clone PCBs flex and snap under heavy shields. |
Real-World Fitment Failures (Edge Cases)
To illustrate why the Arduino Uno R3 size tolerances matter, consider these common failure modes encountered in professional and advanced hobbyist projects:
1. The CNC Shield Stress Fracture
When stacking a rigid aluminum-base CNC shield onto a budget clone with a skewed header span, the shield's female headers act as a lever. Forcing the shield down applies lateral stress to the clone's male header solder joints. Over time, thermal cycling (heating and cooling during operation) causes these stressed joints to develop micro-fractures, leading to intermittent stepper motor stalling.
2. The Hammond Enclosure Gap
Industrial prototypers often use standardized enclosures, such as those from Hammond Manufacturing's 1593 series, which are designed with internal PCB slots spaced exactly for the 53.4 mm Uno width. Budget clones sometimes feature wider silkscreen borders or poorly trimmed FR4 edges measuring 54.0 mm, causing the board to wedge into the plastic slots and crack the enclosure walls during insertion.
3. The Acrylic Laser-Cut Misalignment
Laser-cut acrylic cases rely on precise 2D CAD drawings. If your CAD assumes the DC barrel jack is exactly 10.5 mm from the bottom edge, but your budget clone shifts it to 12.0 mm, the power plug will physically collide with the acrylic side panel, forcing you to manually file the plastic or abandon the case entirely.
Decision Framework: Which Should You Buy?
Choosing between budget and premium boards shouldn't just be about the silicon; it must factor in your mechanical integration needs.
Choose Budget Clones When:
- You are prototyping on a solderless breadboard using flexible jumper wires.
- You are designing a custom 3D-printed enclosure and can measure your specific board to adjust the CAD model before printing.
- The project is a temporary proof-of-concept where mechanical longevity is irrelevant.
- Cost is the primary constraint, and you are buying in bulk for educational kits.
Choose Official / Premium Boards When:
- You are stacking multiple rigid shields (e.g., Motor Shield + GPS Shield) where header alignment is critical.
- You are using off-the-shelf, pre-manufactured enclosures (like Adafruit or Hammond) that rely on exact 68.6 x 53.4 mm tolerances.
- The project is a permanent installation (e.g., home automation control panel, CNC router) subject to vibration and thermal cycling.
- You require plated mounting holes for secure grounding to a metal chassis.
Ultimately, while the silicon on a $5 clone might execute your C++ code perfectly, the physical Arduino Uno R3 size deviations can turn a simple assembly process into a mechanical nightmare. By understanding these tolerances, you can select the right board tier for your specific hardware integration, saving hours of frustration and ensuring a professional, reliable final product.