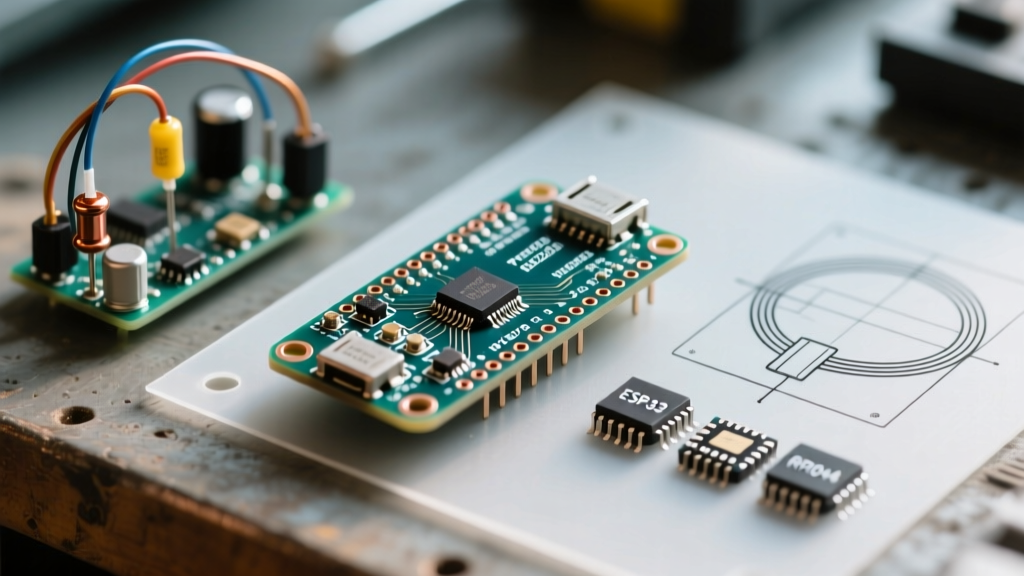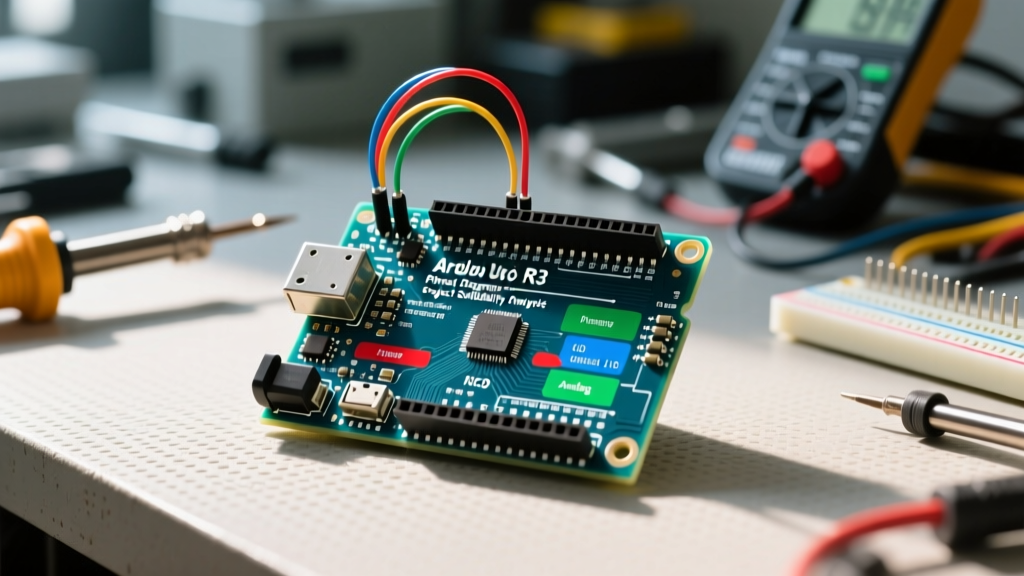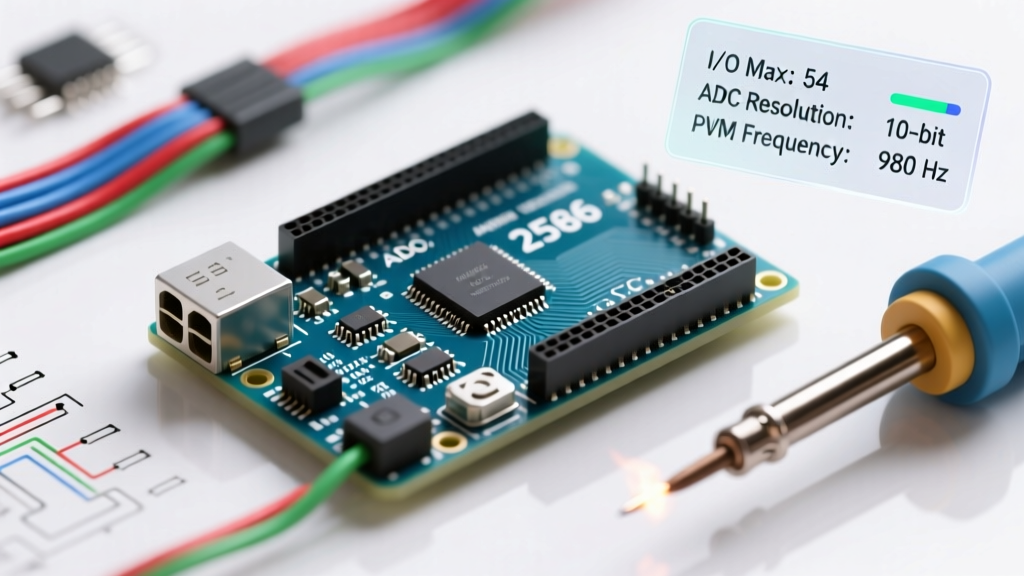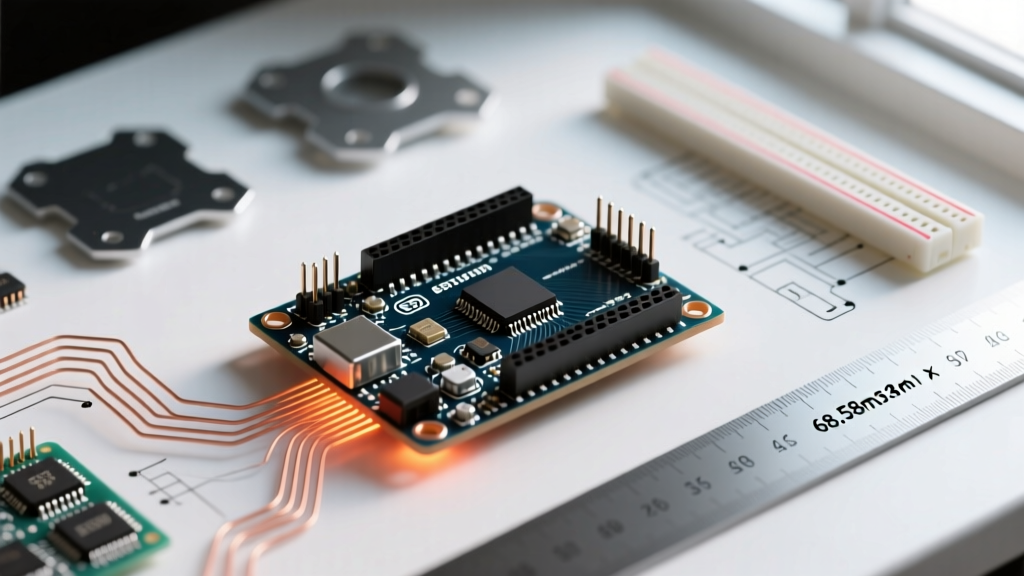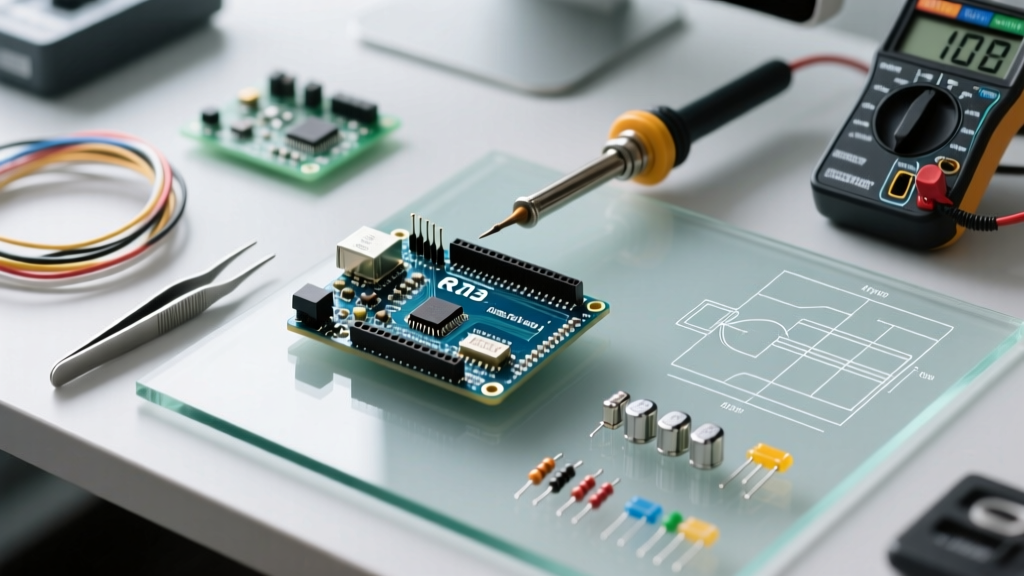

The microcontroller landscape in 2026 is heavily populated with Wi-Fi-enabled ESP32-S3 modules, dual-core Raspberry Pi Picos, and advanced AI-edge boards. Yet, for pure educational value, hardware debugging, and 5V logic compatibility, the classic AVR-based board remains the undisputed king of introductory electronics. Selecting the right arduino uno r3 kit starter is the most critical decision a beginner will make, as the quality of the bundled components directly dictates the frustration level of early projects.
In this comprehensive review, we dissect the top starter bundles available on the market, comparing official hardware against third-party clones, analyzing component failure modes, and providing a framework to choose the exact kit that matches your learning style and budget.
The Anatomy of a Quality Arduino Uno R3 Kit Starter
Not all kits are created equal. A premium bundle is defined by three core pillars: board authenticity, passive component durability, and tutorial depth. The heart of the board is the ATmega328P microcontroller. While the silicon itself is identical across official and cloned boards, the supporting circuitry—specifically the USB-to-Serial bridge and the voltage regulation—varies wildly.
Expert Note: The USB Interface Divide
Official boards utilize the ATmega16U2 chip for USB-to-Serial conversion, which acts as a native USB device and is universally recognized by modern operating systems without extra drivers. Most budget-friendly clones replace this with the CH340G or CH340C chip to cut costs. While the CH340 is perfectly functional for serial communication, it requires manual driver installation on older systems and lacks the native USB HID capabilities of the 16U2, meaning you cannot easily turn the board into a custom keyboard or mouse.
2026 Market Comparison: Top 3 Arduino Uno R3 Kit Starter Bundles
To help you navigate the market, we tested the three most prominent kits available in 2026, evaluating their hardware reliability, component selection, and instructional materials.
| Kit Name | Board Authenticity | USB Interface IC | Component Count | Est. Price (2026) |
|---|---|---|---|---|
| Official Arduino Starter Kit | 100% Genuine (Italy) | ATmega16U2 | 100+ | $105 - $115 |
| Elegoo Super Starter Kit | High-Quality Clone | CH340G | 200+ | $35 - $42 |
| RexQualis Advanced R3 | High-Quality Clone | CH340G | 150+ | $45 - $50 |
1. The Official Arduino Starter Kit (English)
Priced at a premium $105 to $115, the official kit is the gold standard for educators and absolute beginners who want a frictionless experience. The hardware is manufactured in Italy, featuring the genuine ATmega16U2 USB bridge and a high-quality 16MHz quartz crystal oscillator. The standout feature is the included 170-page project book, which is widely considered the best pedagogical resource in the maker space. It teaches C++ programming and circuit theory simultaneously, moving from basic LED blinks to complex motorized logic gates.
2. Elegoo Super Starter Kit for UNO R3
At $35 to $42, Elegoo dominates the value segment. Their R3 clone is exceptionally well-built, utilizing the CH340G USB interface and a 16MHz ceramic resonator (which is slightly less temperature-stable than a quartz crystal, but perfectly fine for indoor hobbyist use). The kit includes over 200 components, notably featuring a high-quality 830-tie-point breadboard, a diverse array of transistors, and an RFID module. As detailed in the Arduino Uno R3 Official Documentation, the R3 footprint is standardized, meaning Elegoo's board is 100% compatible with all official shields.
3. RexQualis Advanced R3 Starter Kit
Falling in the $45 to $50 range, RexQualis targets the intermediate beginner who wants to skip basic LEDs and jump straight into home automation. This kit includes heavier-duty components like 5V relay modules, a matrix keypad, and a water level sensor. The tutorial quality is decent, though it relies heavily on PDF downloads rather than a polished physical book.
Component Quality & Failure Modes: What Cheap Kits Hide
When evaluating an arduino uno r3 kit starter, the board itself is rarely the first thing to fail. The weak links are almost always the passive accessories. Here are the specific failure modes we observe in budget kits:
- Breadboard Contact Fatigue: Sub-$30 kits often use breadboards with thin, stamped metal contacts instead of phosphor bronze. After inserting and removing jumper wires a dozen times, the contacts lose their spring tension, resulting in contact resistance exceeding 1 ohm. This causes mysterious voltage drops on the 5V logic rail, leading to erratic sensor readings.
- Jumper Wire Crimp Failures: In low-tier kits, the metal pin inside the plastic boot of male-to-male jumper wires is poorly crimped. Bending the wire near the connector breaks the internal copper strand, creating an intermittent open circuit that is a nightmare to debug.
- USB-B Connector Desoldering: The classic Uno R3 uses a USB Type-B connector. Because it protrudes from the board edge, inserting a stiff cable at an angle applies immense mechanical leverage to the four surface-mount solder pads. Over time, the shield pops off the board. Genuine boards use reinforced through-hole anchor tabs; cheap clones often skip this reinforcement.
Step-by-Step: Verifying Your Kit's Hardware Health
Upon unboxing your kit, perform these three diagnostic steps to ensure your hardware is functioning correctly before you begin writing code. You will need a basic digital multimeter for step three.
- The Bootloader Blink Test: Plug the board into your PC. The onboard LED marked 'L' (connected to digital pin 13) should immediately begin fading in and out (the 'Breathe' effect). This confirms the ATmega328P is receiving power, the 16MHz clock is oscillating, and the factory bootloader is intact.
- COM Port Verification: Open the Device Manager (Windows) or System Information (macOS). If using an official board, it will appear as 'Arduino Uno'. If using a clone, it will appear as 'USB-SERIAL CH340'. If it shows as an 'Unknown Device', you must download the appropriate drivers, as outlined in SparkFun's Guide to CH340 Drivers.
- 5V Rail Measurement: Set your multimeter to DC Voltage. Place the black probe on any 'GND' pin and the red probe on the '5V' pin. The reading should be between 4.8V and 5.1V. If it reads below 4.5V, the board's onboard 5V linear regulator (usually an NCP1117) is defective or overheating.
Software Setup in 2026
Regardless of which hardware bundle you choose, the software ecosystem remains unified. You will need to download the latest IDE from the Arduino IDE Software Page. In 2026, the Arduino IDE 2.x series is the standard, featuring an integrated serial plotter, real-time syntax highlighting, and board manager support that makes compiling for the AVR architecture seamless. Ensure you select 'Arduino Uno' under the Boards menu, even if you are using an Elegoo or RexQualis clone, as the underlying ATmega328P architecture is identical.
Final Verdict: Which Kit Should You Buy?
If you are an educator, a parent buying for a child, or a professional who values time over money, the Official Arduino Starter Kit is the undisputed winner. The lack of driver troubleshooting and the brilliance of the physical project book justify the $110 price tag.
However, for hobbyists, college students, and self-taught engineers on a budget, the Elegoo Super Starter Kit offers the highest return on investment. At roughly $38, it provides a robust clone board and a massive component library that will sustain your learning for months. Just be prepared to spend five minutes installing the CH340 drivers before your first upload.