
The Arduino Nano PWM Landscape in 2026
When designing embedded systems that require precise motor control, LED dimming, or analog signal simulation, Pulse Width Modulation (PWM) is your most critical tool. However, not all microcontrollers handle PWM equally. If you are building a project centered around the Arduino Nano PWM capabilities, you are immediately faced with a hardware fork in the road: do you use a $4 budget clone, or invest in a $21 premium official board like the Nano ESP32 or Nano Every?
This guide breaks down the technical realities, hidden limitations, and real-world costs of budget versus premium Arduino Nano boards specifically through the lens of PWM performance. We will explore timer architectures, resolution limits, and edge cases that separate hobbyist prototypes from production-ready designs.
Understanding the Baseline: How PWM Works on the Nano
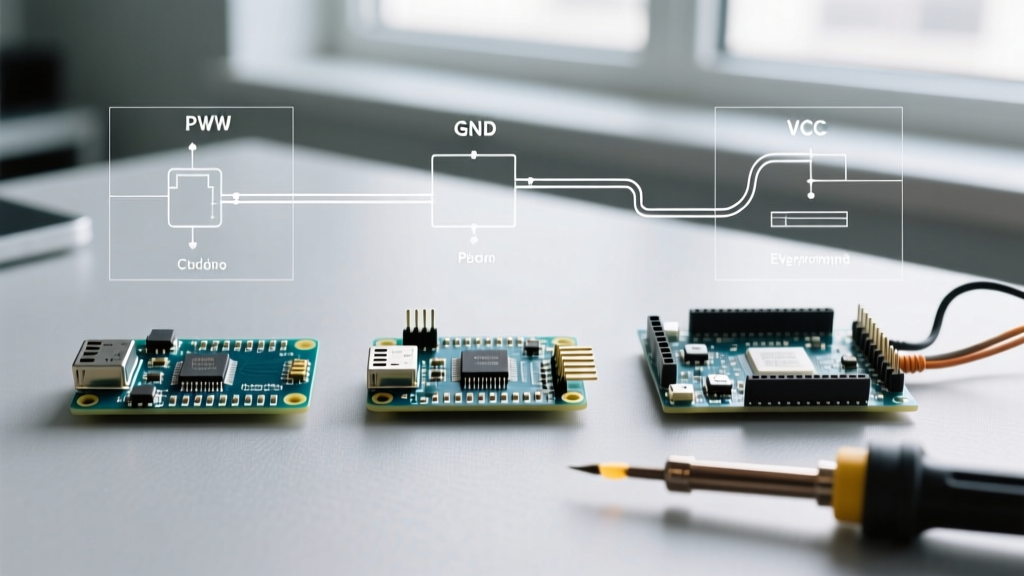
At its core, PWM on an Arduino Nano involves rapidly toggling a digital pin HIGH and LOW. The ratio of HIGH time to the total period is the duty cycle, which dictates the effective analog voltage output. However, the underlying hardware timers dictate the frequency and resolution of this signal. Modifying these timers allows you to change the Arduino Nano PWM frequency, but doing so blindly can break core Arduino functions like delay() and millis().
The Contenders: Budget vs. Premium Hardware
Before diving into register-level configurations, let us establish the hardware we are comparing in the current market.
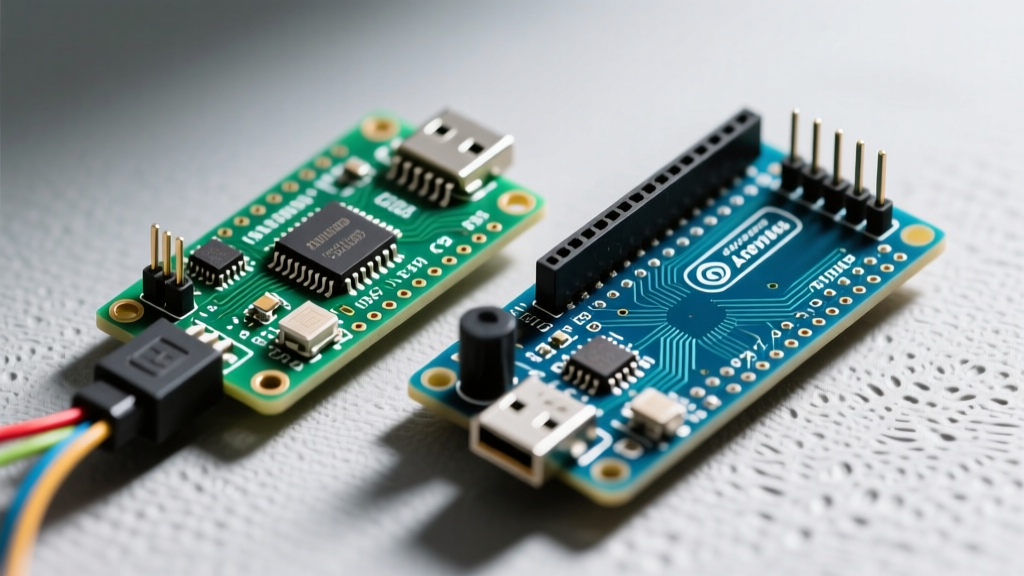
- The Budget Option: Generic Arduino Nano V3.0 Clones (ATmega328P with CH340G USB-TTL). Typically priced between $3.50 and $5.00.
- The Mid-Tier Official: Arduino Nano Every (ATmega4809). Priced around $11.00.
- The Premium Powerhouse: Arduino Nano ESP32 (ESP32-S3). Priced around $21.00.
Technical Specification Matrix
| Feature | Budget Clone (ATmega328P) | Nano Every (ATmega4809) | Premium Nano ESP32 |
|---|---|---|---|
| Logic Level | 5V | 5V | 3.3V |
| Dedicated PWM Pins | 6 (D3, D5, D6, D9, D10, D11) | 5 (D3, D5, D6, D9, D10) | Up to 16 independent channels |
| Max PWM Resolution | 16-bit (Timer1 only) | 16-bit | 20-bit (via LEDC peripheral) |
| Default Frequency | ~490 Hz / 980 Hz | ~490 Hz | 5000 Hz (configurable to 40MHz base) |
| Avg. Unit Cost (2026) | $3.50 - $5.00 | $11.00 | $21.00 |
Deep Dive: Budget Nano (ATmega328P) PWM Performance
The budget clone relies on the legendary Microchip ATmega328P. This 8-bit microcontroller utilizes three hardware timers (Timer0, Timer1, and Timer2) to generate PWM signals.
The Timer0 Trap
Pins D5 and D6 are controlled by Timer0, an 8-bit timer. By default, it runs at approximately 980 Hz. Many beginners attempt to change the Arduino Nano PWM frequency on these pins to eliminate motor whine by altering the TCCR0B register. Do not do this unless you know the consequences. Timer0 is hardcoded to manage the Arduino millis(), micros(), and delay() functions. Altering its prescaler will instantly break all time-based operations in your sketch.
Unlocking 16-Bit Resolution on Timer1
For high-precision tasks like driving digital-to-analog converters (DACs) or precision servos, you need Timer1 (Pins D9 and D10). Timer1 is a 16-bit timer, allowing for 65,536 discrete duty cycle steps compared to the 256 steps on 8-bit timers. You can configure Timer1 for Phase Correct PWM at a higher frequency using direct register manipulation:
TCCR1A = _BV(COM1A1) | _BV(COM1B1) | _BV(WGM11);
TCCR1B = _BV(WGM13) | _BV(CS11);
ICR1 = 20000; // Sets frequency to ~1kHz with high resolution
While the budget clone excels in 5V logic compatibility and rock-bottom pricing, its 6-pin PWM limit and 8-bit constraints on most pins make it unsuitable for complex, multi-axis robotics or high-fidelity audio synthesis.
Deep Dive: Premium Nano ESP32 PWM Architecture
If your project demands extreme precision, the Arduino Nano ESP32 completely changes the paradigm. Instead of relying on legacy AVR timers, the ESP32-S3 utilizes the LED Control (LEDC) peripheral. According to the Espressif LEDC API documentation, this hardware is specifically designed for high-resolution, multi-channel PWM generation.
Unmatched Channel Count and Resolution
The Nano ESP32 offers up to 16 independent PWM channels. Unlike the ATmega328P, where changing a timer's frequency affects all pins attached to it, the ESP32 allows you to group channels and assign different frequencies and resolutions to different groups. You can easily achieve 16-bit or even 20-bit resolution, yielding over 1 million discrete steps for ultra-smooth LED fading or precise laboratory equipment control.
Hardware Fading
A massive advantage of the premium ESP32 is hardware-autonomous fading. Once you configure the fade parameters, the microcontroller handles the PWM duty cycle transitions in the background without any CPU intervention. This frees up the dual-core 240MHz processor to handle Wi-Fi networking, sensor fusion, or complex math while your PWM signals transition flawlessly.
Expert Warning: The Nano ESP32 operates at 3.3V logic. If you are upgrading from a 5V budget clone to drive older 5V MOSFET gate drivers or industrial relays, you must use a logic level shifter (like the 74AHCT125) or opt for 3.3V-compatible logic-level MOSFETs (e.g., IRLZ44N). Driving a standard IRF520 directly from a 3.3V Nano ESP32 PWM pin will result in incomplete switching, massive heat dissipation, and eventual component failure.
Real-World Project Scenarios: Which Should You Choose?
To help you allocate your 2026 project budget effectively, here is a decision framework based on specific applications.
Scenario A: Basic DC Motor Speed Control & Simple Relays
- Recommendation: Budget Clone (ATmega328P).
- Why: A standard 490 Hz PWM signal at 5V is perfectly adequate for driving a logic-level MOSFET to control a 12V DC motor. The 8-bit resolution (256 steps) is more than enough for human-perceivable speed control. Spending $21 on an ESP32 here is a waste of capital.
Scenario B: Multi-Axis Robotic Arm & High-Res Servos
- Recommendation: Premium Nano ESP32.
- Why: Robotic arms require simultaneous, jitter-free PWM signals across 6 to 12 servos. The ATmega328P struggles with software-based servo libraries causing micro-stutters. The ESP32's hardware LEDC peripheral generates rock-solid, independent signals for every joint without CPU overhead.
Scenario C: Audio Synthesis and DAC Generation
- Recommendation: Budget Clone (with Timer1 hacks) OR Nano ESP32 (using I2S).
- Why: If you strictly need PWM-based audio (using an RC low-pass filter), the ATmega328P's Timer1 can be pushed to 31.25kHz (ultrasonic), pushing the switching noise out of the audible spectrum. However, for true audio fidelity, the Nano ESP32's native I2S peripheral connected to an external DAC (like the PCM5102) vastly outperforms any PWM-filter approach.
Hidden Costs and Edge Cases in PWM Implementation
When calculating the true cost of your Arduino Nano PWM project, the board price is only the beginning. Consider these engineering edge cases:
- Inductive Kickback: Whether using a $4 clone or a $21 premium board, switching inductive loads (motors, solenoids) via PWM generates massive voltage spikes. You must budget for flyback diodes (e.g., 1N4007) across the load. A $0.10 diode saves your $21 microcontroller.
- Optocoupler Isolation: In industrial environments, PWM signals controlling high-voltage AC dimmers require galvanic isolation. Budget clones offer 5V outputs which easily drive standard optocouplers (like the PC817). The 3.3V output of the Nano ESP32 may require logic-level optocouplers or pull-up resistors to ensure proper LED saturation inside the isolator.
- EMI and Shielding: High-frequency PWM (above 20kHz) on the Nano ESP32 can generate Electromagnetic Interference (EMI) that disrupts nearby I2C sensors or ADC readings. Proper PCB layout, twisted pair wiring, and bypass capacitors (100nF ceramic) are mandatory for premium high-speed designs.
Final Verdict
The choice between budget and premium boards for Arduino Nano PWM applications is not about which board is 'better,' but which architecture aligns with your project's physical and computational constraints. The $4 ATmega328P clone remains an undisputed champion for 5V, low-channel-count, and cost-sensitive prototyping. However, as soon as your design requires more than 6 PWM channels, sub-microsecond timing precision, or 16-bit+ resolution, the $21 Nano ESP32 pays for itself by eliminating the need for external PWM driver ICs (like the PCA9685) and complex software workarounds.
Frequently Asked Questions (FAQ)
Can I increase the PWM frequency on a budget Arduino Nano clone?
Yes. You can alter the prescaler bits in the TCCR1B and TCCR2B registers to increase frequencies up to 31.25kHz or 62.5kHz. Avoid modifying Timer0 (pins D5/D6) as it will break the millis() function.
Does the Arduino Nano ESP32 support analogWrite()?
Yes, the Arduino core for the ESP32 maps the standard analogWrite() function to the LEDC peripheral under the hood. However, for advanced features like hardware fading or custom resolutions, using the native ledcSetup() and ledcWrite() functions is highly recommended.
Why is my PWM signal causing my motor to whine?
Motor whine occurs when the PWM frequency falls within the human hearing range (20Hz to 20kHz). The default ~490Hz on most Nano pins causes physical vibration in the motor windings. Increasing the PWM frequency above 20kHz using Timer1 or switching to the Nano ESP32 will render the switching silent to the human ear.