
Arduino Nano Pins: Project Suitability & Hardware Limits
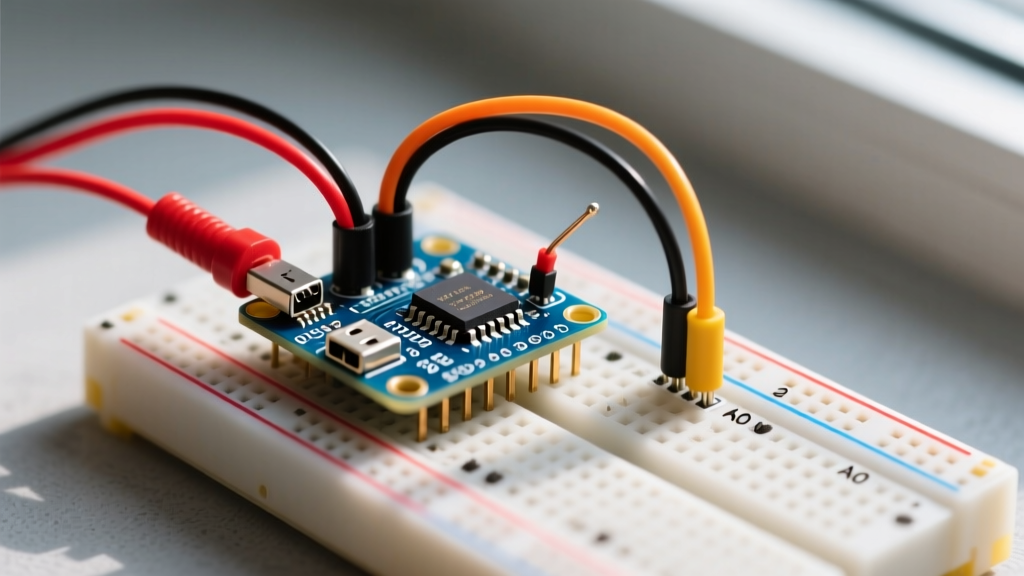
The Arduino Nano has remained a staple in the maker community for over a decade, primarily due to its breadboard-friendly 30x70mm footprint and accessible pin layout. However, as embedded projects in 2026 demand higher sensor counts, faster communication protocols, and stricter power budgets, blindly assuming the Nano is the right choice can lead to critical hardware failures. Understanding the exact capabilities, limitations, and edge cases of Arduino Nano pins is essential for project suitability analysis.
Whether you are using a classic ATmega328P clone or the modern ATmega4809-based Nano Every, this guide breaks down the electrical realities of the pinout to help you determine if the Nano can handle your specific application.
The Silicon Divide: Classic vs. Every
Before analyzing individual pins, you must identify which silicon drives your board. The official Arduino Nano documentation outlines the classic ATmega328P architecture, but the market is now flooded with variants.
- Classic Nano (ATmega328P): 5V logic, 16MHz clock, 32KB Flash, 2KB SRAM. The standard for legacy tutorials.
- Nano Every (ATmega4809): 5V logic, 20MHz clock, 48KB Flash, 6KB SRAM. Features advanced pin multiplexing and hardware I2C/SPI buffers.
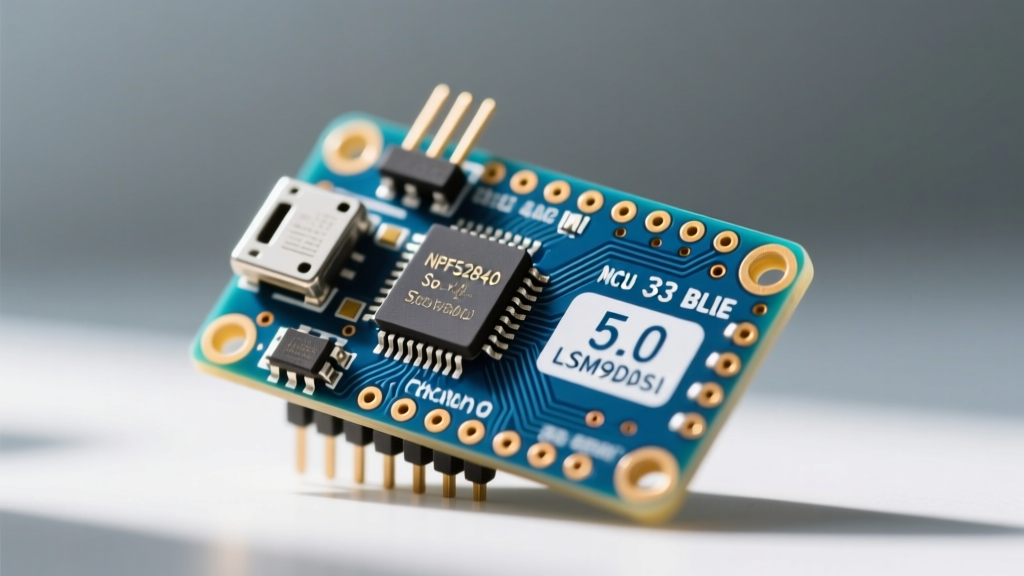
- Modern Clones (2025/2026 era): Often feature USB-C ports and the CH340C UART chip instead of the legacy FT232RL or Micro-USB setups, but retain the classic ATmega328P pin limitations.
Power Delivery and Pin Current Limits
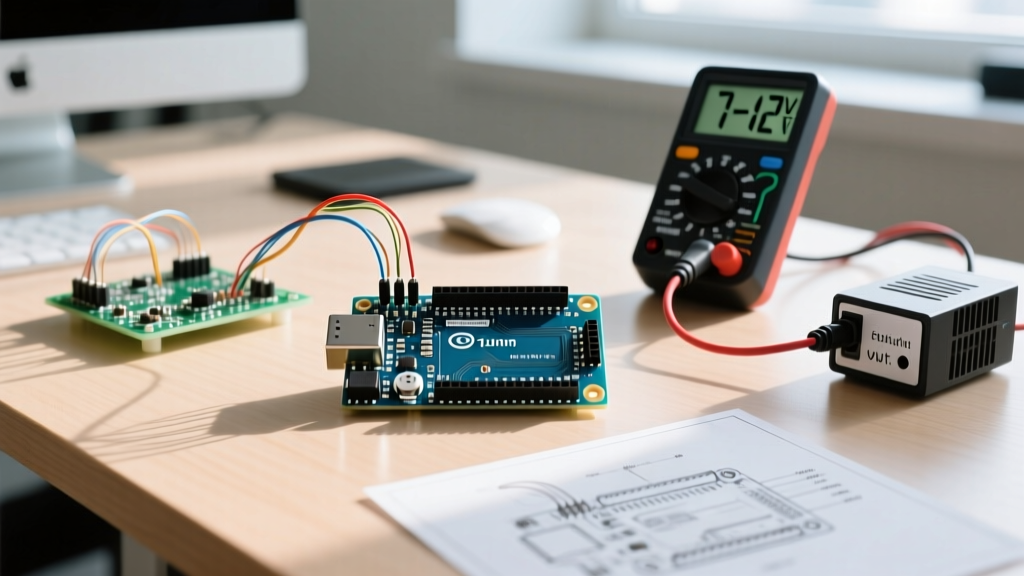
The most common point of failure in Nano-based projects is exceeding the current limits of the I/O pins or the onboard voltage regulator. According to the Microchip ATmega328P datasheet, the absolute maximum DC current per I/O pin is 40mA. However, operating continuously at this limit will cause electromigration and eventual silicon degradation.
Safe Operating Areas (SOA)
| Parameter | Absolute Max | Recommended Continuous | Notes |
|---|---|---|---|
| Single I/O Pin | 40 mA | 20 mA | Exceeding 20mA risks logic level drops. |
| Total VCC/GND | 200 mA | 150 mA | Sum of all sourcing/sinking pins. |
| 5V Pin Output | 500-800 mA | 300 mA | Limited by the onboard linear regulator's thermal dissipation when powered via VIN. |
| 3.3V Pin Output | 50 mA | 30 mA | Derived from the USB UART chip; highly limited. |
Expert Warning: Never power high-draw peripherals (like 5V relay modules or long WS2812B LED strips) directly from the Nano's 5V pin if you are powering the board via the VIN pin or USB. The onboard linear regulator will overheat and trigger thermal shutdown at around 400mA-500mA total draw. Always use an external buck converter for loads exceeding 200mA.
Digital I/O, PWM, and Timer Conflicts
The classic Nano exposes 14 digital I/O pins (D0-D13), of which 6 can be configured as Pulse Width Modulation (PWM) outputs. However, not all PWM pins are created equal due to hardware timer sharing.
PWM Pin Mapping and Timer Dependencies
- D3 & D11 (Timer 2): 8-bit resolution. Used by standard tone() libraries. If you use D3 for PWM audio generation, D11's PWM frequency will also be altered.
- D9 & D10 (Timer 1): 16-bit resolution. Ideal for high-precision motor control and servo signals. Conflicts with the Servo.h library.
- D5 & D6 (Timer 0): 8-bit resolution. Do not alter Timer 0 prescalers unless you want to break the millis() and delay() functions.
Suitability Verdict: If your project requires more than 4 independent, high-frequency PWM signals (e.g., driving multiple DC motors with distinct frequencies), the Nano is unsuitable. You should pivot to an ESP32 or Arduino Mega.
The A6 and A7 Analog Trap
A notorious edge case that catches intermediate developers off guard involves pins A6 and A7. On the ATmega328P, these two pins are strictly analog inputs. They are internally wired directly to the ADC multiplexer and lack the digital data latch and output drivers present on A0-A5.
You cannot use digitalWrite(A6, HIGH) or pinMode(A6, INPUT_PULLUP). If your project requires 8 digital buttons and 2 analog sensors, you cannot use A6/A7 for the digital buttons. You must either use an I2C port expander (like the MCP23017) or switch to a Nano Every, which allows digital I/O on all analog-labeled pins.
Communication Interfaces and Pin Multiplexing
When integrating sensors, the Nano's pin count becomes a bottleneck. Here is how the communication protocols map to the physical pins:
- UART (Serial): D0 (RX) and D1 (TX). Using hardware serial for sensors means you lose USB debugging capabilities unless you implement SoftwareSerial on other pins, which consumes CPU cycles and fails at baud rates above 57600.
- I2C: A4 (SDA) and A5 (SCL). These pins lack hardware pull-up resistors on the Nano. You must add external 4.7kΩ pull-up resistors to the 5V rail when connecting modules like the BME280 or MPU6050, or communication will intermittently fail.
- SPI: D11 (MOSI), D12 (MISO), D13 (SCK). Note that D13 is also connected to the onboard LED, which can cause signal interference or unintended blinking if used as a standard SPI clock line without disabling the LED trace.
Memory Constraints vs. Pin Multiplexing
Pin suitability is directly tied to memory. The classic Nano's 2KB SRAM is a severe bottleneck. If you are driving a 144-LED NeoPixel matrix via a single data pin, the library requires 432 bytes of SRAM just for the framebuffer. Add an SD card logging buffer (512 bytes) and standard variable overhead, and you will experience stack collisions and random reboots. For memory-heavy pin multiplexing, the Arduino Nano Every with its 6KB SRAM is a mandatory upgrade.
Project Suitability Matrix
Use this decision matrix to determine if the Arduino Nano pins align with your project requirements in 2026.
| Project Type | Nano Suitability | Reasoning & Alternatives |
|---|---|---|
| Simple Data Logger (I2C Sensors + SD) | High | SPI and I2C pins are sufficient. Watch SRAM limits on SD buffering. |
| IoT Weather Station (Wi-Fi) | Low | ESP8266/ESP32 is better. Nano requires an external Wi-Fi module, eating up UART/SPI pins and memory. |
| Hexapod Robot (18 Servos) | None | Only 6 PWM pins available. Use an Arduino Mega or PCA9685 I2C PWM driver. |
| Portable Wearable Audio Synth | Medium | D3/D11 PWM audio works, but 10-bit ADC limits audio input fidelity. Consider Teensy 4.0. |
| Automotive CAN-Bus Sniffer | Medium | Requires MCP2515 SPI module. Nano works, but 5V logic requires level shifting for 3.3V CAN transceivers. |
Final Verdict
The Arduino Nano remains a highly capable prototyping board for projects requiring a compact footprint, basic sensor integration, and low-to-medium power consumption. However, its strict current limits, timer-shared PWM pins, and the A6/A7 analog-only quirk demand careful architectural planning. By respecting the 20mA per-pin continuous limit, providing external pull-ups for I2C, and offloading heavy memory tasks, you can maximize the lifespan and reliability of your Nano-based builds.