
Introduction to the Arduino Microfono Interface
Integrating audio input into a microcontroller project is a milestone for any DIY electronics enthusiast. Whether you are building a voice-activated relay, a clapper circuit, or an environmental noise monitor, setting up an arduino microfono (microphone) requires more than just connecting a sensor to a pin. It demands an understanding of analog-to-digital conversion, signal biasing, and acoustic math.
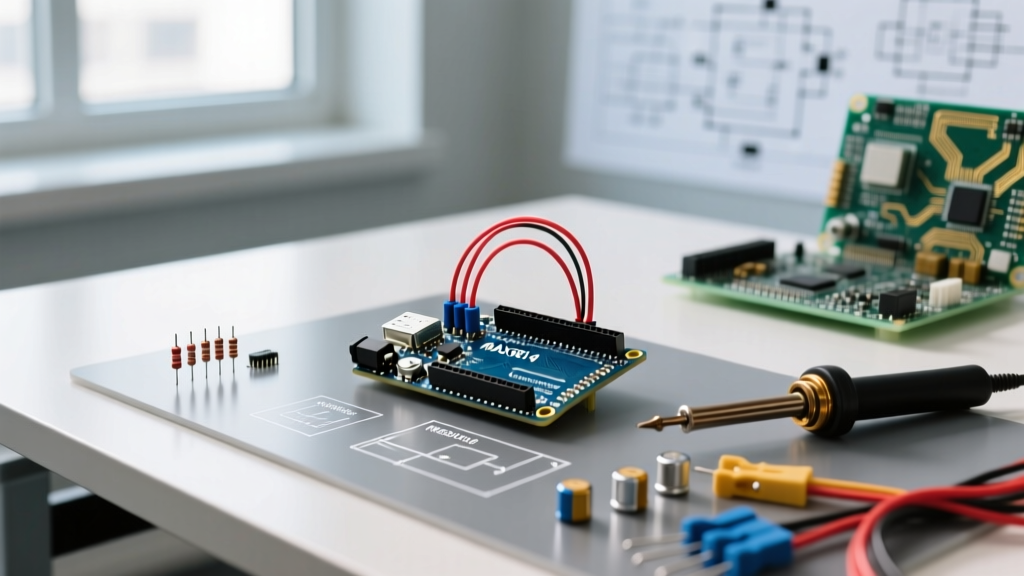
In this comprehensive 2026 guide, we will bypass the frustrating trial-and-error phase. We will walk through the exact hardware selection, wiring schematics, and C++ firmware required to build a highly responsive Sound Pressure Level (SPL) meter using an Arduino Uno and the industry-standard MAX9814 microphone amplifier.
Understanding the Arduino Microfono Ecosystem
Microcontrollers cannot read raw audio waves directly from a bare electret capsule. The acoustic signal is a rapidly oscillating AC voltage in the millivolt range, while the Arduino's ADC (Analog-to-Digital Converter) expects a positive DC voltage between 0V and 5V. Therefore, an arduino microfono setup always requires an amplifier module that provides two things: gain (to boost the millivolt signal to a readable voltage) and a DC bias (to center the audio wave at 2.5V so both the positive and negative peaks of the sound wave can be read without clipping).
Hardware Selection Matrix
Choosing the right module dictates your project's ceiling. While basic sound sensors with a digital potentiometer are fine for simple "clap" triggers, true audio analysis requires precision hardware. Here is how the top modules compare in the current market:
| Module | Sensor Type | Interface | Gain Control | Avg Price (2026) | Best Use Case |
|---|---|---|---|---|---|
| MAX9814 | Electret | Analog | Hardware AGC | $7.50 | SPL Metering, Envelope Detection |
| MAX4466 | Electret | Analog | Manual Pot | $4.00 | Basic Audio Triggers, FFT |
| INMP441 | MEMS | I2S Digital | Software | $5.50 | Voice Recording, High-Fidelity |
For this tutorial, we are using the MAX9814. Its Automatic Gain Control (AGC) prevents loud sounds from clipping the ADC while amplifying quiet sounds, making it the most forgiving and reliable module for beginners building an analog arduino microfono circuit.
Wiring the MAX9814 to the Arduino Uno
Before writing code, we must configure the hardware. The MAX9814 has a unique AGC pin that allows you to set the baseline amplification. According to the Adafruit MAX9814 Guide, the AGC pin configuration is as follows:
- AGC tied to GND: 60dB gain (Best for quiet rooms / whisper detection)
- AGC left floating: 50dB gain (General purpose / conversational volume)
- AGC tied to VCC: 40dB gain (Best for loud environments / live music)
Step-by-Step Pinout Connections
- VCC: Connect to the Arduino 3.3V or 5V pin (5V recommended for maximum ADC dynamic range).
- GND: Connect to Arduino GND. Pro-Tip: Keep the ground wire short to minimize 60Hz mains hum.
- OUT: Connect to Arduino Analog Pin A0.
- AGC: Leave unconnected (floating) for a default 50dB gain, or wire to GND/VCC based on your environment.
Expert Insight: If you are powering your Arduino via a noisy USB wall adapter, the 5V rail will introduce a high-frequency whine into your audio signal. Powering the Uno via a 9V battery or a regulated linear power supply will yield a significantly cleaner noise floor.
The Math: Why RMS Matters in Audio Sampling
A common mistake in arduino microfono tutorials is simply reading the peak voltage and mapping it to an LED. This fails because audio is an alternating current (AC) wave centered around a DC bias (usually 2.5V, or an ADC value of 512).
To accurately measure sound volume, we must calculate the Root Mean Square (RMS). The RMS value represents the equivalent DC power of the audio signal, which correlates directly to human perception of loudness. The mathematical steps executed in our firmware are:
- Sample the analog pin continuously over a fixed window (e.g., 50 milliseconds).
- Subtract the DC bias (512) to center the wave at zero.
- Square the result (this makes all negative peaks positive and emphasizes louder sounds).
- Average all the squared samples.
- Take the square root of the average to get the final RMS voltage.
Firmware Implementation: Calculating Sound Levels
Below is the optimized C++ code to sample the microphone and calculate the RMS value. This code avoids the delay() function, utilizing micros() to maintain a strict sampling window, which is critical for accurate acoustic measurements.
const int micPin = A0;
const int sampleWindow = 50; // Sample window width in mS (50 mS = 20Hz)
unsigned int sample;

void setup() {
  Serial.begin(115200);
  // Note: The Arduino Uno ADC defaults to a prescaler of 128,
  // yielding a max sampling rate of ~9.6 kHz.
}

void loop() {
  unsigned long startMillis = millis();
  unsigned int peakToPeak = 0;
  unsigned long signalMax = 0;
  unsigned long signalMin = 1024;

  // Collect data for 50 miliseconds
  while (millis() - startMillis < sampleWindow) {
    sample = analogRead(micPin);
    if (sample < 1024) { // Toss out spurious readings
      if (sample > signalMax) {
        signalMax = sample; // Save just the max levels
      } else if (sample < signalMin) {
        signalMin = sample; // Save just the min levels
      }
    }
  }

  peakToPeak = signalMax - signalMin;

  // Convert to Volts (based on 5V reference)
  double volts = (peakToPeak * 5.0) / 1024.0;

  Serial.print("Peak-to-Peak Volts: ");
  Serial.println(volts);

  // Optional: Map to a rough Decibel scale for LED bar graphs
  // int db = map(peakToPeak, 0, 900, 30, 90);
}
For a deeper understanding of how the Arduino handles analog voltages and ADC resolution limits, refer to the official Arduino Analog Read Documentation.
Edge Cases & Real-World Troubleshooting
When deploying your arduino microfono project in the real world, you will inevitably encounter signal degradation. Here is how to diagnose and fix the most common failure modes:
1. The 50/60Hz Mains Hum
Symptom: The serial monitor shows a constant, rhythmic fluctuation in volume even in a silent room.
Cause: Electromagnetic interference (EMI) from nearby AC wiring or unshielded power supplies inducing a 50Hz or 60Hz sine wave into the high-impedance analog trace.
Fix: Solder a 100nF (0.1µF) ceramic bypass capacitor directly across the VCC and GND pins on the microphone module. Furthermore, ensure your analog signal wire is not routed parallel to any AC mains cables.
2. ADC Aliasing and the Nyquist Limit
Symptom: High-pitched sounds (like whistling or cymbals) register as lower, incorrect frequencies or cause erratic RMS spikes.
Cause: The ATmega328P chip on the Arduino Uno has a maximum ADC sampling rate of roughly 9.6 kHz. According to the Nyquist-Shannon sampling theorem, you can only accurately capture frequencies up to half your sampling rate (~4.8 kHz). Human speech contains frequencies up to 8 kHz, meaning the Uno's ADC will alias higher frequencies.
Fix: If your project requires high-fidelity audio recording or accurate FFT (Fast Fourier Transform) frequency analysis, abandon the analog approach. Upgrade to an ESP32 or Raspberry Pi Pico and use an I2S MEMS microphone like the INMP441, which bypasses the internal ADC entirely and streams 24-bit digital audio directly into the microcontroller's DMA buffer.
3. Clipping on Loud Transients
Symptom: A door slamming or a loud clap results in a reading that maxes out at 1023 and stays stuck.
Cause: The audio peak exceeded the 5V ceiling or dropped below the 0V floor, causing the ADC to saturate.
Fix: Reconfigure the AGC pin on the MAX9814. Move it from floating (50dB) to tied to VCC (40dB) to reduce the baseline amplification and increase the headroom for loud transients.
Frequently Asked Questions (FAQ)
Can I use a bare electret microphone capsule without a module?
No. A bare electret capsule requires a bias voltage (usually via a 2.2kΩ pull-up resistor) and a coupling capacitor to block DC. More importantly, the raw signal is in the microvolt range, which is entirely invisible to the Arduino's 10-bit ADC (which has a resolution of ~4.8mV per step). You must use an op-amp or a dedicated audio amplifier module like the MAX9814.
Why is my analogRead() value stuck at 512?
A reading of 512 represents exactly 2.5V, which is the DC bias voltage output by the amplifier when there is no sound. If it never fluctuates from 512, your microphone capsule is likely disconnected from the module's PCB, or the module's internal op-amp has failed. Verify your VCC connection with a multimeter to ensure the module is receiving power.
How do I convert the RMS voltage to actual Decibels (dB SPL)?
Converting voltage to true acoustic dB SPL requires factory calibration with a reference sound level meter. Every microphone capsule has a slightly different sensitivity rating (e.g., -44dBV/Pa). Without a calibrated reference, you can only measure relative loudness (dBFS - Decibels relative to Full Scale), which is perfectly adequate for triggering LEDs, relays, or logging noise pollution trends.