
Introduction to the Workbench
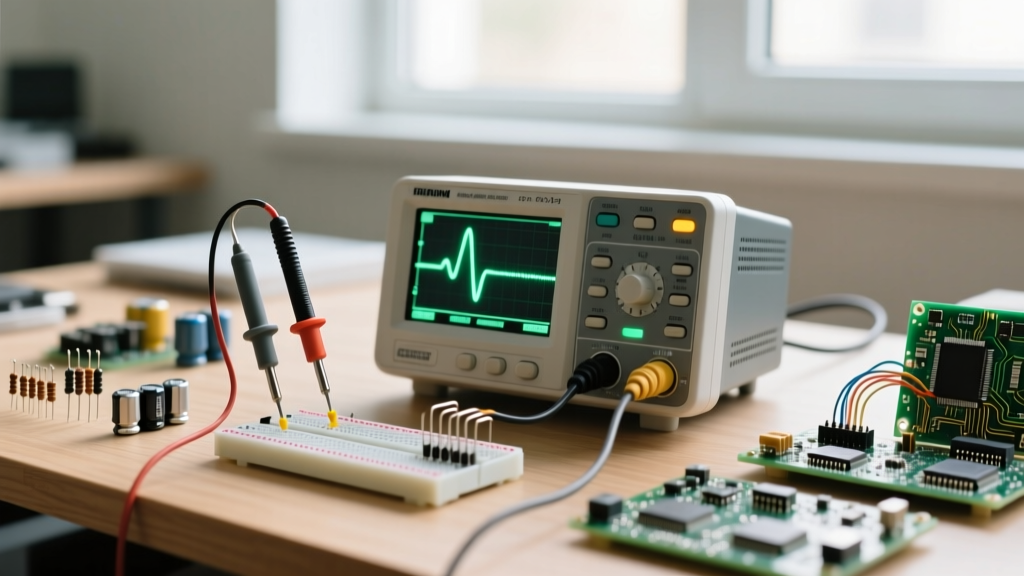
Every DIY electronics project, from a simple LED blinker to a complex IoT sensor node, relies on a foundational vocabulary of hardware. For beginners, the sheer variety of parts in a tackle box can be overwhelming. Understanding the difference between electrical and electronic components is the first critical step toward designing, building, and troubleshooting your own circuits. While electrical components primarily manage the flow of raw power, electronic components manipulate electrical signals to process information. This tutorial will break down the essential parts you need to know, how they fail, and how to test them with precision.
Electrical vs. Electronic Components: The Core Differences
Before diving into specific part numbers, it is vital to distinguish between the two domains. According to foundational engineering principles outlined in the All About Circuits textbook, electrical circuits deal with the generation, distribution, and control of electrical power, whereas electronic circuits use active components to control electron flow for data processing and signal amplification.
| Feature | Electrical Components | Electronic Components |
|---|---|---|
| Primary Function | Power distribution, switching, protection | Signal processing, amplification, logic |
| Material Base | Conductors (Copper, Aluminum) | Semiconductors (Silicon, Germanium) |
| Voltage/Current | Typically high voltage/current (120V+) | Typically low voltage/current (3.3V - 24V) |
| Common Examples | Relays, Fuses, Contactors, Transformers | Transistors, ICs, Diodes, Microcontrollers |
Core Electrical Components Every Beginner Must Know
Switches and Relays
Switches physically interrupt or complete a circuit. For low-voltage DIY projects, you will frequently use SPST (Single Pole Single Throw) toggle switches or tactile momentary pushbuttons. When you need to control a high-power load (like a 120V AC motor or a 12V 50W halogen lamp) using a low-power microcontroller signal, you use a relay. A standard workhorse relay is the Omron G2R-1-E (approx. $3.50), which can safely switch up to 16A at 250VAC. Failure Mode: Relays typically fail due to contact pitting and carbon buildup from arcing when switching inductive loads without a flyback diode.
Fuses and Circuit Breakers
Protection is non-negotiable. Glass cartridge fuses (like the Bussmann GMA series) are common in low-voltage DC circuits. Always match the fuse's interrupting rating to your power supply's maximum short-circuit current. For reusable protection, thermal-magnetic circuit breakers trip on both sustained overloads (thermal bimetallic strip) and instantaneous short circuits (magnetic solenoid).
Essential Electronic Components for DIY Circuits
Resistors: The Current Limiters
Resistors restrict current flow and divide voltages. For general-purpose through-hole prototyping, stock up on 1/4W metal film resistors with a 1% tolerance (E24 or E96 series). Metal film resistors offer low noise and high stability compared to older carbon composition types.
Pro Tip: Struggling with the color bands? Use the official Digi-Key Resistor Color Code Calculator to instantly translate 4-band and 5-band colors into exact ohmic values.
Failure Mode: Resistors rarely fail short. When subjected to power beyond their wattage rating, they overheat and drift to a much higher resistance or fail completely open, breaking the circuit.
Capacitors: The Energy Reservoirs
Capacitors store electrical energy in an electric field and are crucial for decoupling, filtering, and timing. You will primarily encounter two types:
- Ceramic Capacitors (MLCC): Non-polarized, excellent for high-frequency decoupling. Look for X7R dielectrics for general use, and C0G/NP0 for precision timing circuits where temperature stability is critical.
- Aluminum Electrolytic Capacitors: Polarized, offering high capacitance (1µF to 10,000µF+) in a small volume. Ideal for bulk power supply filtering. The Panasonic FM series (approx. $0.30 - $0.80 each) is a favorite among DIYers for its low Equivalent Series Resistance (ESR) and long lifespan.
Failure Mode: Electrolytic capacitors contain a liquid electrolyte that slowly evaporates over time, especially when exposed to heat. This causes the ESR to spike, leading to power supply ripple and erratic microcontroller resets. Always check ESR with a dedicated meter when troubleshooting older boards.
Semiconductors: Diodes and Transistors
Semiconductors are the building blocks of modern electronics. A basic 1N4007 rectifier diode (approx. $0.05) is essential for protecting circuits against reverse polarity and suppressing inductive voltage spikes. When it comes to amplification and switching, the 2N3904 (NPN Bipolar Junction Transistor) is the standard for low-power signal switching. For heavier loads, such as driving a DC motor via PWM, you will need a Logic-Level MOSFET like the IRLZ44N, which can be fully turned on directly from a 5V Arduino GPIO pin.
Step-by-Step: Testing Components with a Multimeter
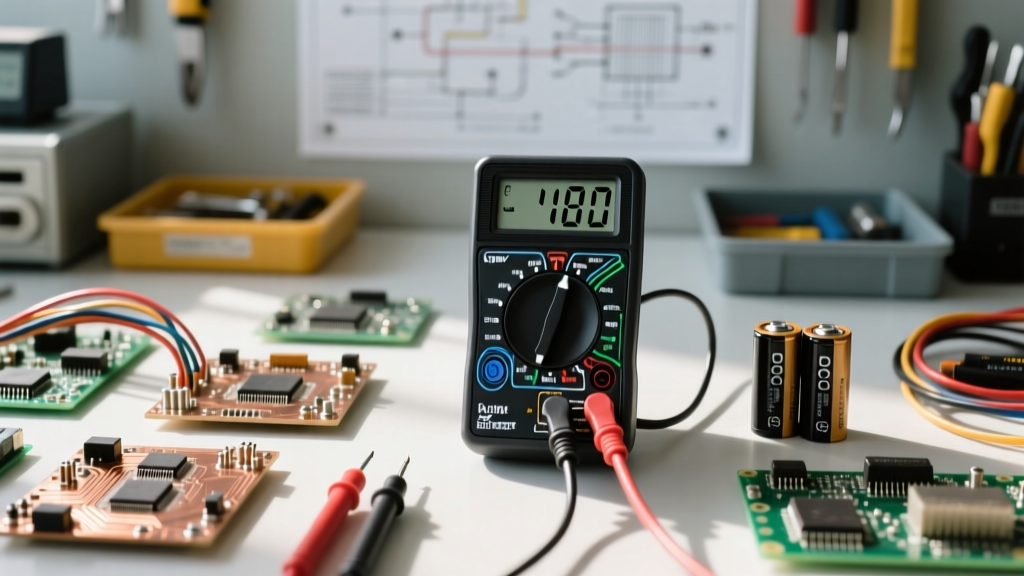
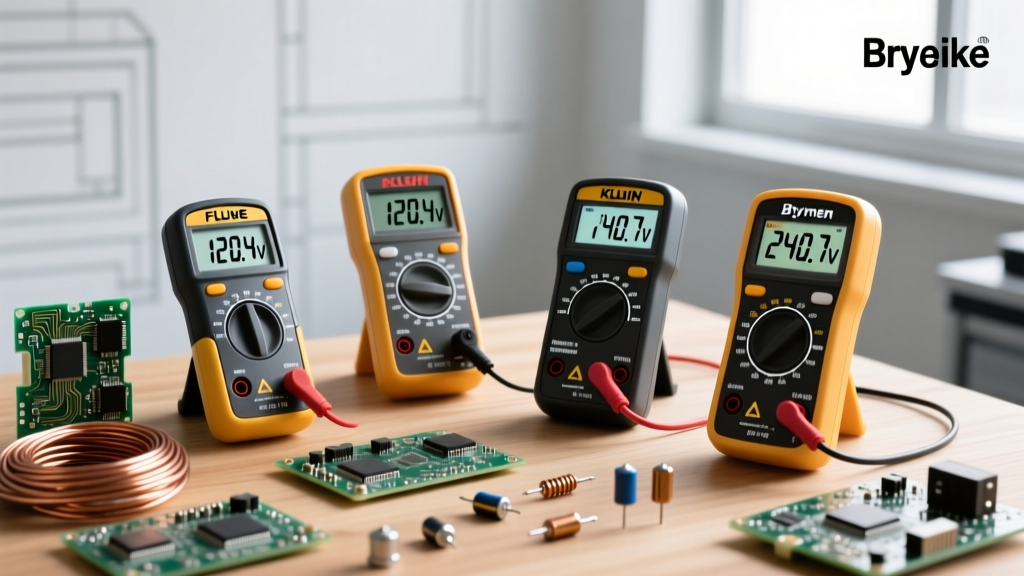
To verify your electrical and electronic components, you need a reliable Digital Multimeter (DMM). While a Fluke 115 (approx. $190) is the industry gold standard for safety and accuracy, beginners can achieve excellent results with a UNI-T UT61E+ (approx. $65), which offers high resolution and auto-ranging capabilities.
- Testing Resistors: Set your DMM to the Ohms (Ω) setting. Place the probes across the resistor legs. Ensure your fingers are not touching both metal probe tips simultaneously, as your body's resistance will skew the reading on high-value resistors (1MΩ+).
- Testing Diodes: Switch the DMM to the 'Diode Test' mode (usually indicated by a diode symbol). Touch the red probe to the anode and the black probe to the cathode. A standard silicon diode will display a forward voltage drop between 0.500V and 0.700V. Reversing the probes should yield an 'OL' (Open Loop) reading. If it reads near 0.000V in both directions, the diode is shorted.
- Testing Capacitors: While basic DMMs can check for dead shorts, they cannot accurately measure capacitance or ESR. For electrolytic capacitors, visually inspect the top vent for bulging. If you are serious about electronics repair, invest in a dedicated component tester like the TC1 Multifunction Tester (approx. $25) to measure actual capacitance and ESR.
Sourcing Components in 2026: Avoiding the Counterfeit Trap
As supply chains have evolved, the market has been flooded with counterfeit semiconductors, particularly on open marketplaces. Fake voltage regulators (like the LM7805) or counterfeit microcontrollers can fail catastrophically, destroying your project and posing fire hazards.
For guaranteed authentic electrical and electronic components, always source from authorized, franchised distributors. Mouser Electronics, Digi-Key, and Newark maintain strict traceability directly from the manufacturers. If you are ordering in bulk for high-volume, low-cost consumer DIY kits and need to use platforms like LCSC or AliExpress, stick strictly to official brand storefronts (e.g., the official 'Bourns' or 'Texas Instruments' verified stores) and always test a sample batch under maximum thermal and electrical load before integrating them into a final design.
Final Thoughts for the Beginner
Mastering the identification and behavior of basic electrical and electronic components takes time and hands-on practice. Start by building simple circuits on a solderless breadboard, intentionally pushing components to their limits in a safe, controlled environment to observe their failure modes firsthand. As your understanding of voltage, current, and resistance deepens—concepts thoroughly explained in foundational guides like SparkFun's Ohm's Law Tutorial—you will transition from simply following tutorials to designing your own robust, custom electronic systems.