
The Hidden Hazards in Everyday Electronics Labs
Working with electronic components and equipment demands a rigorous approach to safety that extends far beyond simply avoiding electric shock. Modern electronics labs present a matrix of invisible threats: electrostatic discharge (ESD), thermal hazards from lead-free soldering, toxic flux emissions, and catastrophic arc flash risks from improperly rated test gear. Whether you are assembling a custom microcontroller board or troubleshooting a 480V industrial motor drive, ignoring safety protocols leads to destroyed silicon, compromised data, and severe physical injury.
This guide details the exact safety frameworks, equipment specifications, and handling protocols required to protect both the operator and the sensitive hardware in a modern 2026 workspace.
ESD vs. EOS: Understanding Silicon Killers
Electrostatic Discharge (ESD) and Electrical Overstress (EOS) are the two primary culprits behind latent and catastrophic component failures. While often confused, their mechanisms and mitigation strategies differ significantly.
The Human Body Model (HBM) Threshold
The human perception threshold for an electrostatic shock is approximately 3,000 volts. However, modern 5nm and 3nm logic gates can be permanently damaged by an ESD event as low as 10 to 30 volts. This means you can completely destroy a $50 microcontroller or a $2,000 FPGA without ever feeling the zap. According to the ESD Association, implementing an ANSI/ESD S20.20 compliant workspace is non-negotiable for handling Class 0 components.
Latent Failure Warning: An ESD strike that does not immediately kill a component can cause a 'latent defect.' The damaged transistor may pass initial bench testing but will inevitably fail in the field when subjected to thermal cycling or voltage spikes, leading to catastrophic system-level failures.
Essential Safety Gear for Component Handling
Personal Protective Equipment (PPE) in an electronics lab serves a dual purpose: protecting the human from chemical/thermal hazards, and protecting the components from the human. Below is the baseline matrix for a professional bench setup.
| Equipment Type | Specification / Standard | Est. Market Cost | Primary Use Case |
|---|---|---|---|
| ESD Wrist Strap | 1 Megohm current-limiting resistor, IEC 61340-4-6 | $15 - $25 | Grounding operator to prevent HBM ESD events. |
| Dissipative Mat | 10^6 to 10^8 ohms/sq, dual-layer rubber | $45 - $80 | Safe discharge of tools and PCBs on the bench. |
| Safety Glasses | ANSI Z87.1+ rated, anti-fog coating | $12 - $30 | Protection from clipping wire leads and solder splatter. |
| HEPA/Carbon Extractor | Activated carbon + HEPA, minimum 50 CFM | $60 - $850 | Capturing colophony and VOCs from rosin flux. |
Best Practices for Soldering and Thermal Management
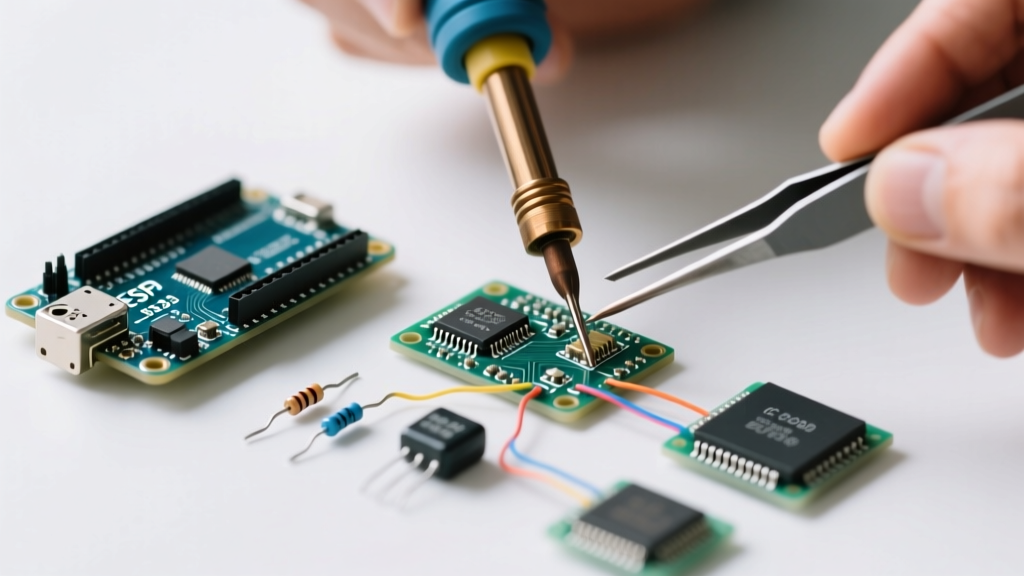
The transition to RoHS-compliant lead-free solders (like SAC305) has fundamentally changed thermal safety and equipment requirements. SAC305 has a melting point of 217°C, requiring iron tip temperatures between 340°C and 380°C. This higher thermal mass increases the risk of PCB delamination, component thermal shock, and severe operator burns.
Safe Soldering Workflow
- Pre-heat the Board: For multi-layer PCBs with heavy ground planes, use a pre-heater (e.g., Puhui T-8280, ~$120) set to 100°C-120°C. This reduces the thermal delta required from your soldering iron, preventing pad lift-off.
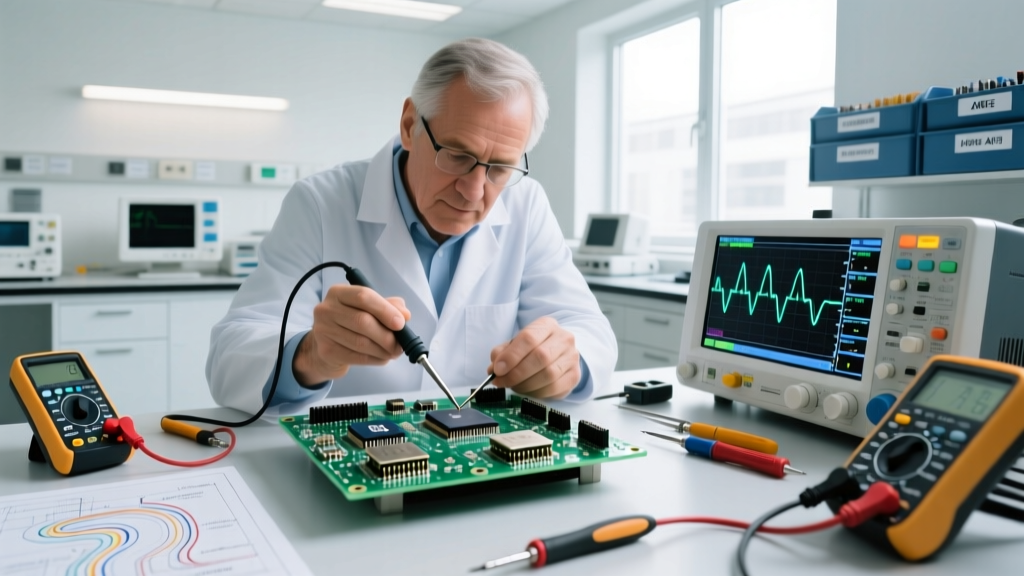
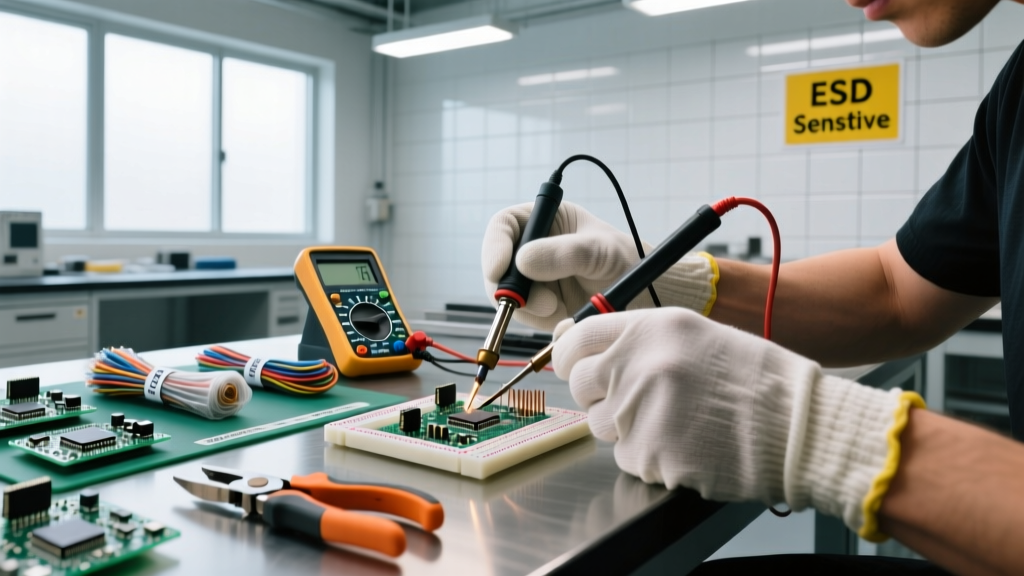
- Verify Tip Grounding: Use a multimeter to check the resistance between your iron's tip and the earth ground pin on the power cord. It must read less than 2 ohms. A floating tip can induce lethal AC leakage or EOS into sensitive CMOS inputs.
- Manage Flux Fumes: Rosin-based flux fumes contain colophony, a known respiratory sensitizer that can cause occupational asthma. Always position a localized fume extractor (like the Hakko FA-400, ~$55) within 6 inches of the solder joint. For high-volume labs, invest in a closed-loop extraction system like the Weller WFE4DX.
- Hygiene Protocol: Never eat or drink at the soldering bench. If using traditional Sn63/Pb37 leaded solder for prototyping, wash hands with cold water and soap immediately after handling to prevent lead ingestion. (Note: Hot water opens pores and increases lead absorption).
Test Equipment Safety: Decoding CAT Ratings
When measuring live circuits, your multimeter is the only barrier between you and an arc flash. The IEC 61010-1 standard defines Measurement Categories (CAT) based on the transient voltage spikes a meter can survive. Using a CAT II meter on a CAT III circuit is a fatal mistake.
Measurement Category Boundaries
- CAT I: Signal level, telecom, and low-energy electronics. (Max transient: 800V at 1000V rating).
- CAT II: Single-phase receptacle connected loads (appliances, benchtop power supplies). (Max transient: 2500V at 600V rating).
- CAT III: Three-phase distribution, including single-phase commercial lighting and hardwired industrial motors. (Max transient: 4000V at 600V rating).
- CAT IV: Three-phase at utility connection, outdoor service entrances, and main distribution boards. (Max transient: 6000V at 600V rating).
As detailed in Fluke Corporation's safety guidelines, the CAT rating is not just about maximum steady-state voltage; it is about the meter's ability to quench an internal arc caused by high-energy transients. Always verify that your meter's internal fuses are High Breaking Capacity (HRC) ceramic fuses with sand fillers. Cheap multimeters often use standard glass fuses that will vaporize and cause the meter housing to explode during a high-energy fault.
Proper Storage and Shelf-Life Management
Safety also encompasses the integrity of the components before they are ever soldered. Moisture Sensitivity Levels (MSL), governed by the IPC/JEDEC J-STD-033 standard, dictate how surface-mount components must be stored to prevent the 'popcorn effect' during reflow soldering.
The Popcorn Effect and MSL Ratings
If moisture penetrates the plastic encapsulation of an IC, the rapid heating of reflow soldering (up to 260°C) causes the water to flash into steam. The resulting internal pressure can crack the IC package from the inside, severing bond wires and causing immediate latent failures.
- MSL 1: Unlimited floor life at ≤30°C/85% RH.
- MSL 3: 168-hour floor life. Common for many microcontrollers and power ICs. Must be stored in a dry cabinet (e.g., Dr. Storage units, $300-$800) maintained at <5% RH once the vacuum-sealed MBB (Moisture Barrier Bag) is opened.
- MSL 5: 48-hour floor life. Highly sensitive components like high-pin-count BGAs.
- MSL 6: Mandatory bake before reflow. Must be baked at 125°C for 24 hours immediately prior to soldering.
Always log the time an MBB is opened using an MSL tracking label. If the floor life expires, the components must be baked in a specialized convection oven (never a standard kitchen oven, which lacks precise thermal uniformity and poses severe fire risks from outgassing plastics).
FAQ: Troubleshooting Safety Edge Cases
Can I use a standard household vacuum to clean up solder clippings and flux dust?
No. Standard vacuums generate massive static charges in their plastic hoses and exhaust air, which can discharge into nearby sensitive components. Furthermore, fine metallic clippings can short out the vacuum's internal motor. Always use an ESD-safe vacuum with a conductive hose and HEPA filtration, such as the Hakko 394 or Atrix VAC1001.
Is it safe to probe a live circuit with one hand in my pocket?
Yes, this is a critical best practice. When measuring high-voltage equipment (CAT III/IV), keeping one hand behind your back or in a pocket prevents a hand-to-hand current path across your chest cavity, significantly reducing the risk of ventricular fibrillation in the event of an accidental shock. According to OSHA laboratory safety guidelines, minimizing the pathway for electrical current through the body is a fundamental rule of live-circuit troubleshooting.
My ESD mat reads >10^9 ohms. Is it still safe to use?
No. A resistance above 10^9 ohms classifies the material as 'insulative' rather than 'static dissipative.' Insulative materials trap charges rather than bleeding them off safely to ground. Clean the mat with a specialized ESD mat cleaner (never standard household glass cleaners, which leave insulative silicone residues) and re-test. If it remains highly resistive, the mat is degraded and must be replaced.