
The 8-Bit Bottleneck: Why Upgrade Your Arduino Robots?
For over a decade, the ATmega328P-powered Arduino Uno has been the undisputed king of entry-level robotics. However, as Arduino robots evolve from simple obstacle-avoiding rovers to autonomous platforms utilizing SLAM (Simultaneous Localization and Mapping), computer vision, and ROS (Robot Operating System), the limitations of 8-bit AVR architecture become glaringly apparent. With only 2KB of SRAM and a 16MHz clock speed, the Uno struggles to buffer incoming serial data from a LiDAR sensor while simultaneously calculating inverse kinematics for a robotic arm.
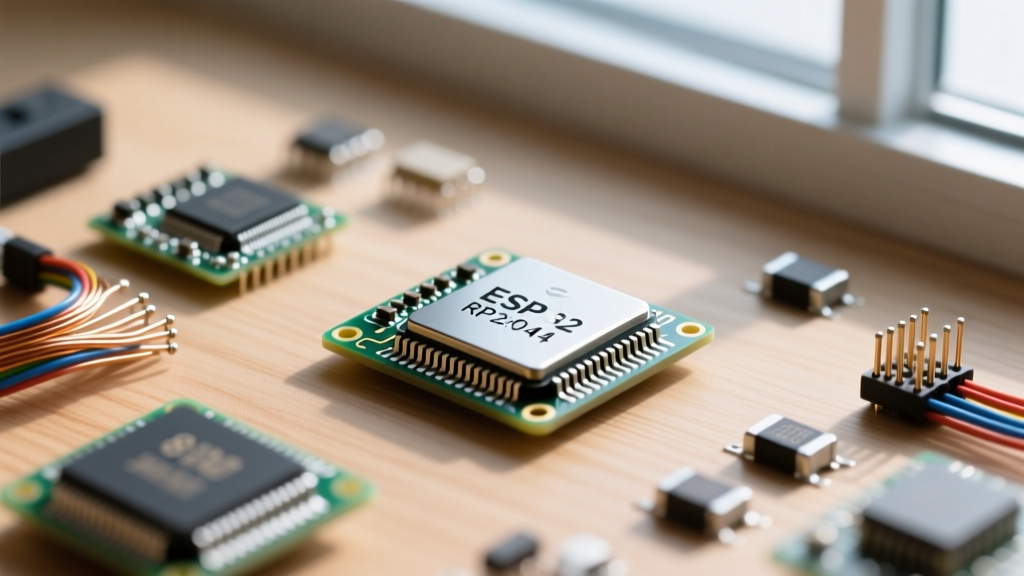
Migrating your robotic fleet to 32-bit microcontrollers like the Raspberry Pi RP2040, Espressif ESP32-S3, or PJRC Teensy 4.1 is no longer just an option—it is a necessity for advanced maker projects. This guide details the hardware and firmware migration pathways required to successfully upgrade your Arduino robots without burning out components or breaking legacy code.
Target Architecture Selection for Robotic Migration
Choosing the right 32-bit replacement depends heavily on your robot's specific payload and computational needs. Below is a decision matrix comparing the most popular upgrade paths for roboticists in the current landscape.
| Microcontroller | Clock Speed & Cores | SRAM / Flash | Hardware PWM / Encoders | Best Robotic Application | Approx. Board Cost |
|---|---|---|---|---|---|
| Arduino Uno R3 (AVR) | 16 MHz (Single) | 2 KB / 32 KB | 6 PWM / Software Interrupts | Line followers, basic rovers | $27.00 |
| Raspberry Pi Pico (RP2040) | 133 MHz (Dual ARM) | 264 KB / 2 MB | 16 PWM / PIO State Machines | Multi-axis arms, swarm bots | $4.00 |
| ESP32-S3 (Xtensa) | 240 MHz (Dual) | 512 KB / 8 MB | LEDC Peripheral / PCNT | Wi-Fi/BLE telemetry, ROS nodes | $8.00 |
| Teensy 4.1 (ARM Cortex-M7) | 600 MHz (Single) | 1 MB / 8 MB | FlexPWM / Hardware Quadrature | High-speed balancing, CNC/SLAM | $32.95 |
Handling the 5V to 3.3V Logic Level Shift
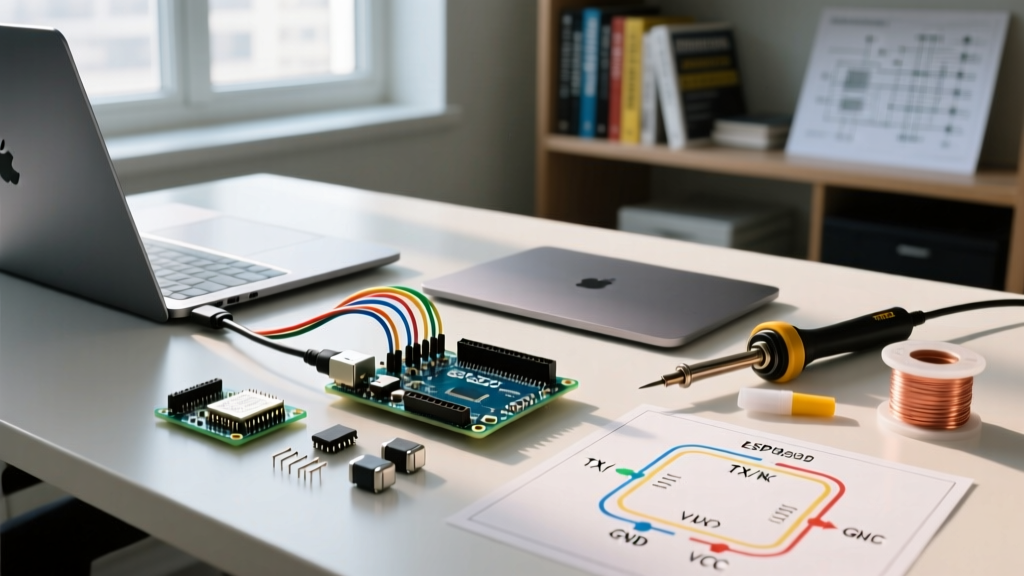
The most catastrophic failure mode during migration is ignoring logic levels. The ATmega328P operates at 5V logic, whereas the RP2040, ESP32, and Teensy 4.1 (mostly) operate at 3.3V. Feeding a 5V PWM signal from an older motor driver or a 5V ultrasonic sensor into a 3.3V GPIO pin will permanently destroy the silicon.
Pro-Tip on Level Shifters: Avoid using generic resistor voltage dividers for high-speed I2C or SPI lines (like those connecting to an MPU6050 IMU or LiDAR). The parasitic capacitance will ruin your signal rise times. Instead, use a dedicated bi-directional logic level shifter IC like the TXB0108 or BSS138 MOSFET-based modules to maintain signal integrity.
Furthermore, when migrating I2C buses (crucial for robotic IMUs and OLED displays), you must change your pull-up resistors. A standard 5V AVR I2C bus uses 4.7kΩ pull-ups. When dropping to 3.3V and aiming for 400kHz Fast Mode, you must upgrade to 2.2kΩ or 3.3kΩ pull-ups to ensure the signal rises fast enough to meet the I2C specification.
Firmware Migration: Porting AVR Sketches to 32-Bit
While the Arduino IDE abstracts much of the hardware, migrating complex robotic sketches requires rewriting low-level peripheral calls. The two biggest hurdles are motor control (PWM) and sensor polling (Interrupts).
PWM Frequency and Motor Driver Dead-Time
On an Arduino Uno, analogWrite() defaults to approximately 490Hz (or 980Hz on pins 5 and 6). When migrating to the ESP32, the standard analogWrite() function was historically unsupported or routed through the LEDC (LED Control) peripheral, which requires explicit setup. In modern ESP32 Arduino cores, analogWrite() is supported, but the default frequency is often 1kHz or 5kHz.
Why does this matter for robots? Many older brushed motor drivers (like the L298N) or specific brushless ESCs expect a 50Hz - 500Hz range. Driving an ESC with a 5kHz signal from an RP2040 or ESP32 will cause the ESC to fail to arm or emit a continuous error beep. You must explicitly set the PWM frequency using architecture-specific APIs:
- RP2040: Use
analogWriteFreq(500);before callinganalogWrite(). - ESP32: Use the LEDC API:
ledcAttach(pin, 500, 8);to set 500Hz at 8-bit resolution. - Teensy: Use
analogWriteFrequency(pin, 500);.
Interrupt and Encoder Handling Upgrades
Odometry is the backbone of autonomous navigation. On an 8-bit AVR, reading quadrature encoders relies on pin-change interrupts (PCINT), which can easily be dropped or missed if the CPU is busy calculating PID loops or parsing serial ROS commands. This results in "drift" and inaccurate mapping.
Upgrading to a 32-bit MCU allows you to offload encoder counting to dedicated hardware peripherals. According to the PJRC Encoder Library documentation, the Teensy 4.1 utilizes hardware quadrature decoders that count pulses entirely independent of the main CPU. Similarly, the RP2040 features Programmable I/O (PIO) state machines, which can be programmed to track encoder ticks with zero CPU overhead. Migrating your code to utilize these hardware-backed libraries will virtually eliminate odometry drift in your Arduino robots.
Power Delivery and Decoupling in Upgraded Chassis
A frequent, yet rarely discussed, issue when upgrading from an Uno to an ESP32 or RP2040 in a robotic chassis is the brownout reset. The ATmega328P is notoriously robust against voltage sags, often continuing to execute code even when VCC dips to 4.2V. Modern 32-bit ARM and Xtensa cores, however, have strict brownout detection (BOD) thresholds and will instantly reboot if the 3.3V rail drops below 2.9V for even a microsecond.
When your robot's motors start, stall, or reverse direction, they inject massive current spikes and back-EMF into the shared power rail. If your 3.3V LDO (Low Dropout Regulator) is connected to the same battery pack without proper isolation, the MCU will reboot mid-navigation.
The Decoupling Framework
- Isolate the Logic Rail: Use a dedicated buck converter (like the LM2596 or MP1584) to step down the 12V/24V motor battery to 5V, then use a high-quality LDO (like the AMS1117-3.3) to derive the 3.3V logic rail.
- Bulk Capacitance: Place a 470µF to 1000µF electrolytic capacitor directly across the motor driver's main power input terminals to absorb low-frequency current spikes.
- High-Frequency Decoupling: Solder a 100nF (0.1µF) ceramic capacitor as physically close to the VCC and GND pins of the new 32-bit MCU as possible. This is non-negotiable for ESP32-S3 modules, which draw sharp current spikes during Wi-Fi/BLE transmission bursts.
Real-World Migration Case Study: 4WD Mecanum Rover
To synthesize these concepts, consider the migration of a 4WD Mecanum wheel rover from an Arduino Mega 2560 to an ESP32-S3 DevKitC. The original Mega struggled to maintain a stable 10Hz ROS odom publish rate while reading four I2C IMUs and handling Bluetooth teleoperation.
By migrating to the ESP32-S3, the maker gained dual-core processing. Core 0 was pinned to handle the Wi-Fi stack and ROS serial bridging via micro-ROS, while Core 1 was dedicated strictly to the 500Hz PID control loops and hardware-accelerated PCNT (Pulse Counter) encoder reading. The 5V-to-3.3V logic shift was handled via a TXB0108 module for the I2C bus, and the PWM frequency was explicitly locked to 1kHz to match the TB6612FNG motor drivers. The result was a 400% increase in telemetry throughput and the elimination of encoder count drops during high-torque maneuvers.
Final Thoughts on Future-Proofing
Migrating Arduino robots to 32-bit architectures requires a fundamental shift in how you approach hardware design and firmware optimization. By respecting logic level thresholds, leveraging hardware-specific PWM and encoder peripherals, and implementing rigorous power decoupling, you can transform a lagging 8-bit toy into a responsive, ROS-compatible autonomous machine. As edge-AI and machine vision become standard in maker robotics, mastering these migration pathways is the most valuable skill a modern roboticist can develop.