
The Architecture of a Local-First Smart Hub
When evaluating Raspberry Pi smart home projects, the software stack dictates the reliability of the entire ecosystem. While hardware like the Raspberry Pi 5 (8GB) provides ample compute overhead, a poorly configured OS or container orchestration layer will lead to watchdog reboots, Zigbee network drops, and storage corruption. This software walkthrough bypasses basic plug-and-play tutorials and dives directly into the provisioning, configuration, and optimization of a production-grade Home Assistant OS (HAOS) environment.
Hardware Baseline vs. Software Overhead
Running a smart home hub is an I/O-intensive workload. Home Assistant relies heavily on SQLite for its recorder database, which executes thousands of micro-writes daily. Standard microSD cards fail under this write-amplification, leading to kernel panics. Therefore, this walkthrough assumes a software deployment targeted at an NVMe SSD via the Pi 5's PCIe 2.0 x1 interface, ensuring the software stack is not bottlenecked by storage latency.
Expert Insight: Never run Docker-based Home Assistant Supervised on a Raspberry Pi if you can avoid it. The OS-level dependencies and AppArmor conflicts on ARM64 Debian kernels cause endless maintenance headaches. Always use Home Assistant OS (HAOS) for dedicated single-board computer deployments.
Phase 1: Flashing and Provisioning Home Assistant OS
The foundation of any robust Raspberry Pi smart home project begins with a verified image flash. We utilize the official Home Assistant OS installation documentation to pull the latest stable release (currently 12.x for ARM64).
Optimizing the Pi 5 Bootloader and NVMe Configuration
Before flashing, you must update the Pi 5's bootloader to support NVMe boot, as the factory firmware defaults to SD/eMMC priority.
- Open the Raspberry Pi Imager software on your host machine.
- Select Raspberry Pi 5 as the device and Misc utility images > Bootloader > NVMe/USB Boot.
- Flash this bootloader utility to a spare SD card, insert it into the Pi 5, and power on. Wait for the green LED to blink steadily, indicating the EEPROM is updated.
- Next, select the Home Assistant OS 12.x (64-bit) image in the Imager.
- Click the gear icon (OS Customization) to enable SSH via public key injection. Do not use password-based SSH for local smart home hubs to prevent brute-force LAN attacks.
Once booted, HAOS will automatically expand the ext4 partition. You can verify the NVMe mount via the terminal command lsblk, ensuring the /dev/nvme0n1 block device is handling the hassos-data overlay.
Phase 2: The Zigbee2MQTT Software Stack
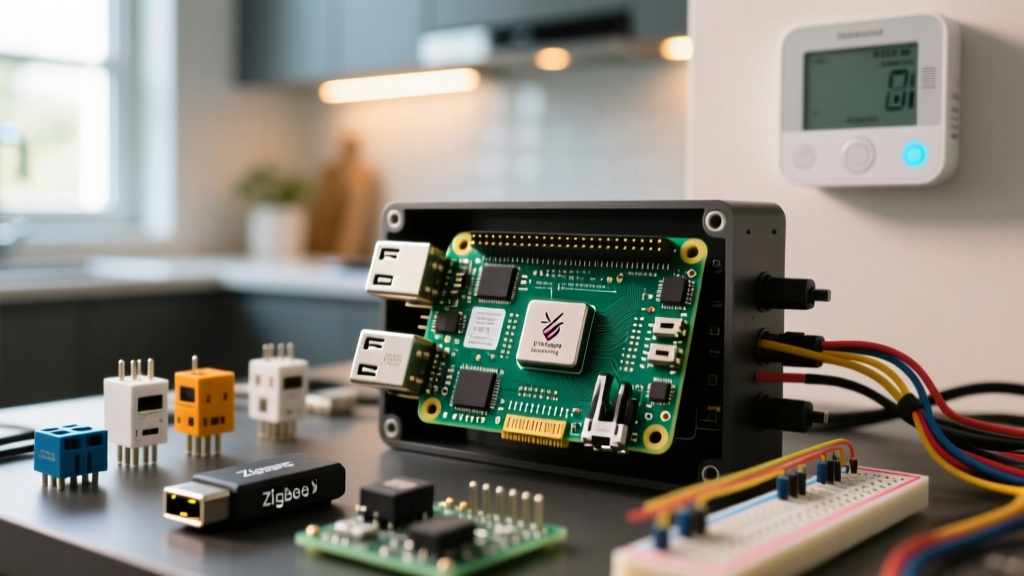
Z-Wave is losing ground to Zigbee and Thread. For Raspberry Pi smart home projects, Zigbee2MQTT (Z2M) paired with Mosquitto is the undisputed standard for local mesh networking. We recommend the Sonoff Zigbee 3.0 USB Dongle Plus (P-Version), which utilizes the Texas Instruments CC2652P chip. Avoid the E-Version (EZSP), as the Z-Stack firmware on the P-Version offers vastly superior memory routing and stability in Z2M.
Configuring configuration.yaml for the Sonoff Dongle
After installing the Mosquitto Broker add-on and the Zigbee2MQTT add-on from the HAOS store, you must map the USB serial device to the Z2M container. Navigate to the Zigbee2MQTT add-on configuration tab and inject the following YAML structure:
serial:
  port: /dev/ttyACM0
  adapter: zstack
  disable_led: false
mqtt:
  server: 'mqtt://core-mosquitto:1883'
  user: 'mqtt_user'
  password: 'your_secure_password'
advanced:
  log_level: warn
  pan_id: 6754
  network_key: GENERATE
Save and start the add-on. The GENERATE tag will create a cryptographically secure 16-byte network key on the first boot, replacing itself in the file to prevent unauthorized mesh joining.
Resource Allocation: Add-on vs. Standalone Docker
| Metric | HAOS Add-on (Supervised) | Standalone Docker Container |
|---|---|---|
| RAM Overhead | ~110 MB (Idle) | ~85 MB (Idle) |
| Update Management | 1-Click via Supervisor API | Manual via Watchtower/CLI |
| Serial Passthrough | Automatic via udev rules | Requires manual /dev/ttyACM0 mapping |
| Backup Integration | Native HAOS Backup Snapshots | Requires custom cron scripts |
For 95% of users, the HAOS Add-on route is superior due to native snapshot backups, which are critical when a Zigbee mesh coordinator corrupts its NVRAM.
Phase 3: Node-RED Logic and Advanced Automations
While Home Assistant's native YAML automations are powerful, complex logic gates (like PID controllers or multi-variable hysteresis loops) become unreadable. According to the Node-RED Raspberry Pi deployment guide, visual flow-based programming is ideal for edge devices. Install the Node-RED Companion add-on and the node-red-contrib-home-assistant-websocket palette via the Node-RED UI.
Building a Hysteresis-Based Climate Control Flow
A common failure in basic smart home projects is relay chatter—where a heater turns on and off rapidly when the room temperature hovers exactly at the thermostat setpoint. You can solve this in Node-RED using a hysteresis deadband.
- Trigger Node: Set to fire on state changes of
sensor.living_room_temperature. - Function Node (Deadband Logic): Inject the following JavaScript snippet to calculate the delta:
const setpoint = 21.0;
const deadband = 0.5;
const currentTemp = msg.payload;

if (currentTemp <= (setpoint - deadband)) {
    msg.payload = 'heat_on';
} else if (currentTemp >= (setpoint + deadband)) {
    msg.payload = 'heat_off';
} else {
    msg.payload = 'hold_state';
}
return msg;- Call Service Node: Route the
heat_onandheat_offoutputs to theswitch.turn_onandswitch.turn_offservices targeting your smart relay.
Troubleshooting Common Software Bottlenecks
Even with optimized software, Raspberry Pi smart home projects encounter edge-case failures. Below are the three most common software-level bottlenecks and their exact resolutions.
1. Zigbee2MQTT Fails to Connect to Adapter
Symptom: The Z2M log throws Error: failed to connect to adapter, try rebooting.
Diagnosis: The Pi 5's USB 3.0 controller is generating 2.4GHz RF noise, or the device path has shifted from /dev/ttyACM0 to /dev/ttyACM1 due to a hub reset.
Fix: Use a 1-meter USB 2.0 extension cable to move the Sonoff dongle away from the Pi's SoC and RAM modules. Then, configure Z2M to use the persistent device path: serial: port: /dev/serial/by-id/usb-ITead_Sonoff_Zigbee_3.0_USB_Dongle_Plus-if00.
2. Supervisor Boot Loop and Watchdog Reboots
Symptom: The Home Assistant frontend loads, but the Supervisor panel shows 'Supervisor is not running' and the system reboots every 10 minutes.
Diagnosis: The hassio_supervisor container is crashing due to DNS resolution failures on the local network, often caused by Pi-hole or AdGuard Home blocking the Supervisor's telemetry and update endpoints.
Fix: Access the Pi via SSH and edit the Supervisor DNS configuration: ha dns update --servers dns://8.8.8.8. Restart the supervisor via ha supervisor restart.
3. SQLite Database Lock and Recorder Lag
Symptom: The History and Logbook tabs take over 15 seconds to load; automations trigger with a 5-second delay.
Diagnosis: The recorder integration is attempting to write too many state changes to the SQLite database simultaneously, causing database is locked errors in the core log.
Fix: Filter out high-frequency, low-value sensors in your configuration.yaml. Add the following to exclude noisy entities:
recorder:
  exclude:
    entity_globs:
      - sensor.*_uptime
      - sensor.*_wifi_signal
    event_types:
      - call_service
      - automation_triggered
By implementing this software architecture, your Raspberry Pi smart home project transitions from a fragile hobbyist experiment into a resilient, enterprise-grade local automation controller. For deeper integration specifics, always refer to the official Zigbee2MQTT documentation to ensure your coordinator firmware remains aligned with the latest Z-Stack releases.