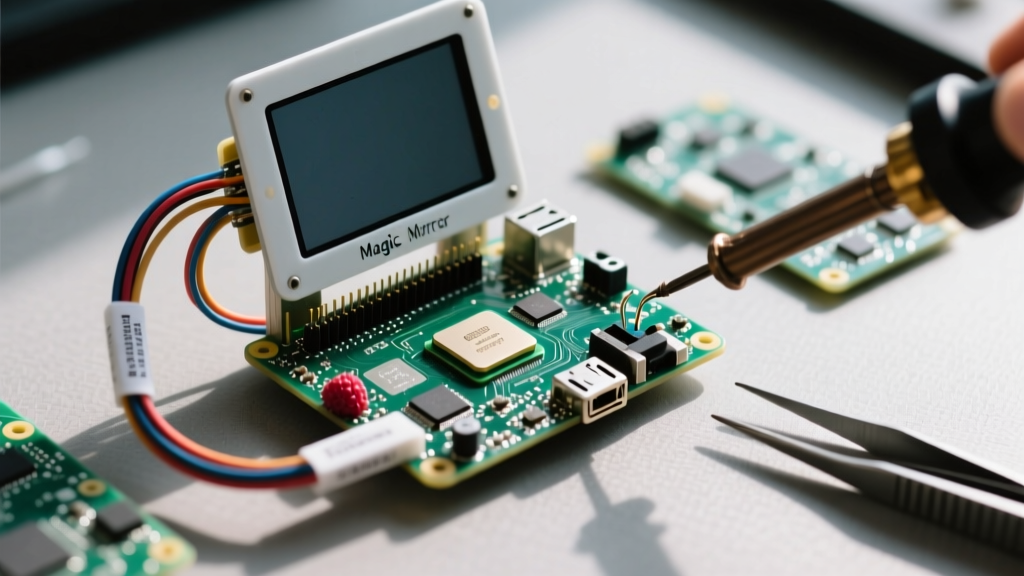

When beginners search for a cool Raspberry Pi project, they are usually looking for the sweet spot between 'visually impressive' and 'actually finishable on a weekend.' While blinking LEDs and basic weather stations are great for learning GPIO pins, they rarely earn a permanent spot in your home. Enter the Smart Magic Mirror. This build transforms a standard display into a sleek, two-way reflective surface that overlays real-time data, calendars, and smart home controls. It is the quintessential cool Raspberry Pi project because it bridges the gap between hardware assembly, Linux system administration, and front-end web customization.
Why the Magic Mirror is the Ultimate Cool Raspberry Pi Project
The Magic Mirror isn't just a novelty; it is a highly functional dashboard. Powered by the open-source MagicMirror² platform, this project utilizes a Node.js server to render a localized web page on a display hidden behind a two-way mirror. For beginners, it offers a structured introduction to headless Linux environments, SSH configuration, and CSS styling, all while resulting in a premium-looking smart home device. Unlike projects that require complex soldering or fragile breadboard circuits, the Magic Mirror relies on standard HDMI and USB-C connections, allowing you to focus on the physical build and software configuration.
The Hardware BOM: Sourcing the Right Components
The most common point of failure for beginners is sourcing the wrong display or mirror material. Below is a curated Bill of Materials (BOM) optimized for a 24-inch build, balancing cost with premium aesthetics.
| Component | Specification / Requirement | Est. Cost | Beginner Note |
|---|---|---|---|
| Single Board Computer | Raspberry Pi 4 Model B (4GB) or Pi 5 | $55 - $80 | 4GB RAM is the minimum for smooth module rendering. |
| Monitor | 24-inch 1080p IPS Panel | $90 - $120 | Never use a TN panel (see viewing angle notes below). |
| Two-Way Mirror | 1/8-inch (3mm) Two-Way Acrylic | $45 - $60 | Ensure ~15% light transmission and ~80% reflection. |
| Power Supply | Official USB-C Power (15W for Pi 4, 27W for Pi 5) | $10 - $12 | Third-party supplies cause brownout warnings on boot. |
| Frame Material | 1x4 Pine Boards or Aluminum Extrusion | $30 - $50 | Build a 'shadow box' to hide the monitor bezel. |
The Two-Way Mirror Dilemma: Acrylic vs. Glass
Beginners often debate between two-way glass and two-way acrylic. Glass offers superior scratch resistance and a higher-quality reflection, but it is heavy, expensive, and requires specialized tools to drill for ventilation. For your first cool Raspberry Pi project, two-way acrylic is the superior choice. It is lightweight, shatter-resistant, and can be cut or drilled with standard woodworking tools. However, you must verify the light transmission rate. If the acrylic is too dark (under 10% transmission), the Pi's monitor will not be able to pierce through the reflection, rendering your modules invisible in a well-lit room.
The Monitor Trap: Why IPS is Non-Negotiable
When stripping down a monitor, you must remove the plastic bezel and the metal backlight housing. This is where beginners make a fatal error: using a TN (Twisted Nematic) panel monitor because it was cheap or already sitting in the garage. TN panels have terrible viewing angles (typically 170°/160°). When you view a TN panel through a two-way mirror, especially from the side or while standing, the colors will invert and the contrast will wash out completely. You must source an IPS (In-Plane Switching) panel with 178°/178° viewing angles to ensure the white text remains crisp and legible from anywhere in the room.
Physical Assembly and Thermal Management
Building the physical shadow box frame requires precise measurements. The frame must sit flush against the wall, with the two-way acrylic at the very front, followed by a 1-inch gap, and then the stripped IPS monitor. This gap is crucial for airflow and prevents the monitor's heat from transferring directly to the acrylic, which can cause warping over time.
Thermal Throttling in Enclosed Spaces
A sealed wooden box acts as an insulator. According to the Raspberry Pi Hardware Specifications, the Pi 4 and Pi 5 will begin to thermally throttle at 80°C and hard-throttle at 85°C. In a sealed mirror frame, a Pi running a Node.js server and a Chromium kiosk browser will hit 85°C in under 20 minutes. To prevent your cool Raspberry Pi project from becoming a sluggish mess, you must implement active or passive cooling. The best beginner-friendly solution is to install the official Raspberry Pi Active Cooler, or route a 5V 40mm PWM fan to the bottom of the frame to draw cool air in, while leaving 1/2-inch ventilation slots at the top of the wooden frame to allow hot air to escape via convection.
Software Setup: Flashing MagicMirror²
For the operating system, skip the full Raspberry Pi OS Desktop environment. It consumes unnecessary RAM and CPU cycles. Instead, flash Raspberry Pi OS Lite (64-bit) using the Raspberry Pi Imager. This headless approach forces you to learn basic Linux CLI commands, a vital skill for any SBC enthusiast.
- Enable SSH and configure Wi-Fi in the Imager's advanced settings (gear icon).
- Boot the Pi, SSH into it via your terminal, and update the system:
sudo apt update && sudo apt upgrade -y. - Install the MagicMirror² dependency stack. The community maintains an automated installation script that handles Node.js, PM2 (process manager), and the X11 window server.
Pro-Tip on Process Management: Never run your mirror using
npm startin a standard terminal session. If the SSH connection drops, the mirror crashes. Always usepm2(Process Manager 2) to daemonize the application. This ensures the mirror automatically restarts if the software crashes and boots up automatically after a power outage.
Configuring the config.js File
The heart of the Magic Mirror is the config.js file located in the ~/MagicMirror/config/ directory. This JavaScript object defines which modules appear where on the screen. The screen is divided into regions: top_bar, top_left, top_right, middle_center, bottom_left, and bottom_right. Beginners should start with the default modules (Clock, Calendar, Weather) and slowly integrate third-party modules like MMM-SmartWebDisplay for Home Assistant dashboards or MMM-RemoteControl to manage the mirror via a web browser without needing to SSH in.
Troubleshooting Common Beginner Failure Modes
Even with a perfect hardware build, software and environmental factors can ruin the experience. Here is how to troubleshoot the three most common issues:
1. The Wi-Fi Dead Zone (RF Interference)
Many cheap two-way mirror window films and some acrylic coatings use metallic layers to achieve their reflective properties. Metal blocks RF signals. If your Pi is mounted directly behind the mirror, you may experience massive packet loss or complete Wi-Fi dropout. The Fix: If hardwiring Cat6 Ethernet isn't an option, use a USB Wi-Fi dongle with an extension cable, and route the antenna outside the wooden frame or behind the mirror's edge where the metallic coating is absent.
2. The 'White Box' Bezel Leak
If you do not properly mask the edges of the monitor, the bright white backlight of the IPS panel will bleed through the two-way mirror, creating a glowing halo around the edges of your frame. The Fix: Use black electrical tape or matte black foam weatherstripping to create a light-tight seal between the monitor's edge and the back of the two-way acrylic. Ensure the room behind the mirror (inside the box) is painted matte black to absorb ambient light leak.
3. CSS Scaling Issues on 1080p Displays
MagicMirror² is designed with high-DPI displays in mind. On a standard 24-inch 1080p monitor, the default fonts may look jagged or overly large. The Fix: Create a custom.css file in the css/ directory. Override the default body font sizes and adjust the zoom property in your Chromium kiosk launch script. Adding --force-device-scale-factor=0.8 to your xinitrc Chromium launch parameters will instantly scale the UI down, resulting in a much cleaner, premium aesthetic that fits more modules on the screen.
Building a smart mirror is a rite of passage in the SBC community. By paying attention to panel types, thermal dynamics, and RF interference, your first cool Raspberry Pi project will transition from a weekend experiment to a permanent, reliable fixture in your smart home ecosystem.