
The Bottleneck in Your Raspberry Pi WiFi Setup
When deploying single-board computers for smart home hubs, remote weather stations, or NAS enclosures, network reliability is paramount. While Ethernet is king, physical cabling is rarely an option for distributed IoT nodes. This makes a robust raspberry pi wifi setup an absolute necessity. However, not all wireless hardware is created equal. The default onboard wireless modules often fall short in environments with heavy RF congestion, thick walls, or high-throughput demands like OctoPrint camera streaming.
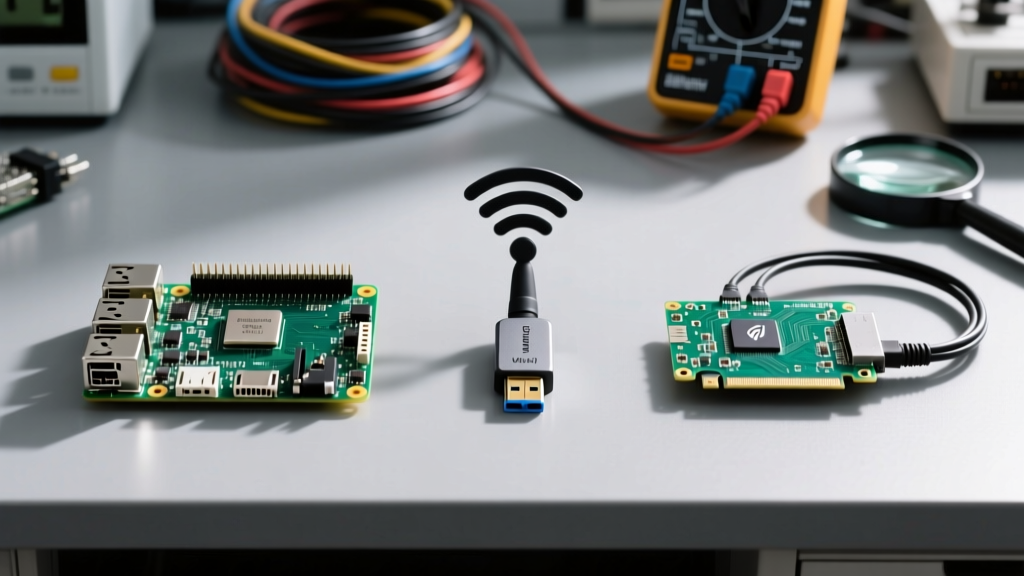
In this hardware comparison, we dissect the three primary architectures for Pi wireless connectivity: the onboard Broadcom/Infineon SoCs, external USB 3.0 adapters, and the newly accessible PCIe M.2 Key-E bridges on the Raspberry Pi 5. By examining chipsets, real-world throughput, driver overhead, and failure modes, you can engineer a wireless topology that actually survives in the field.
Onboard vs. Dongle vs. PCIe: A Hardware Showdown
Onboard Broadcom and Infineon Silicon
The Raspberry Pi 4B utilizes the Broadcom BCM43455 (802.11ac, dual-band), while the Pi 5 steps up to the Infineon CYW43455. Both support 2.4GHz and 5GHz bands with a theoretical maximum link rate of 433 Mbps on 5GHz. In a controlled line-of-sight environment, you can expect real-world TCP throughput of roughly 80 to 110 Mbps.
The primary limitation of the onboard raspberry pi wifi setup is the PCB trace antenna. It is highly susceptible to detuning when placed inside metal enclosures or near ground planes. Furthermore, the onboard chip shares the SDIO bus with the Bluetooth module, which can lead to bandwidth contention if you are simultaneously streaming audio and pulling network data.
USB 3.0 WiFi Adapters: The RTL8812AU and MT7921AUN
For Pi 4 and Pi 3B+ users, external USB dongles are the traditional upgrade path. The most ubiquitous chipset is the Realtek RTL8812AU (found in the Alfa AWUS036ACH). It offers excellent 802.11ac performance and supports monitor mode for packet injection. However, it requires compiling a custom dkms driver, as mainline Linux kernel support is notoriously absent. You will need to run sudo apt install dkms git, clone the driver repository, and execute sudo dkms install.
A modern alternative is the MediaTek MT7921AUN (WiFi 6 / 802.11ax). Found in adapters like the EDUP AX1800, this chipset boasts native support in Linux kernel 6.1 and newer. It delivers vastly superior 5GHz and 6GHz throughput (up to 1200 Mbps link rate) and handles MU-MIMO efficiently, making it the best plug-and-play USB option for Home Assistant nodes pulling heavy dashboard assets.
Pi 5 PCIe M.2 Key-E Bridges
The Raspberry Pi 5 introduced a dedicated PCIe 2.0 x1 FFC connector, fundamentally changing the networking landscape. By utilizing an M.2 Key-E adapter board (such as the Waveshare Pi 5 M.2 HAT or Pineboards HatDrive), you can install desktop-grade Intel AX210 WiFi 6E cards. This bypasses the USB bus entirely, eliminating CPU interrupt overhead and delivering rock-solid latency.
To enable this on the Pi 5, you must modify the /boot/firmware/config.txt file by appending dtparam=pciex1 and dtparam=pciex1_gen=2 (Gen 3 is possible but requires a ribbon cable with impeccable shielding). The Intel AX210 relies on the mainline iwlwifi driver, meaning it works natively out of the box on Raspberry Pi OS Bookworm.
Specification and Performance Matrix
The following table summarizes the hardware options for your network topology, factoring in current market pricing and kernel compatibility.
| Hardware Type | Chipset Example | Protocol | Real-World 5GHz Throughput | Driver Effort | Est. Cost (USD) |
|---|---|---|---|---|---|
| Onboard (Pi 4/5) | BCM43455 / CYW43455 | 802.11ac | ~95 Mbps | Native (Zero) | $0 (Included) |
| USB 3.0 Dongle | Realtek RTL8812AU | 802.11ac | ~140 Mbps | High (DKMS Compile) | $18 - $25 |
| USB 3.0 Dongle | MediaTek MT7921AUN | 802.11ax (WiFi 6) | ~350 Mbps | Low (Kernel 6.1+) | $22 - $30 |
| Pi 5 PCIe M.2 | Intel AX210 | 802.11ax (WiFi 6E) | ~650 Mbps | Low (Native iwlwifi) | $18 (Card) + $12 (HAT) |
Real-World Failure Modes and Interference
Theoretical speeds rarely survive contact with physical environments. When engineering a permanent installation, you must account for specific hardware failure modes.
The USB 3.0 2.4GHz Blindspot
If you are using a USB 3.0 WiFi dongle, or even an external USB 3.0 SSD alongside your Pi, you will likely encounter severe 2.4GHz degradation. As documented in a landmark Intel USB 3.0 Interference Whitepaper, unshielded USB 3.0 data cables emit broadband noise precisely in the 2.4GHz ISM band. This noise floor can easily drown out 2.4GHz WiFi signals, causing packet loss and massive latency spikes. The fix: Always use heavily shielded USB cables, keep the dongle on a 2-foot USB extension cable away from the Pi chassis, or force your raspberry pi wifi setup to connect exclusively via the 5GHz band.
Thermal Throttling on the BCM43455
On the Pi 4B, the onboard WiFi module is situated near the PMIC (Power Management IC) and the main SoC. If your Pi is enclosed in a poorly ventilated case and the CPU temperature regularly breaches 75°C, the thermal soak will affect the WiFi chip. The BCM43455 will silently reduce its transmit power to prevent silicon damage, manifesting as random disconnects or a sudden drop from 80 Mbps to 5 Mbps. Active cooling (like the official Pi 4 case fan) is non-negotiable for high-duty-cycle onboard wireless.
Choosing the Right Antenna Topology
The physical antenna dictates your link budget. Most external USB adapters and PCIe cards utilize either RP-SMA or U.FL connectors.
- RP-SMA Pigtails: Ideal for metal enclosures. You can drill a hole in your project box, mount the RP-SMA bulkhead connector on the exterior, and route the cable inside. This completely bypasses the Faraday cage effect of metal cases.
- U.FL / MHF4 Connectors: Common on internal M.2 PCIe cards. These are highly fragile and rated for only 30 mating cycles. When routing U.FL cables to external antennas, ensure the cable bend radius does not exceed 4mm, or you will snap the center conductor.
- Antenna Gain (dBi): Beware of marketing claims boasting '15dBi' antennas. High-gain omnidirectional antennas flatten the RF radiation pattern, which is great for single-floor horizontal range, but terrible if your router is on a different floor. For multi-story smart homes, a standard 3dBi to 5dBi dipole antenna provides a much more reliable spherical coverage pattern.
Final Verdict: Matching Hardware to Your Project
Your ideal hardware depends entirely on the deployment environment and the host board generation. For basic MQTT sensors or low-bandwidth Home Assistant Zigbee bridges, the default onboard Raspberry Pi wireless is perfectly adequate, provided you use a 5GHz network to avoid Bluetooth contention.
If you are building a Pi 4-based NAS or a security camera NVR, skip the Realtek USB dongles and invest in a MediaTek MT7921AUN USB adapter to leverage WiFi 6 without kernel compilation headaches. Finally, if you are deploying a Raspberry Pi 5 as a high-performance edge compute node or a media server, the PCIe M.2 Intel AX210 route is unmatched. As highlighted in Jeff Geerling's extensive Pi 5 PCIe testing, offloading networking to the PCIe bus frees up the CPU and provides desktop-class wireless stability that no USB dongle can replicate.