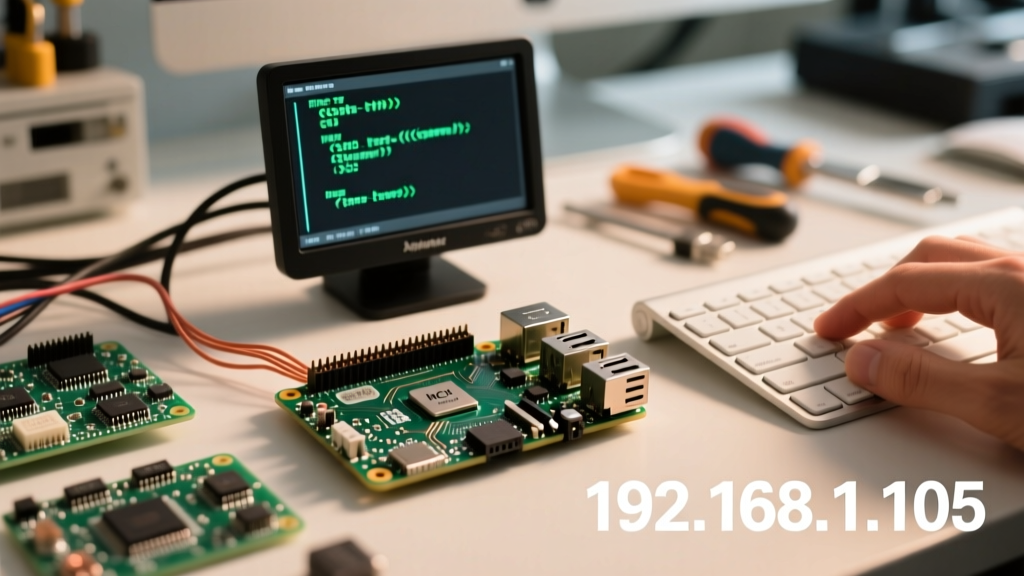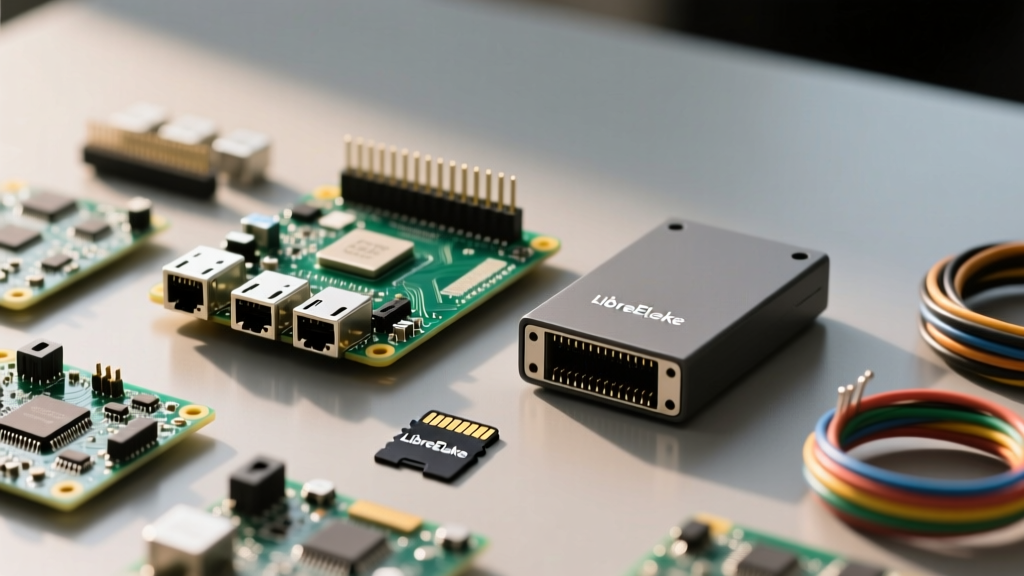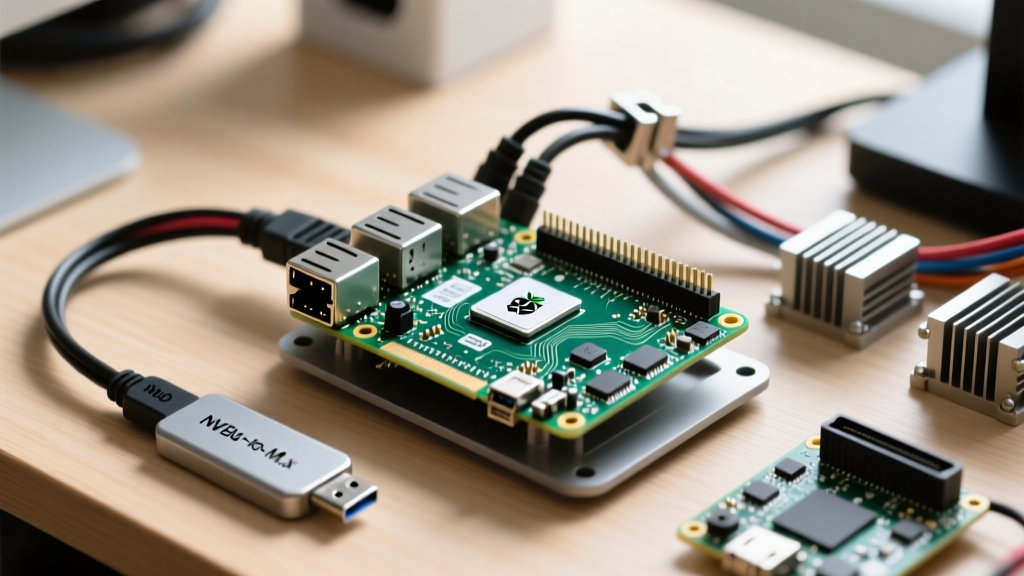

Building a reliable smart home requires a foundation that doesn't crumble under the weight of constant database writes and network polling. While cloud hubs offer convenience, running a local instance using a Raspberry Pi for Home Assistant provides unmatched privacy, speed, and integration capabilities. However, the days of simply flashing a microSD card and hoping for the best are over. Modern Home Assistant setups demand robust storage I/O, proper thermal management, and careful peripheral topology.
In this comprehensive tutorial, we will engineer a production-grade Home Assistant OS (HAOS) node using the Raspberry Pi 5, bypassing the notorious SD card failure modes and solving the hidden USB interference issues that plague Zigbee and Thread networks.
The Hardware Reality: Sizing Your Compute Module
When selecting a board, it is tempting to reuse an older Raspberry Pi 3B+ or Pi 4. However, Home Assistant's architecture—specifically the Supervisor and add-on ecosystem—has grown significantly. Running Frigate NVR, Plex, or multiple Node-RED flows requires substantial RAM and PCIe bandwidth.
Comparing the Contenders: Pi 4, Pi 5, and Alternatives
| Board Model | RAM | Storage Interface | HA Suitability | Est. Price |
|---|---|---|---|---|
| Raspberry Pi 4 Model B | 8GB | USB 3.0 (UASP) | Good (Requires USB-SSD) | $75 |
| Raspberry Pi 5 | 8GB | PCIe 2.0/3.0 x1 | Excellent (Native NVMe) | $80 |
| Home Assistant Green | 8GB | eMMC / NVMe HAT | Excellent (Plug & Play) | $99 |
| ODROID-N2+ | 4GB | eMMC | Legacy (HA Yellow base) | $90 |
For this tutorial, the Raspberry Pi 5 (8GB variant) is our target. The 8GB of LPDDR4X is critical if you plan to run local AI models for camera object detection or memory-intensive Java-based add-ons. According to the official Raspberry Pi 5 documentation, the BCM2712 SoC introduces a dedicated PCIe 2.0 x1 lane, fundamentally changing how we approach storage for single-board computers.
Overcoming the MicroSD Bottleneck: NVMe Migration
The most common point of failure in any Pi-based smart home hub is the microSD card. Home Assistant uses a SQLite database to store the state history of every entity in your home. If you have 50 smart bulbs, a dozen motion sensors, and energy monitors reporting every 10 seconds, the recorder integration generates thousands of tiny, random write operations per hour.
MicroSD cards are designed for sequential read/writes (like recording video), not the random I/O patterns of a database. This leads to write amplification, silicon degradation, and eventual read-only lockups.
Configuring the Pi 5 PCIe Lane for HAOS
To achieve true reliability, we must boot Home Assistant OS directly from an M.2 NVMe SSD. You will need an NVMe HAT (like the official Raspberry Pi M.2 HAT+ or the Argon ONE V3 M.2 case) and a 2230 or 2242 NVMe drive (e.g., WD Black SN770M 512GB).
By default, the Pi 5 limits the PCIe lane to Gen 2 speeds. To unlock Gen 3 (doubling bandwidth to ~8 GT/s), you must edit the EEPROM configuration before installing HAOS, or mount the boot partition via a Linux PC.
- Open the
config.txtfile located in the boot partition. - Add the following parameters to the bottom of the file:
dtparam=pciex1dtparam=pciex1_gen=3 - Save and safely eject the drive.
Note: While Gen 3 is stable on most modern NVMe drives, if you experience kernel panics during heavy database commits, revert to Gen 2 by removing the _gen=3 parameter.
Peripheral Topology: Zigbee, Thread, and USB Interference
A massive, often undocumented failure mode in Raspberry Pi smart home setups is the destruction of 2.4GHz wireless protocols by USB 3.0 data lines. When you plug a Zigbee dongle (like the Sonoff Zigbee 3.0 USB Dongle Plus-P) or a Thread border router directly into the Pi's USB 3.0 ports, the electromagnetic interference (EMI) generated by the high-speed data bus creates a noise floor that blinds the dongle's antenna.
Expert Rule of Thumb: Never plug a 2.4GHz RF coordinator directly into the Raspberry Pi motherboard. Always use a shielded, 1-meter USB 2.0 extension cable to physically separate the antenna from the Pi's SoC and USB 3.0 controller. The Home Assistant ZHA Documentation explicitly warns about this interference pattern, which manifests as dropped devices and 'ghost' state changes.
Furthermore, if you are using an active USB hub to connect multiple coordinators (e.g., Zigbee, Z-Wave, and an SDR for 433MHz weather sensors), ensure the hub has an independent 5V/3A power supply. The Pi 5 can output up to 1.6A across all USB ports combined, but relying on the board's power rail for multiple RF sticks can cause brownouts and Supervisor crashes.
Flashing and First Boot: The HAOS Deployment
With the hardware assembled, the NVMe seated, and the PCIe lane configured, it is time to flash the operating system. We strongly recommend using Home Assistant OS (HAOS) rather than a Docker container on Raspberry Pi OS, as HAOS includes the Supervisor, which manages add-ons, backups, and OS-level updates seamlessly.
- Download the Raspberry Pi Imager and the latest HAOS generic aarch64 image.
- Select your NVMe drive (via USB adapter) or the configured microSD if using a temporary boot method.
- Click the 'OS Customisation' gear icon. Set your hostname (e.g.,
ha-core-01), enable SSH with a robust ED25519 key, and configure your local WiFi or Ethernet settings. - Flash the drive, insert it into the Pi 5, and apply power using the official 27W USB-C PD power supply.
Upon first boot, the Pi will take several minutes to resize the NVMe partition and initialize the Docker overlay filesystem. You can monitor this process by connecting a monitor to the Pi's micro-HDMI port. Once the CLI prompt appears, navigate to http://homeassistant.local:8123 on your primary machine to begin the onboarding wizard.
Post-Installation: Database Tuning for Longevity
Even with an NVMe drive, unnecessary database bloat will slow down your dashboard and degrade your SSD's TBW (Terabytes Written) rating over time. The Home Assistant Recorder Integration allows you to filter out high-frequency, low-value entities.
Add the following to your configuration.yaml to exclude transient sensors from the database:
recorder:
  db_url: sqlite:////config/home-assistant_v2.db
  commit_interval: 5
  exclude:
    domains:
      - sensor
    entities:
      - sensor.uptime
      - sensor.time
    entity_globs:
      - sensor.*_power_w
      - sensor.*_battery_voltage
By increasing the commit_interval to 5 seconds and excluding fast-updating power metrics (which should ideally be handled by long-term statistics or InfluxDB instead of the primary SQLite DB), you reduce write operations by up to 70%. This ensures your Raspberry Pi for Home Assistant remains a snappy, reliable command center for years to come, entirely free from the hardware pitfalls that plague beginner setups.