
The Headless Dilemma: Why SSH Isn't Always Enough
When deploying a Raspberry Pi as a headless node for Home Assistant, digital signage, or a remote CAD workstation, SSH is usually the first tool we reach for. But what happens when your project demands a Graphical User Interface (GUI)? Whether you are debugging a Python OpenCV script, managing Node-RED visual flows, or simply need to access a web-based dashboard that refuses to render properly on your main machine, a remote desktop Raspberry Pi setup becomes mandatory.
However, configuring remote GUI access on a Single Board Computer (SBC) is fraught with hidden pitfalls. From headless resolution failures to the recent display server shifts in Raspberry Pi OS, achieving a lag-free, secure remote desktop requires precise configuration. In this project tutorial, we will bypass the generic advice and dive deep into the exact terminal commands, hardware requirements, and network topologies needed to build a bulletproof remote desktop environment.
The Bookworm Wayland Paradigm Shift
Before typing a single command, we must address the elephant in the room: Raspberry Pi OS Bookworm. With the release of Bookworm, the Raspberry Pi Foundation shifted the default display server from X11 (Xorg) to Wayland (specifically, the Wayfire compositor).
Critical E-E-A-T Note: Legacy remote desktop tools like
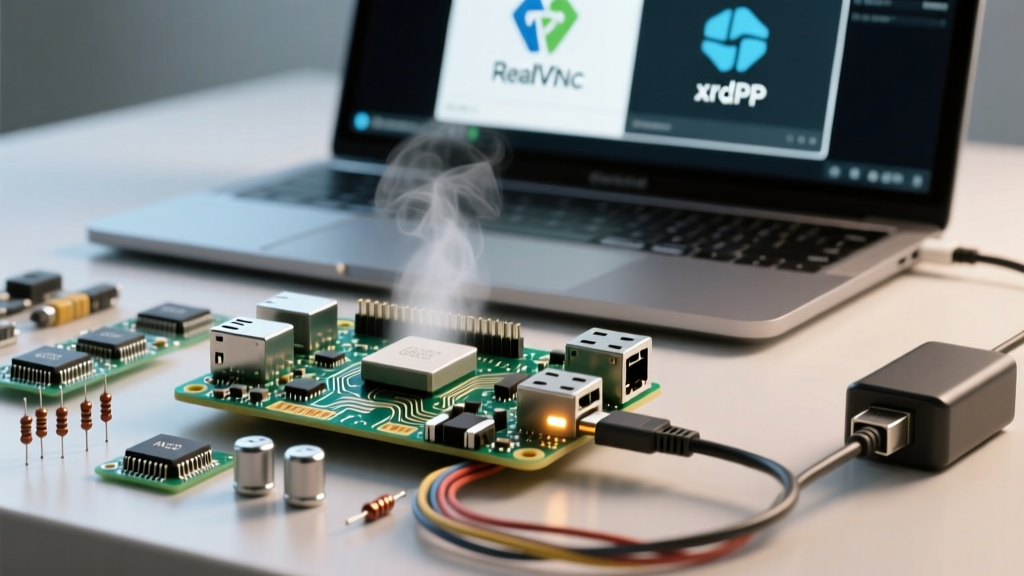
x11vncand standardxrdpXorg sessions rely heavily on X11 hooks. If you attempt to install these on a default Bookworm installation, you will likely be greeted with a black screen or an immediate session crash. You have two choices: switch back to X11 viaraspi-config, or use Wayland-compatible tools like the new RealVNC Connect or WayVNC.
For this tutorial, we will provide the X11 fallback method for maximum compatibility with traditional IT tools (xrdp), while also covering the official RealVNC method that supports modern Wayland environments.
Hardware Prerequisites & Thermal Throttling
Remote desktop encoding is surprisingly CPU-intensive. The Pi must capture the framebuffer, compress it (often using H.264 or JPEG algorithms), and transmit it over the network simultaneously.
- Compute: Raspberry Pi 4 Model B (4GB minimum) or Raspberry Pi 5. The Pi 5's PCIe 2.0 interface allows for NVMe boot, drastically reducing GUI loading times.
- Power: If using a Pi 5, you must use an official 27W USB-C PD power supply. Standard 15W supplies will trigger peripheral current limiting, causing USB dropouts and network instability during heavy remote desktop usage.
- Cooling: The Raspberry Pi Active Cooler ($5) is non-negotiable. Passive heatsinks will result in thermal throttling at 80°C, causing severe input lag on your remote session.
- Storage: A high-endurance microSD (like the SanDisk High Endurance) or an NVMe SSD via the Pi 5 PCIe HAT. GUI swapping on a slow SD card guarantees a stuttering remote experience.
Method 1: The Official RealVNC Route (Wayland Compatible)
RealVNC is the officially supported remote desktop solution for the Raspberry Pi. The newer 'RealVNC Connect' architecture works natively with the Wayfire compositor in Bookworm, meaning you don't need to downgrade your display server.
Step-by-Step Configuration
- Open your terminal (via SSH) and launch the configuration tool:
sudo raspi-config - Navigate to Interface Options > VNC and select Yes to enable the server.
- By default, the VNC server only binds to localhost or local subnets securely. To access it, download the RealVNC Viewer on your host machine.
- Enter the Pi's local IP address (e.g.,
192.168.1.50:5900).
Authentication Gotcha: RealVNC on Bookworm uses system credentials by default. You must log in with your standard Pi username and password. If you created a user without a password during the Imager setup, VNC will reject the connection. Set a password via passwd in the terminal first.
Method 2: xrdp for Native Windows RDP Clients
If you are managing a fleet of Pis from a Windows environment, using the native Remote Desktop Protocol (RDP) via xrdp is vastly superior to VNC. RDP transmits drawing commands rather than raw pixel bitmaps, resulting in significantly lower bandwidth usage and crisper text rendering. However, xrdp requires the X11 display server.
Reverting to X11
First, switch your Pi back to X11:
sudo raspi-config
# Navigate to: Advanced Options > Wayland > X11
# Reboot the Pi
sudo reboot
Installing and Patching xrdp
Once rebooted into X11, install the xrdp daemon:
sudo apt update
sudo apt install xrdp -y
The SSL-Cert Bug (Crucial Fix): On Debian-based systems, the xrdp user lacks permissions to read the SSL certificate required to encrypt the session. If you skip this step, your RDP session will terminate instantly upon connection.
sudo adduser xrdp ssl-cert
sudo systemctl restart xrdp
Now, open Windows Remote Desktop Connection, enter the Pi's IP, and log in with your Linux credentials. You will be greeted by the familiar LXDE/Pixel desktop environment.
Solving the Headless Resolution Failure
When a Raspberry Pi boots without an HDMI monitor attached, it fails to read an EDID (Extended Display Identification Data) chip. Consequently, the OS assumes no display is present, defaults to a tiny 720x480 resolution, or fails to start the GUI entirely. This makes remote desktop usage miserable.
The Software Fix (config.txt)
You can force the Pi to generate a virtual 1080p display by editing the boot configuration. Open the config file:
sudo nano /boot/firmware/config.txtAdd or uncomment the following lines at the bottom of the file:
# Force HDMI hotplug even if no cable is detected
hdmi_force_hotplug=1

# Set to DMT (Display Monitor Timings)
hdmi_group=2

# Set to 1080p 60Hz (Mode 82)
hdmi_mode=82
Save and reboot. Your remote desktop session will now lock to a crisp 1920x1080 resolution.
The Hardware Fix (The Dummy Plug)
For production deployments where software config overrides are unreliable (especially on Pi 5 with its dual micro-HDMI ports), we highly recommend purchasing a 4K HDMI Dummy Plug (typically $5-$8 online). This physical dongle emulates an EDID chip, tricking the Pi into believing a high-end monitor is attached. It guarantees hardware-level GUI acceleration and eliminates Wayland compositor crashes related to missing display sinks.
Protocol Comparison: Which Should You Choose?
| Protocol | Wayland Support | Bandwidth Usage | Client Requirement | Best Use Case |
|---|---|---|---|---|
| RealVNC | Yes (Native) | High (Pixel-based) | RealVNC Viewer | Bookworm default, Mac/Linux hosts |
| xrdp | No (Requires X11) | Low (Vector-based) | Windows RDP / Remmina | Windows IT admins, text-heavy GUIs |
| WayVNC | Yes (Native) | Medium | Any standard VNC Viewer | Open-source purists, Wayland setups |
Securing WAN Access: Never Port Forward 5900
A common and catastrophic mistake made by beginners is forwarding port 5900 (VNC) or 3389 (RDP) directly to the internet via their router. Bots scan these ports relentlessly, and brute-force attacks will compromise your Pi within hours, often enlisting it into a botnet.
Instead, utilize a WireGuard-based mesh VPN like Tailscale. Tailscale creates a secure, encrypted tunnel between your remote laptop and your Raspberry Pi without touching your router's firewall.
Tailscale Integration Steps
- Install Tailscale on your Pi:
curl -fsSL https://tailscale.com/install.sh | sh - Authenticate the node:
sudo tailscale up - Install Tailscale on your remote laptop and log into the same account.
You will now be assigned a stable 100.x.y.z IP address. You can use this Tailscale IP in your VNC or RDP client from anywhere in the world, with zero port forwarding and end-to-end encryption. For added security, enable Tailscale SSH to completely disable password-based SSH logins on your local network.
Final Troubleshooting Checklist
If you encounter issues, verify these common failure modes:
- Black Screen on Connect: You are likely trying to connect via xrdp while Wayland is active. Switch to X11 via
raspi-config. - Extreme Input Lag: Check your CPU temperature with
vcgencmd measure_temp. If it exceeds 80°C, your Pi is throttling. Upgrade your cooling solution. - Clipboard Not Syncing: For VNC, ensure the
vncconfig -nowin &daemon is running. For xrdp, ensurexrdp-chansrvis active in your session. - Authentication Loop: You are attempting to log into xrdp while the user is already logged in locally or via another active session. Linux desktop environments generally do not support concurrent GUI sessions for the same user. Log out of other sessions first.
By understanding the underlying display server architecture and respecting the hardware limitations of ARM-based SBCs, your remote desktop Raspberry Pi deployment will transition from a laggy novelty to a robust, enterprise-grade remote workstation.