
The Foundation of a Smart Home Hub: Why Your Flasher Choice Matters
When building a centralized smart home hub using a Raspberry Pi 4 or Raspberry Pi 5, the reliability of your entire automation network hinges on the very first step: writing the operating system to your storage media. In the DIY electronics and home automation community, the term raspberry pi flasher generally refers to the software utilities used to write disk images, but it also encompasses the hardware bridges and recovery methods required to provision modern NVMe drives and rescue corrupted bootloaders.
For platforms like Home Assistant OS (HAOS) or OpenHAB, a failed flash or degraded storage medium doesn't just mean a simple reboot; it means offline Zigbee networks, unresponsive Matter devices, and broken HVAC automations. This guide explores the most robust software flashers, hardware provisioning techniques, and recovery protocols to ensure your smart home hub achieves true 24/7 uptime.
Software Flashers Compared: Imager vs. balenaEtcher vs. Rufus
Selecting the correct software flasher is critical when dealing with specialized smart home images. Unlike a standard Raspberry Pi OS desktop installation, HAOS requires raw disk image writing with precise partition table preservation. The underlying file system relies on a mix of FAT32 for the boot partition and specialized ext4/squashfs partitions for the OS and data overlays. Below is a technical comparison of the top three provisioning tools used by integrators.
| Flasher Tool | Headless Config Support | UASP / NVMe Compatibility | Checksum Validation | Best Use Case |
|---|---|---|---|---|
| Raspberry Pi Imager | Native (OS Customization) | Excellent | SHA-256 Verified | HAOS, ESPHome, Pi OS |
| balenaEtcher | None | Good (Requires safe eject) | Yes | Generic Linux IoT Images |
| Rufus (Windows) | Limited | Variable (USB bridge dependent) | MD5/SHA | Legacy Windows-based labs |
Configuring Raspberry Pi Imager for Headless Home Assistant
The official Raspberry Pi Imager remains the undisputed champion for smart home deployments. Its greatest advantage is the OS customization menu (accessible via the gear icon or Ctrl+Shift+X). When flashing HAOS, you must enable SSH with password authentication disabled (using your RSA/Ed25519 public key) and pre-configure your 2.4GHz WiFi credentials.
Pro Tip: Always set the hostname tohomeassistantduring the flash. This ensures that mDNS resolution (homeassistant.local) works immediately upon first boot, allowing you to bypass the need for a monitor or keyboard when racking the Pi in your network closet or utility panel.
While balenaEtcher is a popular alternative, it lacks native headless configuration injection. This means you must boot the Pi with a keyboard and monitor to configure SSH, or physically swap the SD card back to your PC to manually inject the CONFIG.txt and cmdline.txt files into the boot partition—a tedious process that introduces human error.
Beyond SD Cards: Flashing NVMe SSDs for High-Endurance Smart Hubs
The most common point of failure in a Pi-based smart home is microSD card corruption. HAOS relies heavily on a SQLite database (home-assistant_v2.db) that commits sensor state changes every few seconds. A standard SanDisk Ultra card will typically succumb to NAND wear-leveling exhaustion within 4 to 8 months. To solve this, advanced integrators use a hardware flasher setup to clone images directly to an M.2 NVMe SSD via a USB-to-NVMe enclosure before migrating it to a Pi HAT.
The Chipset Trap: RTL9210B vs. JMS583
When using a USB 3.0 NVMe enclosure as your hardware raspberry pi flasher bridge, the internal controller chipset dictates your success. Enclosures utilizing the JMicron JMS583 chipset are notorious for triggering UASP (USB Attached SCSI Protocol) timeouts on the Raspberry Pi 4 and 5 USB bus during heavy database writes. This results in the drive dropping offline, instantly corrupting the HAOS file system.
- Recommended Chipsets: Realtek RTL9210B or ASMedia ASM2362. These handle UASP queuing gracefully under Linux kernels without dropping the USB bus connection.
- Recommended Enclosure: Sabrent M.2 NVMe Tool-Free Enclosure (EC-SNVE) or StarTech M2E1BRU31C.
- Recommended Drive: Samsung 980 (Non-Pro) or WD Blue SN570. The Pi 4/5 cannot saturate PCIe Gen 3 speeds, so paying for Gen 4 drives like the 990 Pro is a waste of budget and thermal headroom.
Thermal Throttling in Enclosed Smart Home Panels
When flashing and subsequently running an NVMe drive inside an enclosed smart home breaker panel or media cabinet, thermal throttling becomes a real threat. NVMe controllers will aggressively throttle I/O operations at 75°C to prevent silicon damage. When selecting your hardware enclosure, ensure it features an integrated aluminum heatsink or thermal pad. Furthermore, during the initial flash and first-boot partition expansion, the Pi's CPU and the NVMe drive will both generate significant heat; ensure adequate ambient airflow during the provisioning phase.
Troubleshooting Boot Failures and EEPROM Recovery
In smart home environments, Pi boards are often installed in areas prone to power fluctuations, such as basement utility panels or attic HVAC zones. A sudden power brownout during a write cycle can corrupt not just the storage media, but the Pi's SPI EEPROM bootloader. If your Raspberry Pi 4 or 5 shows a continuous green LED blink pattern and refuses to read your freshly flashed NVMe or SD card, the bootloader is likely bricked.
To act as a hardware-level raspberry pi flasher for the EEPROM, you must perform a bare-metal recovery:
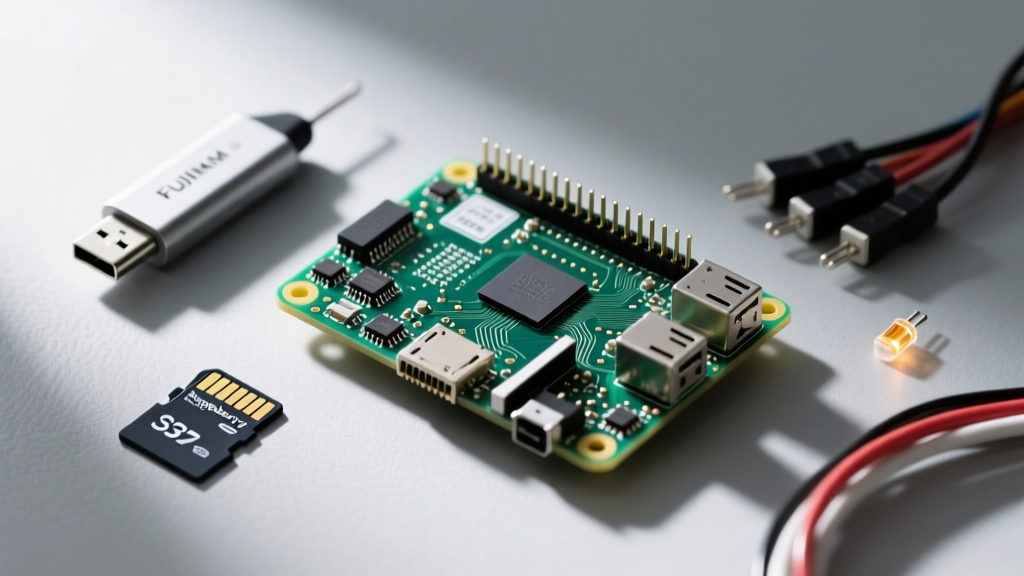
- Format a cheap, low-capacity microSD card to FAT32.
- Download the official
recovery.binfile from the Raspberry Pi Bootloader Documentation. - Place
recovery.binat the root of the FAT32 SD card. - Insert the card into the unresponsive Pi and apply power using an official 27W USB-C PD power supply.
- Wait for the green LED to blink rapidly and steadily, indicating the SPI flash has been successfully reprogrammed.
- Remove the recovery card, insert your primary HAOS storage, and reboot.
Post-Flash Validation: Ensuring Smart Home OS Integrity
Flashing the drive is only half the battle; validating the write is what separates hobbyists from professional integrators. Before removing the storage media from your flashing workstation, ensure your software flasher has completed a full read-back verification. Raspberry Pi Imager does this by default, reading every written block and comparing it against the SHA-256 hash of the source image.
If you are deploying Home Assistant, consult the official Home Assistant installation guidelines to verify you have downloaded the correct architecture-specific image (e.g., haos_rpi4-64 vs haos_rpi5-64). Flashing a Pi 4 image onto a Pi 5 will result in a silent boot failure due to the differing device tree binaries and PCIe controller initialization sequences.
Final Recommendations for 24/7 Smart Home Reliability
The choice of a raspberry pi flasher extends far beyond simply clicking "Write" in a software utility. True smart home reliability demands an understanding of storage endurance, USB bus limitations, and bootloader recovery protocols. By utilizing Raspberry Pi Imager for headless provisioning, selecting RTL9210B-based NVMe enclosures to bypass SD card wear, and keeping a recovery microSD on hand for SPI EEPROM emergencies, you guarantee that your smart home hub remains the rock-solid foundation your automated life requires.