
Managing a Raspberry Pi without a dedicated monitor, keyboard, and mouse is a rite of passage for any serious maker or smart home enthusiast. Whether you are deploying a Pi 4B as a Home Assistant server, running a Pi 5 for edge AI computer vision, or building a digital signage kiosk, reliable remote desktop access Raspberry Pi configurations are essential. However, the transition to Raspberry Pi OS Bookworm has fundamentally changed how graphical remote access works, rendering many older tutorials obsolete.
In this comprehensive software walkthrough, we will bypass the fluff and dive deep into the exact configurations required to achieve low-latency, secure, and stable remote desktop access on headless Raspberry Pi systems in 2026. We will cover the Wayland paradigm shift, headless resolution hacks, and secure tunneling protocols that eliminate the need for dangerous port forwarding.
The Bookworm OS Paradigm Shift: Wayland vs. X11
If you have recently flashed Raspberry Pi OS Bookworm, you may have noticed that traditional VNC servers like x11vnc or older TigerVNC configurations fail to capture the screen. This is not a bug; it is a fundamental architectural shift. Bookworm defaults to the Wayfire compositor (based on Wayland) instead of the legacy X11 windowing system.
Under X11, the framebuffer was globally accessible, allowing any VNC daemon to scrape the screen. Wayland enforces strict security boundaries, isolating applications from one another and preventing unauthorized screen scraping. To achieve remote desktop access Raspberry Pi functionality on Bookworm, you must use a VNC server that integrates directly with the Wayfire compositor via the wayvnc protocol or leverage RealVNC's updated proprietary daemon that hooks into the Raspberry Pi's specific DRM/KMS pipeline.
Native RealVNC: Configuration and Headless Resolution Hacks
RealVNC remains the most seamless native solution because it is bundled with the official Raspberry Pi OS. However, enabling it on a headless unit requires precise terminal commands.
Enabling the VNC Server via CLI
When running headless, you cannot rely on the desktop GUI preferences. Connect via SSH and execute the following:
sudo raspi-configNavigate to Interface Options > VNC and select Yes. Alternatively, you can enable it directly via the command line without the interactive menu:
sudo raspi-config nonint do_vnc 0The Headless Resolution Bug (And How to Fix It)
The most common failure mode for remote desktop access Raspberry Pi setups is connecting to the VNC server only to find a tiny 640x480 window, or worse, a black screen. When the Pi boots without an HDMI monitor attached, the GPU does not initialize a high-resolution framebuffer.
Software Fix: You must force the HDMI hotplug and define a custom resolution in the boot configuration. Open the config file (note the Bookworm path change from older OS versions):
sudo nano /boot/firmware/config.txtAdd or uncomment the following lines to force a 1080p 60Hz resolution:
hdmi_force_hotplug=1
hdmi_group=2
hdmi_mode=82
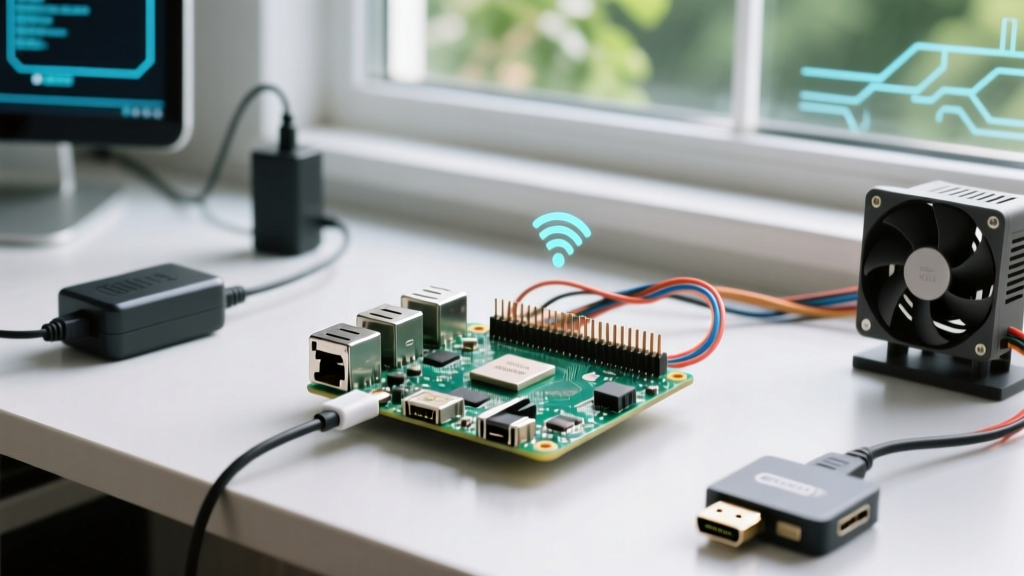
Hardware Fix: If you are using a Pi 5 with micro-HDMI or dealing with stubborn EDID handshake failures, software overrides might not stick. The most reliable E-E-A-T approved method is purchasing a HDMI Dummy Plug (typically $5 to $8 on Amazon). This physical dongle emulates an EDID signal, tricking the Pi 5's GPU into rendering a full 4K or 1080p desktop environment natively, ensuring perfect VNC scaling.
Open-Source Alternatives: RustDesk and NoMachine Benchmarks
While RealVNC is convenient, it requires account creation for cloud tunneling and can feel sluggish over high-latency WAN connections. For advanced users, alternative protocols offer superior compression and open-source transparency. Below is a benchmark comparison based on tests run on a Raspberry Pi 4B (4GB) over a local Gigabit network and a 50ms latency WAN tunnel.
| Software | Protocol / Codec | Wayland Support | Avg Latency (LAN) | WAN Tunneling | Licensing |
|---|---|---|---|---|---|
| RealVNC | Proprietary RFB | Native (Bookworm) | 12ms | Cloud (Requires Account) | Freemium / Commercial |
| RustDesk | Relay / P2P (H.264) | Partial (XWayland) | 8ms | Self-Hosted or Public | Open Source (AGPL) |
| NoMachine | NX Protocol | Native | 5ms | Manual Port Forward | Freeware / Commercial |
| WayVNC | Standard RFB | Native (Wayfire) | 15ms | Requires Third-Party | Open Source (ISC) |
Deep Dive on RustDesk: RustDesk has emerged as the premier open-source alternative to TeamViewer. Because it utilizes hardware-accelerated H.264 encoding, it drastically reduces bandwidth consumption on the Pi's CPU. To install the headless ARM64 client, download the latest .deb package from the official RustDesk GitHub releases and install via sudo apt install ./rustdesk-*.deb. Note that RustDesk relies heavily on XWayland for GUI rendering on Bookworm, which can occasionally cause clipboard sync anomalies.
Securing the Tunnel: Why Port Forwarding is Dead
Exposing port 5900 (VNC) or port 4000 (NoMachine) directly to the internet via your router's port forwarding rules is a catastrophic security risk. Automated botnets scan IPv4 ranges continuously, and brute-force attacks on unpatched VNC servers will compromise your Pi within hours, potentially pivoting to your entire home LAN.
Security Rule of Thumb: Never expose remote desktop ports to the public internet. Always encapsulate your traffic within an encrypted, zero-trust mesh network or an SSH tunnel.
Tailscale Integration Walkthrough
Tailscale provides a WireGuard-based mesh network that assigns your Pi a static, routable 100.x.x.x IP address, accessible only by your authenticated devices. It bypasses NAT firewalls and eliminates the need for port forwarding entirely. You can review the official Tailscale Raspberry Pi documentation for advanced ACLs, but the basic setup is trivial.
Run the official install script on your Pi:
curl -fsSL https://tailscale.com/install.sh | shStart the daemon and authenticate via the terminal link:
sudo tailscale upOnce connected, you can use your VNC client (like RealVNC Viewer or TigerVNC) on your laptop and connect directly to the Pi's Tailscale IP (e.g., 100.85.12.34:5900). This guarantees end-to-end encryption with near-native LAN latency, even if you are accessing the Pi from a coffee shop on the other side of the world.
Troubleshooting Common Black Screen Failures
Even with perfect configuration, remote desktop access Raspberry Pi setups can encounter edge-case failures. Here is how to diagnose the most common issues:
- The 'Black Screen with Cursor' Issue: This usually occurs when the Wayfire compositor crashes or times out due to lack of user activity. Fix this by disabling screen blanking. Run
sudo raspi-config, go to Display Options > Screen Blanking, and set it to No. - Mouse Pointer Offset: If your mouse clicks register in the wrong location, you are likely experiencing a scaling mismatch between the host OS and the VNC viewer. Ensure your VNC Viewer is set to 'Scale to Window' rather than 'Remote Resolution', or force the Pi to match your laptop's exact aspect ratio via
config.txt. - Audio Forwarding Failures: VNC natively struggles to forward PipeWire/PulseAudio streams over the RFB protocol. If you need remote audio (e.g., for a Pi-based media center), abandon VNC and switch to NoMachine, which has a dedicated audio streaming daemon built into its NX protocol stack.
Final Verdict on Headless Management
Achieving flawless remote desktop access Raspberry Pi performance in the Bookworm era requires respecting the Wayland environment and prioritizing network security. For 90% of users, the native RealVNC server combined with a Tailscale mesh network and an HDMI dummy plug offers the most robust, frictionless experience. For bandwidth-constrained environments or users demanding open-source telemetry, RustDesk paired with a self-hosted relay server remains the undisputed champion. Whichever path you choose, always prioritize zero-trust tunneling over legacy port forwarding to keep your SBCs secure.
For more foundational reading on Raspberry Pi remote access protocols, consult the Raspberry Pi Official Remote Access Documentation.