
The Libcamera Paradigm Shift
For years, the raspberry pi camera ecosystem relied on the legacy MMAL (Multi-Media Abstraction Layer) stack and the familiar raspistill and raspivid commands. However, with the release of Raspberry Pi OS Bookworm, the foundation has shifted entirely to the open-source libcamera framework. This transition aligns the Pi with standard Linux V4L2 (Video4Linux2) media pipelines, offering vastly superior ISP (Image Signal Processor) control, raw Bayer format access, and modular tuning files. Understanding this shift is critical for any modern SBC vision project.
According to the Raspberry Pi Official Camera Software Documentation, the legacy camera stack is now fully deprecated. Attempting to enablestart_x=1inconfig.txtwill yield no results on modern kernels.
Hardware Selection Matrix: V2 vs. V3 vs. HQ vs. Global Shutter
Choosing the correct sensor is the first point of failure in many DIY smart home and computer vision projects. Below is a technical comparison of the current first-party modules to help you match the sensor to your specific optical requirements.
| Module | Sensor | Resolution | Pixel Size | Key Feature | Approx. Price |
|---|---|---|---|---|---|
| Camera V2 | Sony IMX219 | 8 MP | 1.12 µm | Fixed Focus, Low Cost | $25 |
| Camera V3 | Sony IMX708 | 12 MP | 1.4 µm | PDAF Autofocus, HDR | $30 |
| Camera HQ | Sony IMX477 | 12.3 MP | 1.55 µm | Interchangeable C/CS-Mount | $50 |
| Global Shutter | Sony IMX296 | 1.6 MP | 3.45 µm | High-Speed Machine Vision | $50 |
The Raspberry Pi Camera Module 3 is currently the sweet spot for most Home Assistant integrations and basic security setups due to its Phase Detection Autofocus (PDAF) and Hardware HDR capabilities. However, if you are building a barcode scanner or a high-speed conveyor belt inspection rig, the Global Shutter module is mandatory to prevent the rolling shutter skew effect.
Physical Wiring and FPC Cable Pitfalls
The 15-Pin vs 22-Pin Dilemma
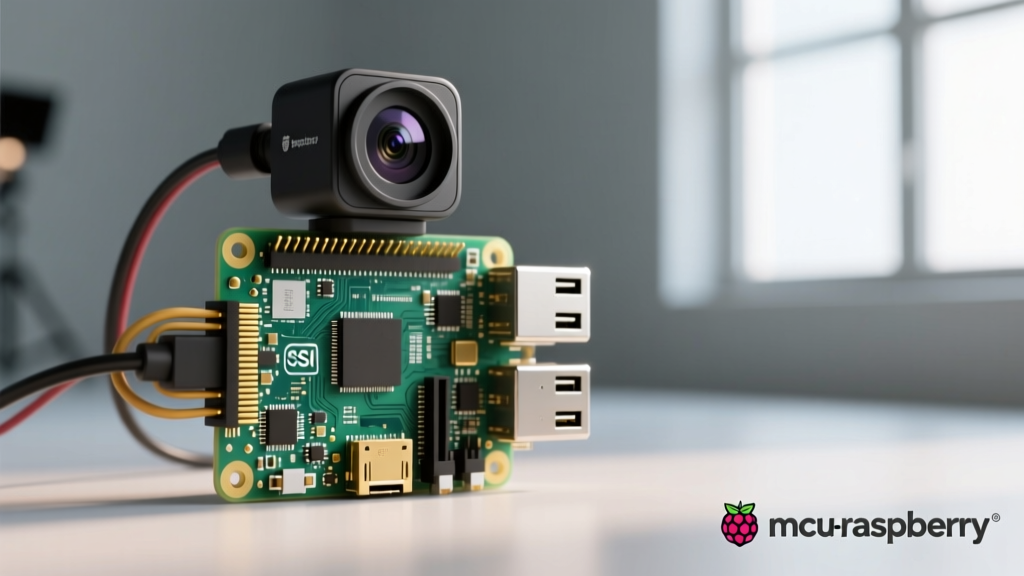
Standard Raspberry Pi models (Pi 3B+, 4B, 5) utilize a 15-pin CSI (Camera Serial Interface) connector with a 1.0mm pitch. Conversely, the Raspberry Pi Zero series uses a smaller 22-pin connector with a 0.5mm pitch. If you are deploying a Pi Zero 2 W in a tight enclosure, you must use a specific 22-pin to 15-pin adapter cable. Forcing a standard cable into a Zero will permanently deform the ZIF (Zero Insertion Force) socket.
ZIF Connector and Bend Radius
The most common hardware failure mode we see in the field is a torn FPC (Flexible Printed Circuit) ribbon. The copper traces inside these ribbons are extremely fragile. Never fold the ribbon cable at a 90-degree angle. Maintain a minimum bend radius of 5mm. Furthermore, when seating the cable, ensure the blue stiffener tab faces the USB/Ethernet ports on standard Pi boards. Pushing the ZIF latch down before the cable is fully seated will crush the micro-pins, resulting in intermittent I2C failures that are nearly impossible to diagnose without a multimeter.
Software Configuration in Raspberry Pi OS Bookworm
Unlike older OS versions, you no longer need to manually allocate GPU memory or enable the camera interface via raspi-config. The kernel device tree automatically probes the CSI port on boot. However, for the Camera Module V3 and HQ, the autofocus and specific sensor registers rely on the I2C bus.
To verify that your Pi is correctly communicating with the camera's I2C EEPROM and autofocus motor, use the following terminal command:
i2cdetect -y 10Note that the camera I2C bus on modern Pi architectures is typically bus 10, not bus 1. If you see UU or a hex address (usually 1a or 10) in the grid, your physical connection is sound.
Command-Line Mastery: Libcamera-Still and Libcamera-Vid
The official libcamera GitHub repository provides robust command-line wrappers that replace the legacy tools. These wrappers interact directly with the V4L2 sub-devices.
Capturing Stills with Precision
To capture a high-dynamic-range still image with the Module V3, utilizing specific AWB (Auto White Balance) gains:
libcamera-still -t 5000 -o hdr_capture.jpg --hdr --awbgains 1.5,1.2 --denoise cdn_offThe --denoise cdn_off flag is crucial for computer vision pipelines (like OpenCV or YOLO), as spatial denoising softens edges and destroys high-frequency detail required for accurate object detection.
Streaming Video for Home Assistant
For RTSP streaming to Home Assistant or Frigate NVR, libcamera-vid can be piped directly into FFmpeg or utilized with native network protocols:
libcamera-vid -t 0 --inline --listen -o tcp://0.0.0.0:8888 --width 1920 --height 1080 --framerate 30 --bitrate 5000000Advanced ISP Tuning via JSON
The Raspberry Pi ISP processes the raw Bayer data through a series of algorithmic blocks: Black Level Compensation (BLC), Lens Shading, Gamma, and Color Correction Matrix (CCM). You can override the default tuning by copying the base JSON file from /usr/share/libcamera/ipa/rpi/vc4/ to your local directory, modifying the CCM values, and passing it via the --tuning-file argument. This is heavily utilized in agricultural and botanical SBC setups where accurate chlorophyll green rendering is required, bypassing the standard daylight white-balance biases.
Real-World Troubleshooting and Failure Modes
I2C Bus Timeouts and Autocus Failure
If your Module V3 captures images but refuses to autofocus, the I2C data lines (SDA/SCL) are likely compromised. This frequently happens if the FPC cable is routed too close to the Pi's switching voltage regulators, causing EMI (Electromagnetic Interference) packet drops. Reroute the cable or add a localized 10µF decoupling capacitor near the camera PCB if you are designing a custom HAT.
Thermal Throttling and Power Drops
The IMX477 (HQ Camera) can draw up to 250mA during peak burst capture sequences. If your Pi is simultaneously running a heavy TensorFlow Lite model and a Wi-Fi transfer, the total system current may exceed the threshold of a cheap USB-C power supply. This results in a brownout, dropping the CSI voltage rail and throwing a Failed to acquire camera error in the dmesg log. Always use the official 27W USB-C PD power supply for Pi 5 camera deployments.
Debugging via dmesg
When the camera is entirely undetected, bypass user-space tools and query the kernel ring buffer:
dmesg | grep -i 'imx\|ov5647\|camera'Look for probe failed or I2C transfer timed out. A probe failure almost always indicates a physical seating issue in the ZIF connector or a dead sensor PCB, whereas an I2C timeout points to a damaged ribbon cable trace.