
Beyond Glass Screens: The Physical Smart Home Dashboard
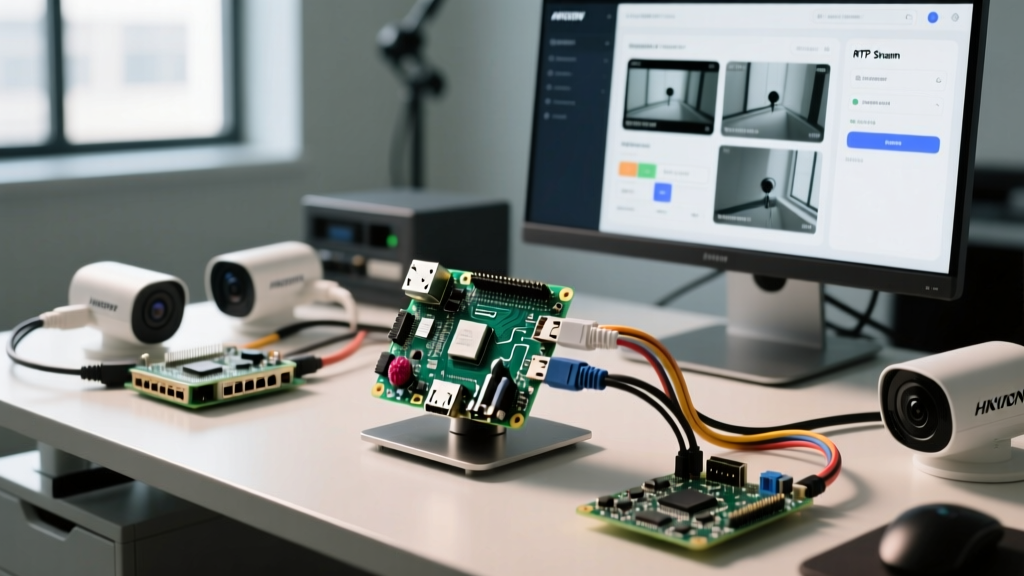
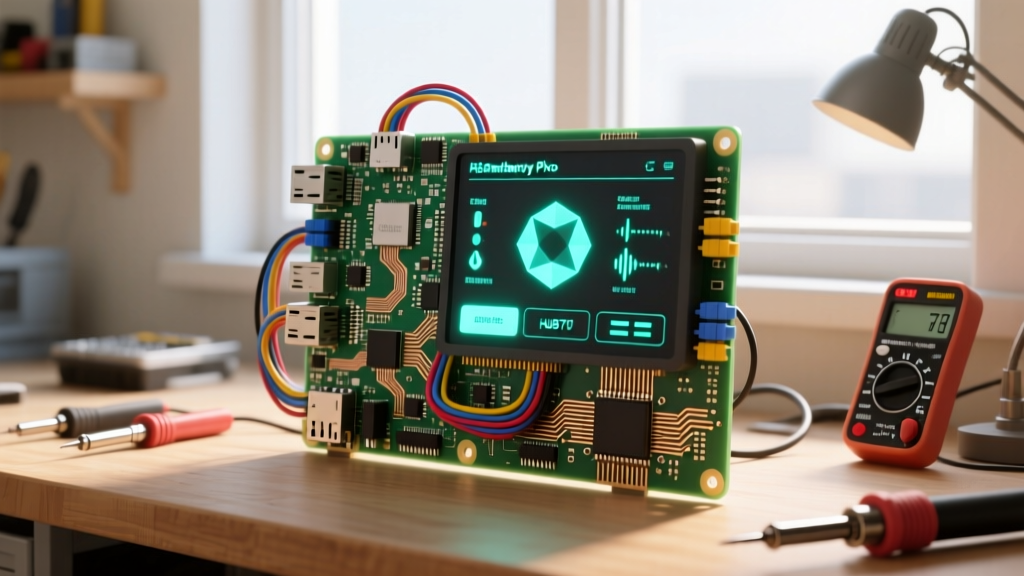
While tablets and smartphones dominate modern smart home control, a dedicated physical notification hub offers glanceable, ambient awareness without the distraction of a full operating system. When makers and integrators search for a 'raspberry pi pixo' setup, they are typically referring to the integration of a Raspberry Pi with high-density RGB LED pixel matrices (often HUB75 panels or Pixo-style modular displays) to create vibrant, custom dashboards. These displays act as the central nervous system for visual alerts, rendering everything from incoming weather warnings to laundry timers and security camera triggers in brilliant 16-million-color pixel art.
Unlike standard LCD dashboards that consume upwards of 15 watts and suffer from screen burn-in, an LED matrix setup is rugged, incredibly bright, and easily readable from across the room. In this comprehensive guide, we will walk through the exact hardware bill of materials, the critical logic-level shifting required to protect your Pi, and the software stack needed to bridge Home Assistant MQTT payloads directly to your pixel grid.
Hardware BOM: Sourcing the Right Matrix and Compute
The foundation of any reliable pixel display is matching the compute module to the panel's refresh requirements. While older Raspberry Pi 3 models struggle with the PWM (Pulse Width Modulation) timing required for high-resolution panels, the Raspberry Pi 4 and the newer Raspberry Pi 5 offer the necessary bus speeds. However, the Pi 5 introduces the RP1 southbridge chip, which fundamentally alters GPIO mapping, requiring specific library forks or updated flags in your configuration.
Below is a breakdown of the recommended hardware for a robust, living-room-ready smart home dashboard:
| Component | Specification | Estimated Cost (2024-2026) | Notes |
|---|---|---|---|
| Compute | Raspberry Pi 4 Model B (2GB) | $45 - $55 | Sufficient for 64x64 panels; avoid Pi 5 unless using updated rpi-rgb-led-matrix forks. |
| Display | 64x64 RGB LED Matrix (HUB75) | $60 - $85 | P3 or P4 pitch. Ensure it uses standard HUB75E pinouts. |
| Power Supply | 5V 10A Switching PSU | $25 - $35 | Must power the matrix directly. Never draw matrix power from the Pi's 5V rail. |
| Logic Shifter | 74AHCT245 or Adafruit HAT | $5 - $15 | Critical for converting 3.3V Pi GPIO to 5V HUB75 logic. |
| Wiring | 16AWG Silicone Wire + IDC Cables | $10 | Thick gauge required for 5V/GND to prevent voltage drop. |
Wiring the HUB75 Interface (and Avoiding 3.3V Logic Failures)
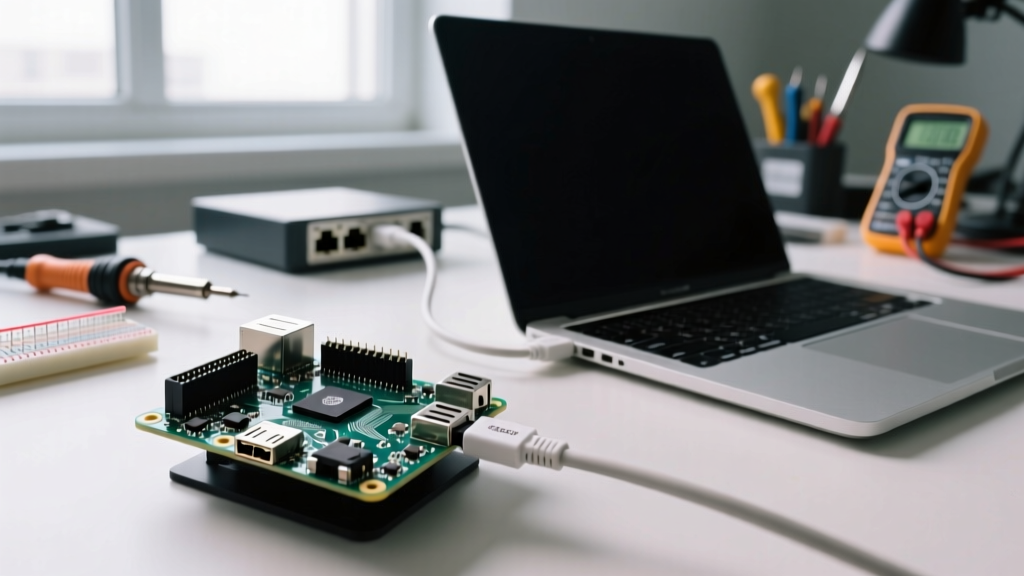
The most common point of failure in DIY pixel projects is ignoring logic voltage levels. The Raspberry Pi operates at 3.3V logic, while almost all commercial HUB75 LED matrices expect 5V logic on their data lines. While some modern panels will 'sort of' work at 3.3V, this results in severe ghosting, color banding, and long-term degradation of the Pi's GPIO pins. To build a professional-grade raspberry pi pixo dashboard, you must use a logic level shifter.
The Adafruit RGB Matrix HAT or a custom breakout board using a 74AHCT245 chip will safely step up the 13 required data and clock signals. The HUB75 standard requires the following connections:
- Color Data: R1, G1, B1 (Top half) and R2, G2, B2 (Bottom half)
- Address Lines: A, B, C, D (Selects the active row pair)
- Control Signals: CLK (Clock), LAT (Latch), OE (Output Enable - Active Low)
Crucial Power Warning: A 64x64 panel drawing full white can spike to 8 Amps. You must inject 5V power directly into the panel's power terminals using thick 16AWG wire. Connect the Ground (GND) of your power supply to the GND of the Raspberry Pi to establish a common ground reference, but do not connect the 5V rail to the Pi.
Software Stack: Bridging rpi-rgb-led-matrix and MQTT
To drive the pixels, the undisputed industry standard is the rpi-rgb-led-matrix library created by Henner Zeller. This C++ library handles the intense, microsecond-accurate PWM timing required to create color depth via time-multiplexing. For smart home integration, we utilize the Python bindings to listen for MQTT messages published by Home Assistant.
First, compile the library with the Python bindings enabled. If you are using a Raspberry Pi 4, you must also disable the onboard audio, as the PWM hardware used for the 3.5mm jack conflicts with the matrix timing. Add dtoverlay=pi3-miniuart-bt and dtparam=audio=off to your /boot/config.txt to free up the necessary DMA channels.
Next, we use the Paho MQTT library to subscribe to a dedicated Home Assistant topic. Here is a foundational Python script structure that listens for JSON payloads and renders text or pixel art:
import paho.mqtt.client as mqtt
from rgbmatrix import RGBMatrix, RGBMatrixOptions, graphics, Font
import json

# Configure Matrix Options
options = RGBMatrixOptions()
options.rows = 64
options.cols = 64
options.chain_length = 1
options.parallel = 1
options.hardware_mapping = 'adafruit-hat-pwm'

matrix = RGBMatrix(options=options)
canvas = matrix.CreateFrameCanvas()
font = graphics.Font()
font.LoadFont('../../../fonts/6x10.bdf')

def on_message(client, userdata, msg):
    payload = json.loads(msg.payload.decode('utf-8'))
    canvas.Clear()
    graphics.DrawText(canvas, font, 2, 15, payload['color'], payload['text'])
    canvas = matrix.SwapOnVSync(canvas)

client = mqtt.Client('PixoDashboard')
client.connect('192.168.1.100', 1883, 60)
client.subscribe('homeassistant/dashboard/pixo')
client.on_message = on_message
client.loop_forever()
Designing Smart Home Alert Automations
The true power of this setup is realized when integrated with the Home Assistant MQTT integration. Instead of relying on push notifications that get lost in a sea of smartphone alerts, you can route critical household events to your physical pixel matrix.
Consider a laundry automation. When your smart plug detects the washing machine's power draw dropping below 5 watts for 3 minutes, Home Assistant triggers an automation that publishes a payload to the MQTT broker. The payload might look like this: {'text': 'WASH DONE', 'color': '#00FF00', 'icon': 'laundry'}. The Pi receives this, clears the canvas, and renders a scrolling green marquee alongside a custom 16x16 pixel art washing machine icon.
Other high-value automations include:
- Security Triggers: Flashing red borders and a padlock icon when the perimeter alarm is armed.
- Weather Warnings: A blue scrolling banner displaying incoming rain radar data pulled from OpenWeatherMap.
- Pomodoro Timers: A visual countdown ring for home-office productivity tracking.
Troubleshooting Common Pixel Flicker and Ghosting
Even with perfect wiring, builders often encounter visual artifacts. The most notorious issue in the Raspberry Pi pixel community is WiFi-induced flickering. The Raspberry Pi 4's internal WiFi/Bluetooth module shares the same ground plane and DMA resources as the GPIO pins. When the Pi downloads an OTA update or streams data, the matrix will often stutter or display random noise.
The Fix: If you require WiFi connectivity for your MQTT client, the most reliable solution is to disable the internal WiFi and use a USB-to-Ethernet adapter, or use an external USB WiFi dongle on a separate USB bus. Alternatively, you can use the --led-slowdown-gpio=4 flag in your software configuration to slow down the GPIO edge transitions, which drastically reduces electromagnetic interference (EMI) crosstalk on the ribbon cables.
Another frequent failure mode is 'color banding' or loss of lower-bit color depth. This occurs when the system's CPU governor scales down the clock speed to save power, disrupting the matrix's strict timing loops. To eliminate this, force the Raspberry Pi into performance mode by adding echo performance | sudo tee /sys/devices/system/cpu/cpu*/cpufreq/scaling_governor to your startup script. This ensures the CPU remains at maximum frequency, guaranteeing the microsecond precision required for flawless 24-bit color rendering on your smart home dashboard.
Final Thoughts on Physical Dashboards
Integrating a raspberry pi pixo-style LED matrix into your smart home ecosystem bridges the gap between digital automation and physical space. By handling the heavy lifting of HUB75 logic shifting, DMA timing, and MQTT payload parsing, you create a resilient, glanceable interface that enhances household awareness without demanding constant screen time. Whether you are displaying the daily solar energy harvest or alerting the kitchen that the dishwasher cycle is complete, pixel matrices remain one of the most rewarding and visually striking DIY projects in the modern maker's arsenal.