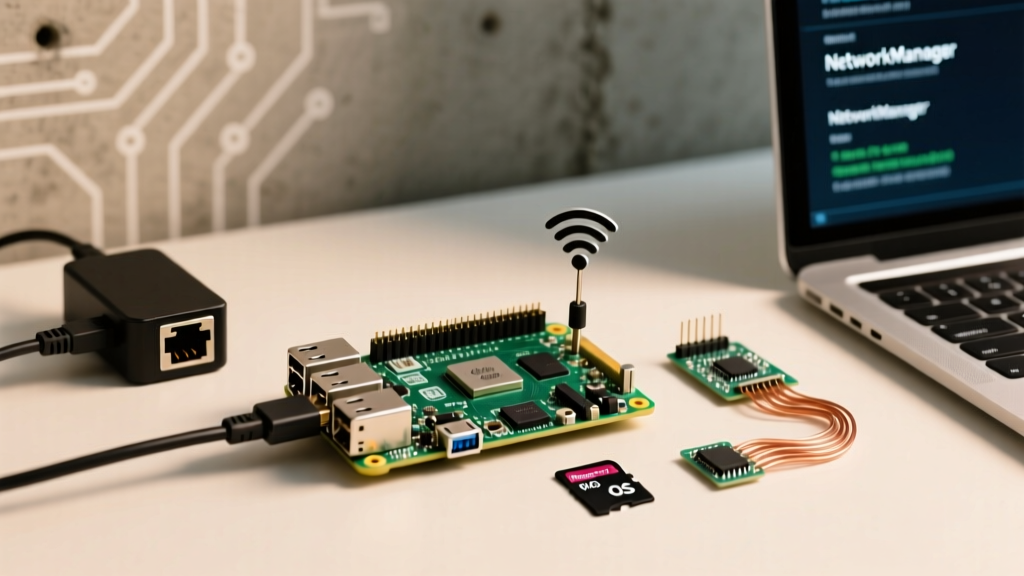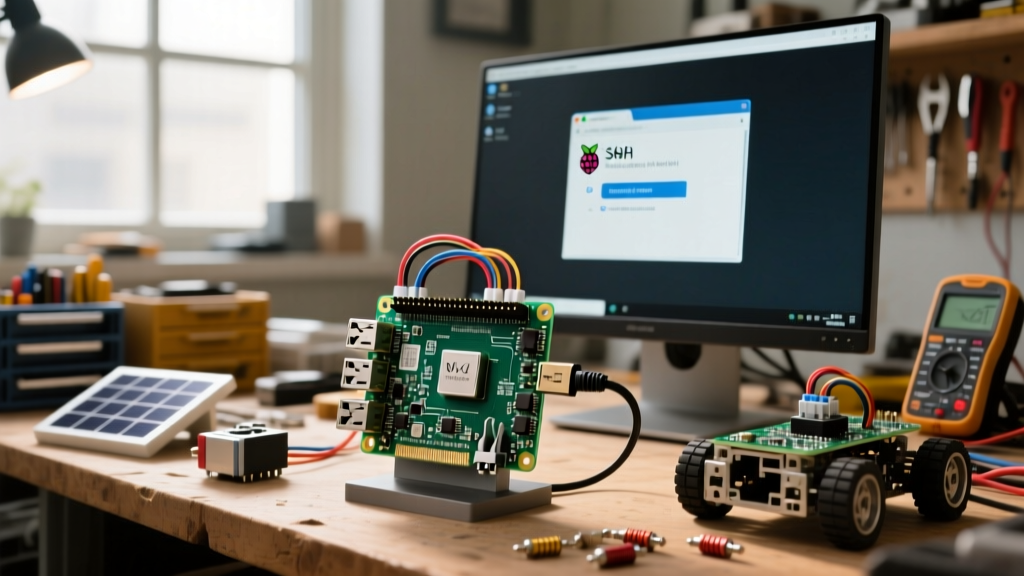

Unboxing a Single Board Computer (SBC) often leads to 'blank canvas paralysis.' You have the board, the power supply, and a microSD card, but figuring out exactly what to do with Raspberry Pi hardware can be overwhelming for a beginner. Unlike a standard PC, the Pi is designed to be a dedicated, always-on appliance or a low-level hardware interface.
This guide cuts through the fluff and provides a practical, engineering-focused framework for your first builds. We will cover hardware selection, five high-return-on-investment (ROI) projects, and the exact peripherals you need to avoid common beginner failure modes.
The Hardware Decision Matrix: Which Pi for Which Project?
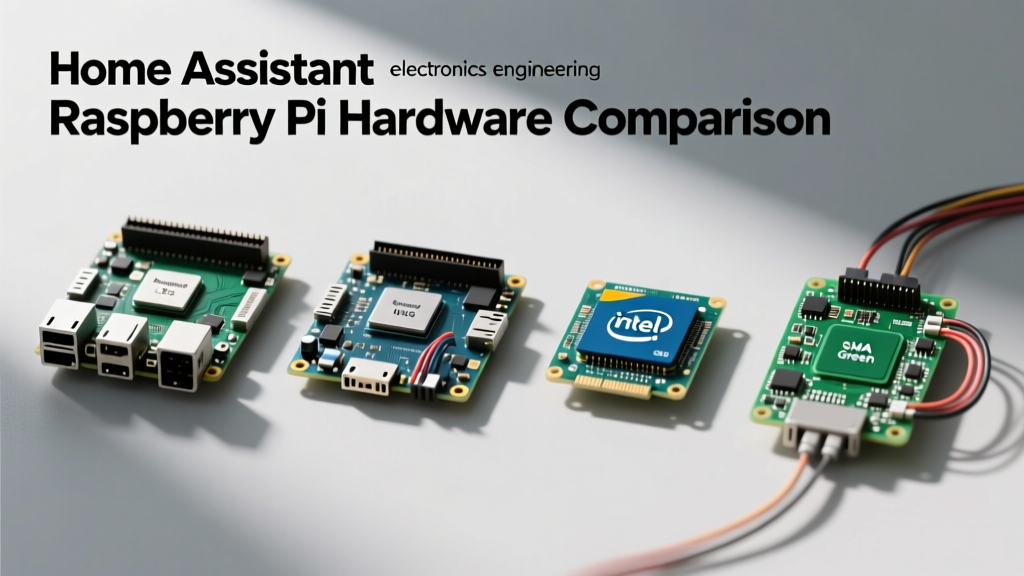
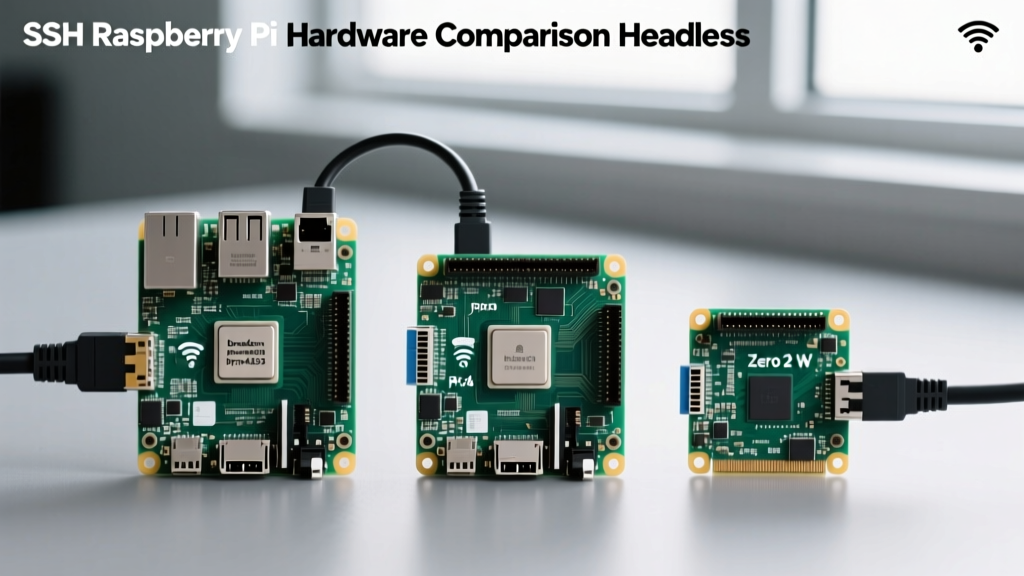
Before deciding what to do with your Raspberry Pi, you must match the project's computational and I/O requirements to the correct board. Buying an 8GB Pi 5 for a simple DNS server is a waste of budget, while using a Pi Zero 2 W for a desktop replacement will result in severe thermal throttling.
| Model | Best Project Type | RAM | Approx. Price | Power Requirement |
|---|---|---|---|---|
| Raspberry Pi 5 (8GB) | Desktop, Home Assistant, Nextcloud | 8GB LPDDR4X | $80 | 27W USB-C PD |
| Raspberry Pi 4 Model B (4GB) | Media Center, Retro Gaming, NAS | 4GB LPDDR4 | $55 | 15W USB-C (5V/3A) |
| Raspberry Pi Zero 2 W | Pi-hole, IoT Sensors, Portable builds | 512MB LPDDR2 | $15 | 12W Micro-USB (5V/2.5A) |
5 High-ROI Projects to Answer 'What to Do With Raspberry Pi'
1. Network-Wide Ad Blocker (Pi-hole)
The most universally recommended first project is Pi-hole. It acts as a DNS sinkhole, blocking ads and trackers at the network level before they even reach your devices. A Raspberry Pi Zero 2 W or Pi 3 is more than capable of handling the DNS queries for a standard household.
The Engineering Catch: Beginners often fail by simply setting the Pi's IP as the DNS server on their devices. The correct approach is to disable the DHCP server on your primary router and let Pi-hole handle DHCP and DNS assignments. This prevents 'split-horizon' DNS conflicts where smart TVs bypass the Pi-hole to query the router directly.
2. Retro Gaming Console (RetroPie / Batocera)
Transforming your Pi into a retro emulation station is a rite of passage. While RetroPie is the classic choice, Batocera.linux offers a more polished, controller-friendly UI out of the box. The Pi 4 (4GB) or Pi 5 handles everything up to Dreamcast and GameCube emulation with remarkable stability.
Failure Mode to Avoid: MicroSD card I/O bottlenecks. Emulators constantly read ROMs and write save states. If you use a cheap, unbranded SD card, you will experience stuttering audio and corrupted save files. Always use an Application Class 2 (A2) rated card, or better yet, boot the Pi 4/5 directly from a USB 3.0 SSD to bypass the SD bus entirely.
3. Home Assistant Smart Home Hub
Running Home Assistant on a Pi gives you local, privacy-focused control over Zigbee, Wi-Fi, and Matter devices. Unlike cloud-dependent hubs, your automations run even if your internet connection drops.
Pro-Tip for Longevity: Home Assistant's database writes logs every few seconds. This will burn out a standard microSD card in less than six months. You must either use a high-endurance industrial SD card or, ideally, configure the Home Assistant OS to boot and store its database on an external M.2 NVMe drive via a USB 3.0 enclosure. Additionally, pair it with a Sonoff Zigbee 3.0 USB Dongle Plus (P-version) for reliable mesh networking.
4. Personal Cloud Storage (Nextcloud)
If you want to de-Google your life, hosting Nextcloud on a Raspberry Pi 5 is a fantastic weekend project. It provides file syncing, calendar, and contact management.
Storage Architecture: Do not store your cloud data on the Pi's boot drive. Connect a powered USB 3.0 hub and attach external hard drives formatted in ext4 (Linux native) rather than exFAT or NTFS. Linux file systems handle permissions and background indexing much more efficiently, reducing CPU overhead on the ARM processor.
5. Headless IoT Dashboard (Grafana + InfluxDB)
For those interested in data, setting up a time-series database (InfluxDB) and a visualization dashboard (Grafana) allows you to log everything from local weather station data to your home's power consumption via MQTT sensors. This is where the Pi's GPIO pins and low power draw truly shine, acting as a 24/7 data aggregator.
The Beginner's Survival Kit: Essential Peripherals
When researching what to do with Raspberry Pi, many guides ignore the supporting hardware. The Pi is highly sensitive to power and thermal anomalies. Ensure you have the following:
- Power Supply: Do not use old phone chargers. For the Pi 4, use the official 15W USB-C supply. For the Pi 5, the official 27W USB-C PD supply is mandatory to prevent peripheral brownouts when USB devices draw peak current.
- Storage: SanDisk Extreme or Samsung EVO Select (A2 rated). The 'A' rating guarantees high random IOPS, which is critical for OS responsiveness.
- Thermal Management: The Pi 5 requires the official Active Cooler. Passive heatsinks are insufficient for sustained loads and will result in the CPU downclocking from 2.4GHz to 600MHz.
Troubleshooting Common First-Boot Failures
Even with the right hardware, beginners encounter specific errors. Here is how to diagnose them according to the Raspberry Pi Hardware Documentation:
The Lightning Bolt Icon (Under-Voltage)
If you see a yellow lightning bolt in the corner of your screen (or log warnings via vcgencmd get_throttled), your Pi is starving for power. This causes random reboots and SD card corruption. Swap your cable first (many USB-C cables lack the gauge for 3A current), then swap the power brick.
The Thermometer Icon (Thermal Throttling)
A red thermometer means the SoC has exceeded 80°C and is throttling. Check that the thermal pad on your cooler has the plastic peel removed before installation—a surprisingly common mistake that creates an insulating air gap between the chip and the heatsink.
Conclusion
Deciding what to do with Raspberry Pi hardware ultimately depends on your household's pain points. Start with Pi-hole to see immediate network benefits, graduate to Home Assistant for local automation, and eventually use the Pi 5 for heavy-lifting tasks like Nextcloud or local LLM inference. Respect the power requirements, invest in A2 storage, and your SBC will run reliably for years.