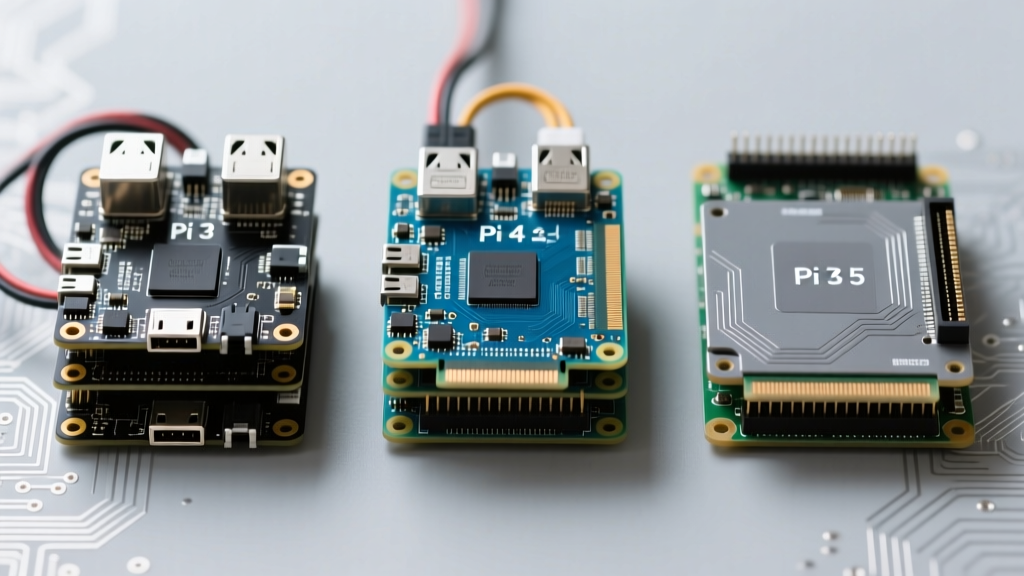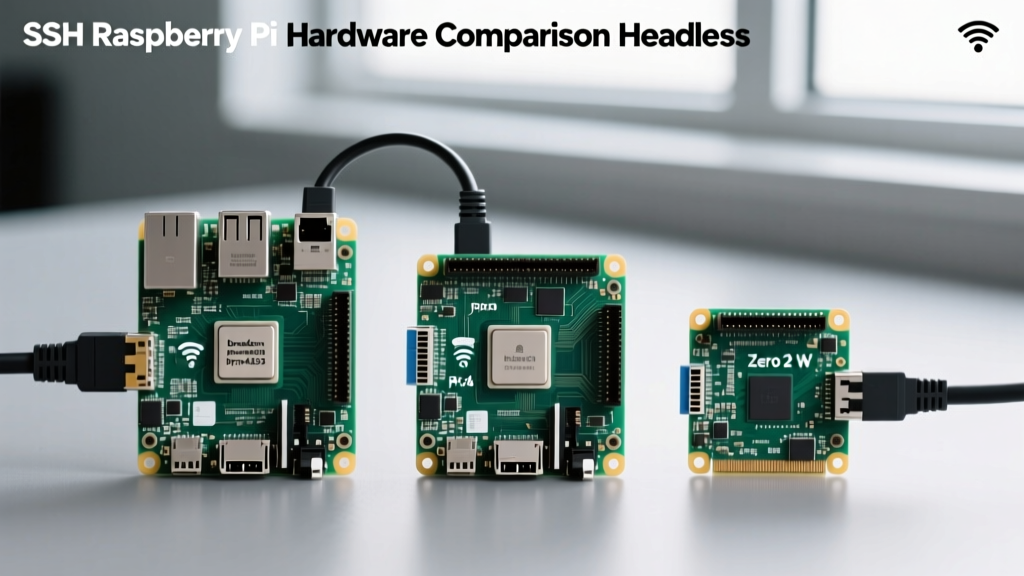

If you have ever searched for a comprehensive raspberry pi tuto online only to find basic LED-blinking guides, this advanced performance-focused guide is for you. While the Raspberry Pi 4 and the newer Raspberry Pi 5 are incredibly capable single-board computers, their out-of-the-box configurations prioritize conservative thermal limits and broad power-supply compatibility over raw performance. To unlock the true potential of the BCM2711 and BCM2712 silicon, you must dive deep into thermal management, voltage regulation, and bus overclocking.
The Reality of Raspberry Pi Thermal Throttling
Before altering any clock speeds, it is critical to understand how the Raspberry Pi firmware handles thermal limits. The Broadcom SoCs employ a multi-stage throttling mechanism to prevent silicon degradation.
- Soft Limit (80°C): The firmware begins to dynamically reduce the ARM core frequency and voltage to halt further temperature rise.
- Hard Limit (85°C): Severe throttling engages. The CPU and GPU clocks are aggressively slashed, often dropping performance by 40% to 60%.
On the Raspberry Pi 5, the die density and increased power draw mean that without active cooling, the board will hit the 85°C hard limit in under 45 seconds during a multi-core sysbench load. Therefore, performance tuning is fundamentally a thermal engineering problem.
Essential Hardware: Cooling Solutions Benchmarked
Not all coolers are created equal. Below is a benchmark table comparing popular cooling solutions for the Raspberry Pi 5 under a sustained 100% CPU load (using stress-ng for 10 minutes at an ambient room temperature of 22°C).
| Cooling Solution | Max TDP Dissipation | Noise Level (dBA) | Pi 5 Idle Temp | Pi 5 Load Temp |
|---|---|---|---|---|
| Bare Board (Passive) | ~6W | 0 dBA | 45°C | 88°C (Throttled) |
| Official Pi 5 Active Cooler | ~14W | 28 dBA | 38°C | 58°C |
| Geekworm Ice Tower V5 | ~18W | 22 dBA | 34°C | 49°C |
| Argon ONE V3 (Integrated) | ~22W | 32 dBA | 36°C | 45°C |
Data synthesized from community thermal stress tests and Tom's Hardware Raspberry Pi benchmarks.
Step-by-Step Overclocking: Modifying config.txt
Overclocking the Raspberry Pi requires editing the /boot/firmware/config.txt (or /boot/config.txt on older OS versions) file. The approach differs significantly between the Pi 4 and Pi 5 due to changes in the firmware's voltage regulation architecture.
Raspberry Pi 4 (BCM2711) Overclocking
The Pi 4 uses a discrete step-based voltage offset. The stock ARM frequency is 1.5GHz. Most BCM2711 chips can comfortably reach 2.0GHz to 2.1GHz with adequate cooling.
over_voltage=6
arm_freq=2000
gpu_freq=750
Note: Setting over_voltage above 6 requires setting force_turbo=1, which sets the 'warranty bit' and prevents the SoC from idling at lower voltages, drastically increasing heat output at idle. Stick to over_voltage=6 for a safe, dynamic overclock.
Raspberry Pi 5 (BCM2712) Overclocking
The Raspberry Pi 5 firmware utilizes a delta-based voltage system, allowing for much finer tuning. The stock clock is 2.4GHz. With an Ice Tower or Argon ONE cooler, 3.0GHz is highly stable on the majority of boards.
over_voltage_delta=50000
arm_freq=3000
The over_voltage_delta=50000 parameter adds exactly 50mV to the dynamically calculated voltage curve. If your Pi 5 crashes during a Geekbench 6 run, increment the delta by 10000 (10mV) or drop the arm_freq to 2900. The 'silicon lottery' is very real; some boards will fail at 2.9GHz, while others can push 3.2GHz with massive cooling blocks.
Beyond the CPU: PCIe and I/O Bus Tuning
A frequently overlooked aspect of Raspberry Pi performance tuning is the I/O bottleneck. The Raspberry Pi 5 introduced a dedicated PCIe 2.0 x1 interface. However, the BCM2712 silicon is actually capable of PCIe Gen 3.0 speeds.
While the Raspberry Pi Foundation does not officially guarantee Gen 3 stability due to signal integrity variables on the board's PCB traces, many users successfully enable it for NVMe SSDs. To attempt this, add the following to your config.txt:
dtparam=pciex1_gen=3Warning: Enabling Gen 3 can cause boot failures or data corruption with poorly shielded NVMe HATs or cheap M.2 adapters. Always back up your data and test with fio (Flexible I/O Tester) to verify sustained read/write stability before deploying this in a Home Assistant or NAS environment.
Diagnosing Bottlenecks and Power Starvation
Performance tuning is useless if your power delivery network (PDN) is failing. The most common cause of unexplained Raspberry Pi crashes and micro-stutters is not thermal throttling, but voltage ripple and brownouts.
The Raspberry Pi 5 requires a 5V/5A (27W) USB-C PD power supply. If you use a standard phone charger or a low-quality USB-C cable with thin 28AWG wires, the voltage will drop below 4.65V under heavy load, triggering the brownout detector.
Using vcgencmd to Read Throttle Codes
You can query the firmware's internal state machine using the terminal. Run the following command:
vcgencmd get_throttledThe output will be a hexadecimal bitmask. Here is how to decode the most common values:
0x0: All clear. No throttling or power issues detected.0x50000: Under-voltage has occurred since boot, and throttling has occurred. (Your power supply or cable is inadequate).0x50005: Under-voltage is currently happening right now, and the Pi is currently throttling. Immediate hardware intervention is required.
Expert Tip: If you are running a Pi 5 with multiple USB peripherals and an NVMe HAT, the official 27W Raspberry Pi power supply is practically mandatory. Third-party 65W laptop chargers often fail to negotiate the specific 5V/5A PDO (Power Data Object) required by the Pi 5, defaulting to 5V/3A and causing instant brownouts under load.
Real-World Failure Modes to Avoid
When pushing the boundaries of single-board computers, hardware failure modes are often silent until they corrupt your filesystem. Here are three specific failure modes to watch for during your tuning process:
- SD Card Controller Timeout: Overclocking the SD bus (
sd_overclock=100) might yield better benchmark numbers, but it frequently causes silent write failures on SanDisk Ultra cards due to timing mismatches. Stick to USB NVMe for high-IOPS workloads. - VRM Thermal Roll-off: The Voltage Regulator Modules (VRMs) on the Pi 5 have their own thermal limits. Even if the CPU is cooled to 40°C with liquid cooling, the VRMs can overheat if the board is enclosed in a poorly ventilated case, leading to sudden shutdowns.
- Memory Controller Instability: Pushing the LPDDR4X memory clock too high via undocumented parameters often results in random kernel panics rather than a clean boot failure. Always run
memtesterfor at least 4 passes after altering memory timings.
Conclusion
Mastering Raspberry Pi performance tuning requires moving past basic setup guides and treating the SBC like a micro-server. By pairing high-TDP active cooling solutions with precise over_voltage_delta adjustments and strict power delivery monitoring, you can reliably extract 25% to 40% more compute performance from your hardware. For further reading on firmware parameters, always consult the official Raspberry Pi config.txt documentation and engage with the Raspberry Pi 5 community forums for the latest silicon-stepping discoveries.