
The Anatomy of Voltage Measurement: What Your Multimeter Actually Does
At its core, voltage is electrical potential difference—the 'pressure' that pushes electrons through a conductor. Whether you are troubleshooting a flickering LED circuit or verifying mains power at a breaker panel, measuring voltage with a multimeter is the most fundamental diagnostic skill in electronics and electrical work. However, not all digital multimeters (DMMs) read voltage equally. The accuracy of your reading depends heavily on the meter's internal Analog-to-Digital Converter (ADC), its input impedance, and its ability to filter out electromagnetic noise.
Standard DMMs typically feature an input impedance of 10 Megohms (10MΩ). According to All About Circuits, this high impedance ensures the meter draws minimal current from the circuit under test, preventing the measurement tool itself from altering the circuit's behavior. Yet, in high-impedance environments or long cable runs, this same 10MΩ impedance can pick up stray capacitive coupling, resulting in 'ghost voltages' that confuse beginners and lead to misdiagnosed faults.
2026 Multimeter Roundup: Top Picks for Accurate Voltage Readings
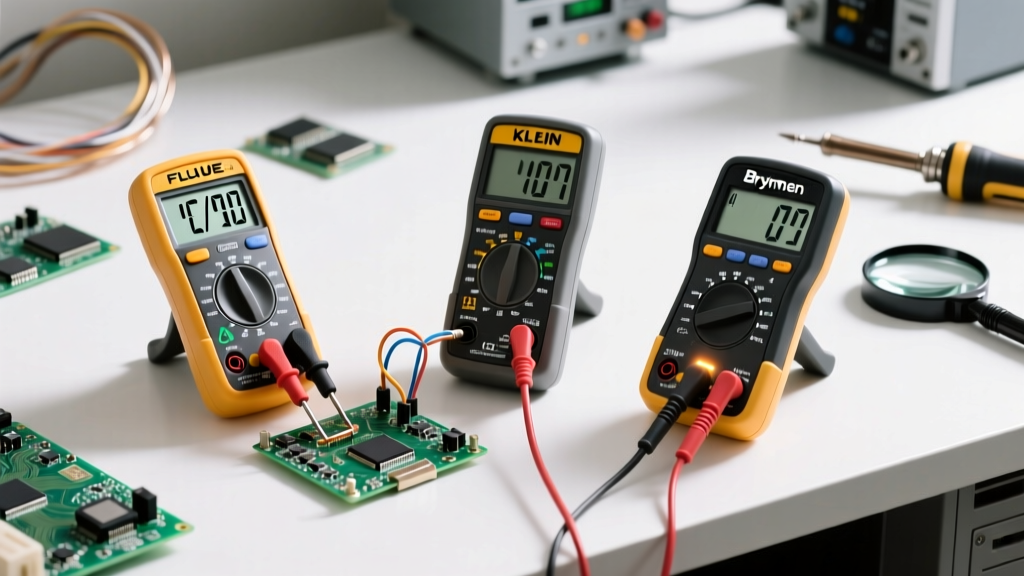
To help you navigate the market, we have tested and rounded up the best DMMs for voltage measurement across three distinct tiers. From DIY microcontroller projects to heavy-duty industrial panel troubleshooting, here is the gear that delivers reliable potential difference readings.
| Model | Approx. Price | CAT Rating | True RMS | LoZ Mode | Best Application |
|---|---|---|---|---|---|
| Klein Tools MM400 | $50 | CAT III 600V | No | No | Beginner DIY & Basic DC |
| Brymen BM235 | $110 | CAT III 1000V / CAT IV 600V | Yes | No | Prosumer & Advanced Electronics |
| Fluke 117 | $210 | CAT III 600V | Yes | Yes | Commercial Electricians & HVAC |
Budget Pick: Klein Tools MM400
For hobbyists strictly measuring DC voltage on breadboards, battery packs, or basic household outlets, the Klein MM400 is a stalwart. It is a manual-ranging meter, meaning you must select the expected voltage bracket (e.g., 2V, 20V, 200V) before probing. While it lacks True RMS (meaning it will struggle to read non-sinusoidal AC waveforms accurately), its 10MΩ input impedance and durable ABS housing make it an unbeatable entry-level tool for learning the fundamentals of measuring voltage with a multimeter.
The Prosumer Sweet Spot: Brymen BM235
Brymen manufactures the internal guts for many premium brands, and their BM235 is a masterclass in value. It features a dual-display (allowing you to read voltage and frequency simultaneously), True RMS AC accuracy, and a blistering 10,000-count resolution. When measuring low-voltage DC signals from microcontrollers (like a 3.3V logic pin on an ESP32), the BM235's stability and low noise floor provide readings that rival meters costing twice as much. Its CAT IV 600V rating also provides genuine peace of mind for residential mains testing.
Industry Standard: Fluke 117 True RMS
The Fluke 117 remains the undisputed king of commercial electrical troubleshooting. Its standout feature for voltage measurement is the LoZ (Low Impedance) mode. By dropping the internal impedance from 10MΩ down to roughly 3kΩ, the LoZ mode safely bleeds off ghost voltages caused by capacitive coupling in long, un-terminated cable runs. Additionally, the VoltAlert non-contact voltage sensor allows you to verify the presence of AC mains before you even make physical contact with the probes. As noted in Fluke's official documentation on Low Impedance (LoZ), this feature is critical for preventing false-positive voltage readings in modern, complex wiring systems.
Step-by-Step: Measuring AC vs. DC Voltage in the Field
Having the right kit is only half the battle. Proper technique ensures both accuracy and personal safety.
DC Voltage: Troubleshooting Microcontrollers and Batteries
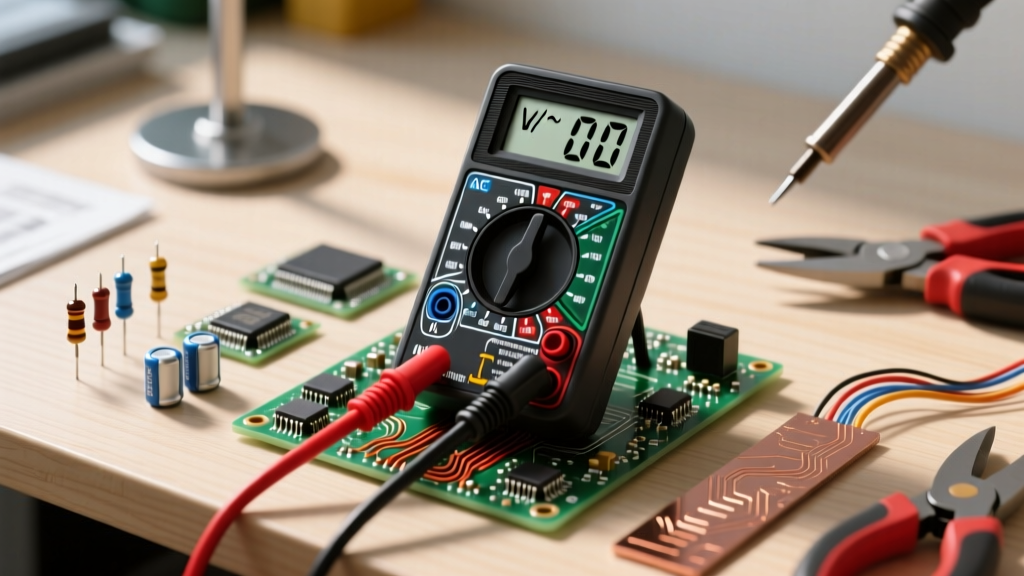
- Probe Placement: Insert the black probe into the COM (Common) jack and the red probe into the V/Ω (Voltage/Ohms) jack. Never use the current (A or mA) jacks for voltage, or you will create a dead short and blow the internal fuse.
- Dial Selection: Turn the dial to DC Voltage (denoted by a V with a solid and dashed line).
- Probing: Place the black probe on the circuit ground (GND) and the red probe on the test point. If measuring a 5V Arduino rail, expect a reading between 4.8V and 5.1V. If the display shows a negative sign (e.g., -12V), your probe polarity is reversed; simply swap them.
AC Voltage: Mains, LoZ, and Ghost Voltage Elimination
- Safety Check: Inspect your probe insulation for cracks. Ensure your meter is rated for the environment (CAT II for appliances, CAT III for distribution panels).
- Dial Selection: Turn the dial to AC Voltage (V with a wavy line).
- Probing: AC voltage has no fixed polarity. Insert the probes into the slot or across the terminals. For a standard US 120V receptacle, expect 118V to 122V.
- Engage LoZ (If Available): If you are testing a switch leg and read 40V on a disconnected wire, press the LoZ button. If the voltage drops to 0.0V, it was a ghost voltage. If it remains, you have a dangerous neutral-to-ground fault or induced leakage.
Critical Safety Specs: CAT Ratings and HRC Fuses
When measuring voltage with a multimeter on live AC mains, the primary danger is not just shock, but arc flash and transient overvoltage spikes. A lightning strike miles away or a heavy motor switching on can send a 6,000V transient spike through a 120V line.
WARNING: Never trust the 'CAT IV' stamp on a sub-$30 multimeter from an online marketplace. True safety requires High Rupturing Capacity (HRC) ceramic fuses, adequate internal creepage distances, and independent third-party certification (UL, CSA, or VDE). A cheap meter lacking these will arc internally and explode in your hands during a transient spike.
Always match your CAT rating to the environment. CAT II covers cord-connected appliances. CAT III covers fixed building wiring and distribution panels. CAT IV covers the utility service entrance and outdoor mains. For comprehensive safety standards regarding electrical testing equipment, refer to the guidelines published by OSHA's Electrical Safety division.
Probe Selection: The Unsung Hero of Voltage Accuracy
Your multimeter is only as good as the probes connecting it to the circuit. Standard silicone-jacketed probes are flexible and heat-resistant, but their thick tips struggle to grab fine-pitch SMD components or dense IC headers. For electronics work, invest in gold-plated, fine-tipped 'needle' probes. These reduce contact resistance and prevent accidental shorting of adjacent 0.65mm pitch microcontroller pins. For high-voltage AC work, use double-insulated, shrouded banana plugs with finger guards to prevent your hand from slipping down the shaft and touching the live conductor.
Common Voltage Measurement Pitfalls (and How to Avoid Them)
- The Low Battery Error: A DMM with a dying 9V battery will still turn on, but its internal voltage reference will drift. This causes the ADC to miscalculate the input, displaying 14V on a 12V battery. Always replace the battery when the low-bat icon appears.
- Leaving the Meter in Current Mode: The most common way hobbyists destroy their multimeters is by leaving the red probe in the Ampere jack and the dial set to Current, then probing across a voltage source. This places a near-zero ohm shunt resistor directly across the power supply, resulting in a blown fuse or melted traces.
- Ignoring True RMS Requirements: If you are measuring the voltage output of a variable frequency drive (VFD) or a dimmer switch, the AC waveform is chopped and non-sinusoidal. An average-responding meter will give wildly inaccurate readings. You must use a True RMS DMM to calculate the actual heating equivalent of the complex waveform.
Ultimately, measuring voltage with a multimeter is a blend of physics, technique, and equipment quality. By investing in a meter with the correct CAT rating, True RMS capabilities, and LoZ functionality, you transform a simple diagnostic check into a precise, safe, and highly informative troubleshooting session.