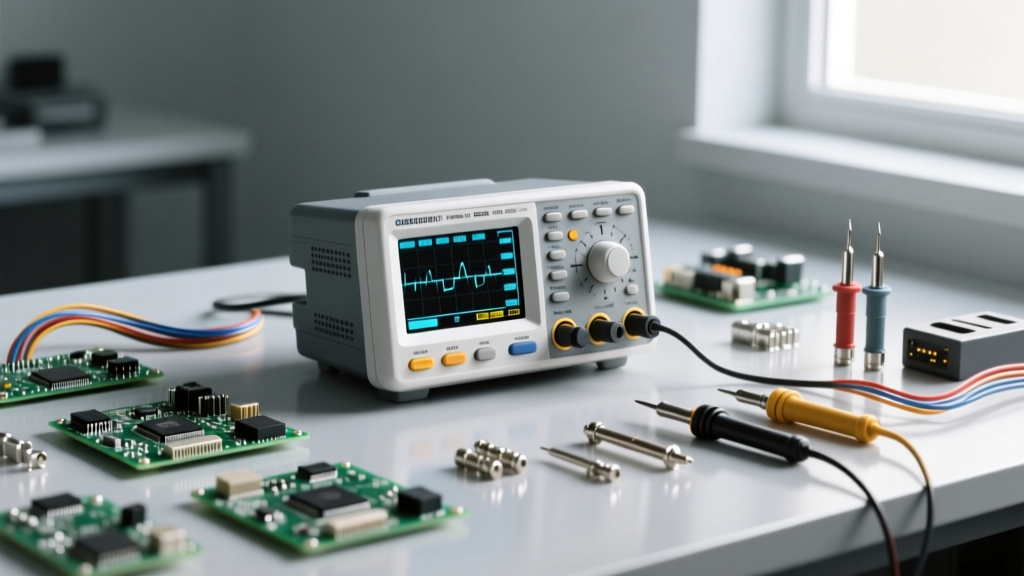

Why Your First Oscilloscope Dictates How Fast You Learn
When you are trying to figure out how to use an oscilloscope, the hardware interface and underlying architecture are just as critical as the internal silicon. Many beginners buy the cheapest digital storage oscilloscope (DSO) they can find, only to become frustrated by aliased waveforms, shallow memory depth, and confusing menu structures. A buying guide focused on education must prioritize user experience, triggering capabilities, and display technology. If your scope cannot reliably trigger on a specific I2C or SPI packet, or if its screen update rate is too slow to catch metastable glitches, you aren't learning electronics—you are fighting your test equipment.
In this 2026 buyer's guide, we bridge the gap between purchasing decisions and practical application. We will break down the exact specifications you need to learn effectively, recommend the best entry-level and mid-tier models on the market, and provide a foundational workflow on how to use oscilloscope hardware to debug real-world circuits.
Core Specs to Master: Bandwidth, Sample Rate, and Memory Depth
Before dropping hundreds of dollars, you must understand the 'Holy Trinity' of oscilloscope specifications. Misunderstanding these will lead to incorrect measurements and false conclusions when debugging microcontrollers or switching power supplies.
- Bandwidth: This is the frequency at which the input signal is attenuated by 3dB (about 30%). To accurately measure a digital clock signal, you must capture at least its 5th harmonic to see the square edges. Therefore, a 20MHz clock requires a 100MHz oscilloscope. If you buy a 50MHz scope for a 50MHz signal, you will only see a sine wave.
- Sample Rate (GSa/s): The number of samples the analog-to-digital converter (ADC) takes per second. According to the Nyquist theorem, you need at least twice the bandwidth, but in practice, you want a sample rate 5x to 10x your bandwidth to avoid aliasing.
- Memory Depth (Mpts): This dictates how much of the waveform the scope can store while maintaining its maximum sample rate. A shallow memory depth forces the scope to downsample (drop data points) when you zoom out on a timebase, completely hiding high-frequency glitches or UART dropouts.
Specification Quick-Reference Table
| Specification | Budget Minimum (DIY) | Recommended (Prosumer) | Real-World Impact on Learning |
|---|---|---|---|
| Bandwidth | 50 MHz | 100 MHz - 200 MHz | Determines if you can accurately view fast digital edges and high-speed serial protocols. |
| Sample Rate | 1 GSa/s | 2 GSa/s+ | Prevents aliasing, ensuring the waveform on screen matches reality. |
| Memory Depth | 12 Mpts | 100+ Mpts | Allows you to capture long serial bus transactions (like I2C) without losing sample resolution. |
| Waveform Capture Rate | 10,000 wfms/s | 100,000+ wfms/s | Crucial for spotting infrequent anomalies and metastable states in logic circuits. |
Top Oscilloscopes for Beginners Learning the Ropes
The market has shifted dramatically over the last few years. Chinese manufacturers have democratized high-end features, while legacy brands have introduced dedicated educational tiers. Here are the top models to consider if your primary goal is mastering oscilloscope operation.
1. Rigol DS1054Z: The Undisputed Budget King
Priced around $399, the Rigol DS1000Z Series remains the most popular entry-level scope in the DIY community. It offers 4 channels, 50MHz bandwidth (which is software-upgradable to 100MHz via well-documented community hacks), and 30Mpts of memory depth. Why it's great for learning: The 4-channel layout allows you to simultaneously monitor power rails, clock signals, and data lines, which is essential for understanding complex microcontroller interactions. The menu system is button-driven, forcing you to learn the logical hierarchy of scope settings rather than relying on a touchscreen.
2. Siglent SDS1202X-E: The Glitch Hunter
At roughly $349, the Siglent SDS1000X-E offers an incredible 200MHz bandwidth and 1 GSa/s sample rate. Its standout feature for learners is SPO (Super Phosphor Oscilloscope) technology. SPO provides 256 levels of intensity grading, meaning signals that occur frequently appear brighter, while rare glitches appear dimmer. Why it's great for learning: When learning how to use oscilloscope triggering, visual intensity grading gives you immediate, intuitive feedback on signal stability and noise, making abstract concepts like jitter and metastability visible to the naked eye.
3. Keysight DSOX1204G: The Premium Educational Choice
If budget is less of a concern (starting around $1,400), the Keysight InfiniiVision 1200G X-Series is unmatched for structured learning. Why it's great for learning: It features a built-in wavegen and an optional Educator's License. This license unlocks built-in training signals and step-by-step tutorials directly on the screen, allowing you to practice triggering on specific pulse widths, setup/hold violations, and serial decodes without needing to build external test circuits. Keysight's foundational application notes pair perfectly with this hardware.
Essential Probes: The Hidden Bottleneck
A common beginner mistake is pairing a 200MHz oscilloscope with cheap $10 probes. Your probe is an active part of your circuit; it introduces capacitance and inductance. Standard passive probes typically have a 10x attenuation switch. When set to 10x, the probe protects the scope's front end from high voltages and reduces the capacitive load on your Device Under Test (DUT) from ~100pF down to ~12pF. Always ensure the physical switch on the probe head matches the software attenuation setting in the scope's channel menu, or your voltage readings will be off by a factor of ten.
Pro Tip: Never use the standard 3-inch alligator ground clip when measuring high-frequency switching nodes or SPI clocks. The long wire acts as an inductor, picking up electromagnetic interference and causing massive ringing on your waveform. Instead, remove the plastic probe tip cover and use the short 'spring ground' adapter for a low-inductance connection.
How to Use an Oscilloscope: A 5-Step Diagnostic Workflow
Once your hardware is on the bench, follow this standardized workflow to ensure accurate measurements every time you power on the device.
- Compensate Your Probes: Connect the probe to the scope's square wave reference terminal (usually ~1kHz, 3V). Attach the ground clip. Adjust the trimmer capacitor on the probe head with a ceramic screwdriver until the square wave edges are perfectly flat, not rounded or overshooting.
- Set Coupling and Attenuation: Decide if you need DC coupling (shows the entire signal, including DC offset) or AC coupling (blocks DC, centers the AC waveform around 0V). Verify your probe attenuation ratio in the channel menu.
- Utilize Auto-Set (Cautiously): Press the 'Auto' button to let the scope guess the timebase and voltage scale. This is great for a baseline, but you must manually refine it. Auto-set often fails on complex modulated signals or low-duty-cycle PWM.
- Master the Trigger: This is the most critical step in learning how to use oscilloscope hardware. Set the trigger source to the channel you are measuring. Switch the trigger mode to 'Normal' (so the screen only updates when a trigger event occurs) and adjust the trigger level knob until it intersects the middle of your signal's voltage swing.
- Use Cursors for Precision: Stop relying on visual grid estimation. Activate the cursor function to measure exact Delta-V (voltage difference) and Delta-T (time difference) between two specific points, such as the rise time of a MOSFET gate or the setup time of a flip-flop.
Common Beginner Mistakes to Avoid
Even with the best equipment, poor technique leads to bad data. Watch out for these frequent pitfalls:
- Ground Loops and Short Circuits: The ground clip on your oscilloscope probe is tied directly to earth ground via the scope's power cord. If you clip the ground lead to a live voltage node in a non-isolated circuit (like mains-connected AC/DC converters), you will create a dead short, destroying your probe, your scope, and potentially your DUT. Use differential probes for floating measurements.
- Aliasing Illusions: If you zoom out on the timebase and the memory depth is exhausted, the scope drops samples. A 10MHz clock might suddenly appear as a 10Hz sine wave on the screen. Always check the sample rate indicator at the bottom of the screen to ensure it is at least 5x higher than your signal frequency.
- Ignoring Bandwidth Limiting: When measuring low-frequency analog sensors or audio signals, high-frequency RF noise can distort your readings. Engage the '20MHz Bandwidth Limit' hardware filter in the channel menu to clean up the display and reveal the true underlying signal.
Final Verdict: Investing in Your Electronics Education
Learning how to use oscilloscope equipment is a rite of passage for any serious electronics hobbyist or engineer. If you are strictly on a budget and want to tinker with 4-channel debugging, the Rigol DS1054Z is an unbeatable starting point. If you want to dive deep into signal integrity, glitch hunting, and higher-speed digital protocols, the Siglent SDS1202X-E provides professional-grade SPO displays at a fraction of the cost. Ultimately, the best oscilloscope is the one that removes the friction between your curiosity and the physical reality of the electrons flowing through your circuits.