
Beyond the Basics: Translating 'How-To' Into a Buying Strategy
If you have ever typed how do i measure voltage with a multimeter into a search engine, you likely found a simple three-step tutorial: plug in the probes, turn the dial, and touch the wires. While that answers the immediate operational question, it completely ignores the reality of professional electrical work and advanced electronics troubleshooting. Knowing how to turn the dial is only 10% of the battle. The other 90% is ensuring the tool in your hand won't explode in a high-energy panel or give you phantom readings that lead to misdiagnosed circuits.
This guide bridges the gap between basic operation and professional procurement. We will walk through the physical steps of measuring voltage, but more importantly, we will use those steps to decode the spec sheets of modern multimeters. Whether you are an HVAC technician, an industrial electrician, or a DIY electronics enthusiast, understanding the 'why' behind the 'how' will save you from buying the wrong tool in 2026.
The Core Question: How Do I Actually Measure Voltage?
Before evaluating hardware, let us establish the baseline procedure for measuring both Direct Current (DC) and Alternating Current (AC) voltage. This fundamental process highlights exactly where cheap meters fail and premium meters excel.
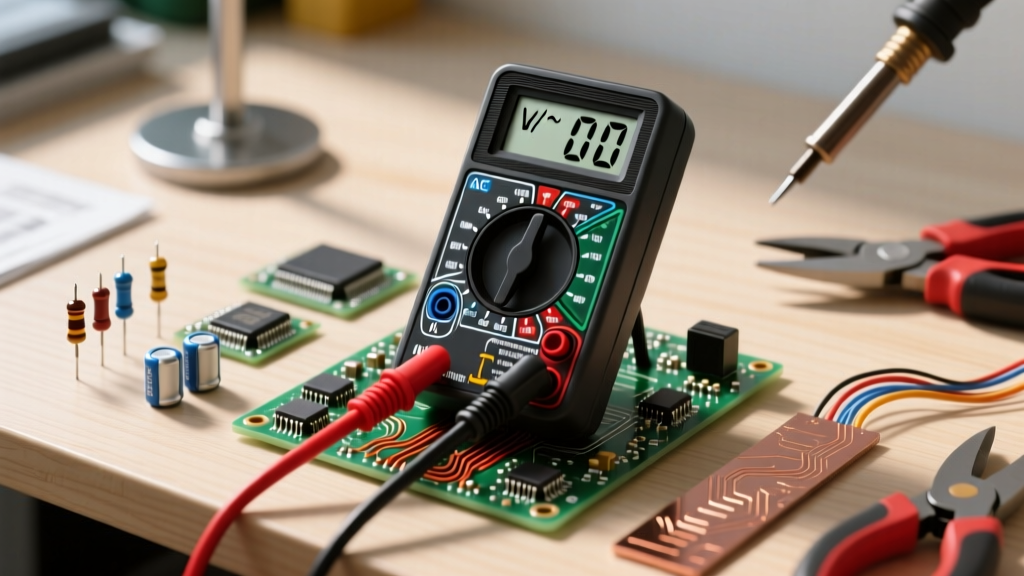
- Insert the Probes: Plug the black probe into the COM (Common) jack and the red probe into the V/Ω (Voltage/Ohms) jack. Buyer Insight: Look for meters with shuttered jacks that physically block you from inserting the red probe into the current (A) jack when the dial is set to voltage. This prevents catastrophic short circuits.
- Select the Mode: Turn the dial to V⎓ for DC voltage (batteries, solar panels, logic boards) or V~ for AC voltage (wall outlets, mains panels). Buyer Insight: If you measure non-linear AC loads, standard V~ mode will give you wildly inaccurate readings. You need True RMS.
- Make Contact: Touch the probes to the test points in parallel with the load or source. Read the digital display.
Translating the 'How-To' Into a 2026 Buying Checklist
When you turn that dial to AC Voltage, what is the meter actually doing under the hood? The answer dictates which model you should buy.
AC Voltage and the True RMS Necessity
Standard 'average-responding' multimeters assume every AC waveform is a perfect, clean sine wave. They measure the peak voltage and apply a fixed mathematical multiplier to display the RMS (Root Mean Square) value. However, modern electrical environments are filled with non-linear loads—LED drivers, variable frequency drives (VFDs), and computer power supplies—that chop and distort the sine wave. If you use an average-responding meter on a distorted wave, your voltage reading can be off by 20% to 40%.
The Fix: You must buy a True RMS multimeter. True RMS meters use complex internal circuitry to calculate the actual heating effect of the waveform, providing an accurate voltage reading regardless of distortion. According to Electronics Notes, True RMS is no longer a luxury; it is a strict requirement for anyone working with modern solid-state electronics or commercial lighting.
Safety First: Decoding CAT Ratings for Voltage Testing
Measuring voltage at a residential outlet seems safe until a transient voltage spike from the utility grid hits the line. The IEC 61010-1 standard defines Measurement Categories (CAT) to ensure your meter can survive these spikes without arcing over and causing an explosion.
- CAT II: Single-phase receptacle plug loads (appliances, portable tools).
- CAT III: Three-phase distribution, including single-phase commercial lighting and fixed motor loads.
- CAT IV: Three-phase at utility connection, outdoor service entrances, and main metering.
Expert Warning: Never trust a multimeter that claims 'CAT IV 600V' on its silkscreen but lacks an independent testing mark from UL, CSA, or ETL. As detailed in Fluke's Guide to Measurement Categories, counterfeit safety markings are rampant on budget e-commerce platforms. A true CAT III/IV meter requires high-energy rupture (HRC) fuses and specialized arc-gap internal geometry.
Top Multimeter Picks for Voltage Measurement in 2026
Based on real-world voltage testing scenarios, here is how the top contenders stack up for electricians and technicians.
| Model | Est. Price | Counts | True RMS | LoZ Mode | Best Application |
|---|---|---|---|---|---|
| Fluke 117 | $210 | 6,000 | Yes | Yes (AutoVolt) | Commercial Electricians, HVAC |
| Brymen BM235 | $115 | 6,000 | Yes | Yes | Industrial Techs, EEVblog Fans |
| Klein Tools MM600 | $60 | 4,000 | Yes | No | Residential DIY, Basic Auto |
| Fluke 87V | $450 | 20,000 | Yes | Yes (Low Pass) | Industrial VFDs, Heavy Mfg. |
Hidden Specs That Ruin Voltage Readings (And How to Avoid Them)
Knowing how to measure voltage is useless if the voltage you are reading isn't actually there. This brings us to one of the most misunderstood phenomena in electrical troubleshooting: Ghost Voltage.
The Ghost Voltage Problem
When measuring voltage in industrial control panels or long residential wire runs, you will often encounter 'phantom' or 'ghost' voltages. This happens due to capacitive coupling. A dead, disconnected wire running parallel to a live 120V wire acts like a capacitor, picking up stray electromagnetic fields. Standard multimeters have a very high input impedance (typically 10 Megohms) so they don't load down the circuit. However, this high impedance also means they cannot bleed off the capacitively coupled ghost voltage. You might touch your probes to a dead wire and read 45V AC, leading you to believe the circuit is still live.
The Solution: Low Impedance (LoZ) Mode
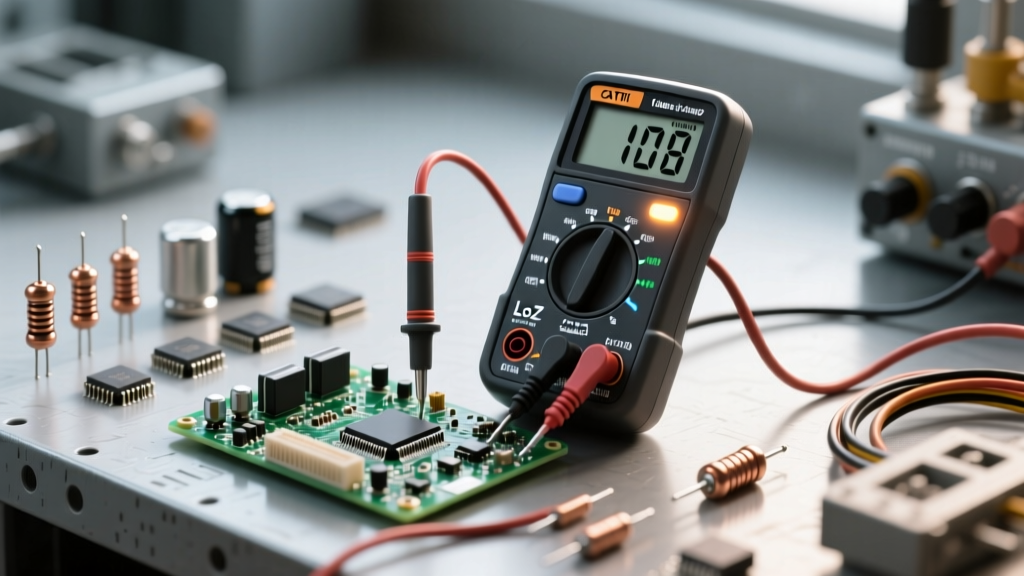
When shopping for a multimeter, look for a LoZ (Low Impedance) setting. When activated, LoZ drops the meter's internal input impedance from 10MΩ down to roughly 3kΩ. This creates just enough of a load to safely bleed off the ghost voltage, dropping the display to a true 0.0V. If you troubleshoot HVAC control boards or marine DC systems, LoZ is an absolute necessity to prevent chasing your tail on phantom circuits.
Red Flags to Avoid When Buying
As you evaluate models, walk away immediately if you spot these failure modes:
- Sluggish Auto-Ranging: Budget auto-ranging meters can take 3 to 5 seconds to lock onto a voltage reading. In a fast-paced troubleshooting environment, this delay is maddening. Look for meters with a manual range override or fast-sampling ADCs.
- Missing Input Protection: Open the battery compartment if possible. If you cannot see the leads connecting to substantial, sand-filled HRC fuses, the meter is a fire hazard for CAT III voltage testing.
- Unshielded Test Leads: The meter is only as safe as its leads. Ensure the included leads are independently rated for the same CAT level as the meter and feature finger guards.
Final Verdict: Which Meter Fits Your Voltage Testing Needs?
Answering 'how do i measure voltage with a multimeter' is easy. Doing it safely, accurately, and efficiently requires matching the tool to the environment.
If you are a residential DIYer or automotive hobbyist measuring basic DC batteries and standard AC outlets, the Klein Tools MM600 offers True RMS and adequate CAT III protection for under $70. However, if you are a professional electrician, HVAC tech, or industrial troubleshooter, the Fluke 117 or Brymen BM235 are non-negotiable investments. Their True RMS accuracy, independent safety certifications, and LoZ ghost-voltage elimination will pay for themselves the first time they prevent you from misdiagnosing a complex control circuit or surviving a transient mains spike. Stop buying meters based on price; start buying them based on the physics of the circuits you intend to measure.