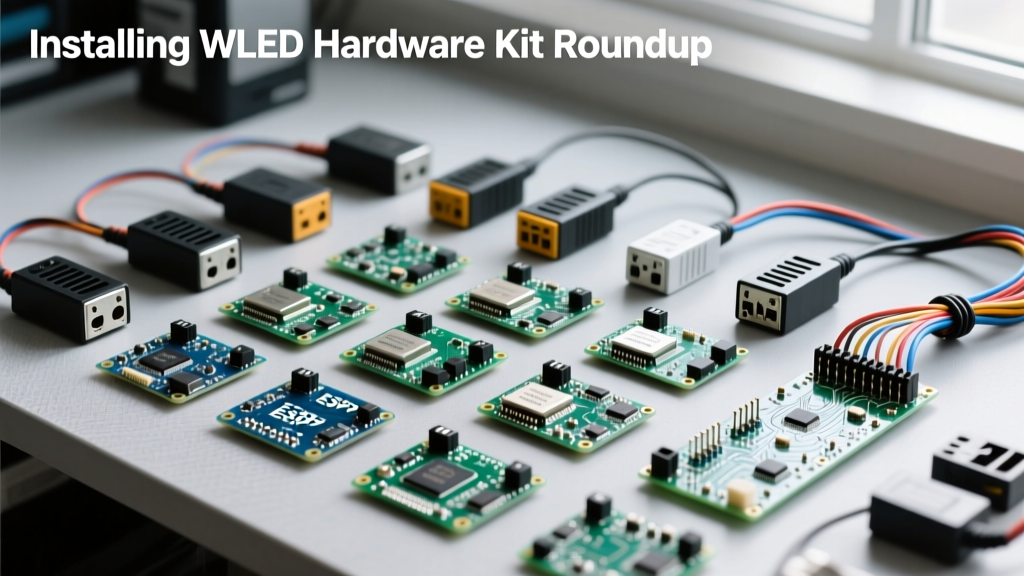

The 2026 WLED Ecosystem: Beyond the Basics
The landscape of addressable LED control has shifted dramatically. What started as a niche hobbyist project has evolved into a robust, architectural-grade lighting ecosystem. When installing WLED in modern environments, relying on outdated hardware guides from 2020 will lead to flickering data lines, voltage drop, and melted breadboards. Today's high-density COB LED strips and audio-reactive setups demand precise hardware matching.
This comprehensive equipment roundup cuts through the noise. We will dissect the exact microcontrollers, power delivery systems, logic level shifters, and wiring tools required for a bulletproof installation. Whether you are building a reactive gaming desk or wiring a 50-meter outdoor roofline, selecting the right kit is the difference between a frustrating failure and a flawless deployment.
The Core Brain: Selecting the Right Microcontroller Kit
The foundation of any WLED project is the ESP board. While the ESP8266 (NodeMCU/Wemos D1 Mini) was the original darling of the community, its limitations in memory and pin count make it obsolete for complex 2026 installations. The official WLED hardware wiki strongly recommends the ESP32 family for anything beyond 500 LEDs.
ESP32 vs. ESP32-S3: The Audio-Reactive Divide
If your installation involves music synchronization, the standard ESP32-WROOM is no longer sufficient. You must spec an ESP32-S3 board. The S3 variant features native I2S peripheral support, allowing direct, low-latency integration with INMP441 digital MEMS microphones without hogging CPU cycles via analog-to-digital conversion.
| Microcontroller | Max LED Capacity | Audio-Reactive Support | Best Use Case | Approx. Price |
|---|---|---|---|---|
| ESP8266 (D1 Mini) | ~1,500 (Limited RAM) | Analog Mic Only (Poor) | Small accent lighting, single strips | $4.00 |
| ESP32-WROOM-32 | ~10,000+ | ADC Analog (High CPU Load) | Standard architectural, multi-strip | $6.50 |
| ESP32-S3-WROOM-1 | ~10,000+ | Native I2S Digital (Flawless) | Gaming setups, club lighting, sync boxes | $9.00 |
Powering the Pixels: PSU Sizing and Injection Kits
The most common point of catastrophic failure when installing WLED is inadequate power delivery. Addressable LEDs are essentially tiny, power-hungry resistors. A standard 5V WS2812B strip draws roughly 60mA per pixel at full white brightness. For a 5-meter roll of 144 LEDs/m (720 pixels total), that equates to a staggering 43.2 Amps.
The 5V vs. 12V Dilemma
For indoor, short-run applications (under cabinets, behind monitors), 5V WS2812B or SK6812 strips are standard. However, for runs exceeding 5 meters, you must transition to 12V WS2815 strips. The WS2815 features a backup data line (if one pixel dies, the rest stay lit) and operates at 12V, drastically reducing voltage drop and allowing for much thinner, cheaper wiring.
Power Supply Roundup: Mean Well vs. Generic
Never cheap out on the Power Supply Unit (PSU). Generic, unbranded aluminum mesh PSUs often lie about their amperage ratings and lack over-current protection, creating severe fire hazards. According to the WLED power and wiring documentation, you should always leave a 20% headroom on your PSU's rated capacity.
- Mean Well LRS-350-5 (5V, 70A): The undisputed king of indoor 5V installations. Fanless, enclosed, and rated for continuous 24/7 operation. (~$45)
- Mean Well HLG-320H-12 (12V, 26.7A): An IP67-rated, fully potted powerhouse for outdoor architectural rooflines and landscaping. (~$110)
- Generic 5V 60A Mesh PSU: Acceptable only for temporary, low-budget prototyping. Requires active cooling and frequent monitoring. (~$25)
Electrician's Warning: When installing WLED with high-amperage 5V systems, the 5V traces on the LED strip itself will melt before the power supply trips. You must perform power injection (feeding 5V and GND directly to the strip) every 2.5 to 5 meters using minimum 18 AWG silicone wire.
Signal Integrity: Logic Level Shifters and Terminators
A persistent issue plaguing DIYers installing WLED is the "first pixel flicker" or random color glitches. This is almost always a logic voltage mismatch. The ESP32 outputs data signals at 3.3V, but the WS2812B protocol requires a 5V logic HIGH to reliably register the data stream, especially over distances longer than 10 centimeters.
The SN74AHCT125N: The Gold Standard
Forget the TXS0108E or generic bidirectional logic level converters sold in Arduino starter kits. They are too slow for the 800kHz data rate of WS281x LEDs and will corrupt your signal. The SN74AHCT125N is a unidirectional, high-speed buffer that perfectly translates the ESP32's 3.3V GPIO output to a rock-solid 5V data signal.
- Wire ESP32 GPIO pin to SN74AHCT125N Input (1A).
- Wire SN74AHCT125N Output (1Y) to the LED strip DIN.
- Power the SN74AHCT125N VCC with 5V from the PSU.
- Place a 330-ohm terminating resistor on the data line immediately before the first LED pixel to prevent signal reflection.
Complete "Installing WLED" Starter Kits Reviewed
To streamline your procurement, we have categorized the optimal hardware kits based on the three most common installation scenarios in 2026.
Kit A: The "Under-Cabinet" Architectural Basic
Target: 3 meters of kitchen cabinet lighting (SK6812 RGBW, 60 LEDs/m).
- Brain: Wemos D1 Mini (ESP8266) - sufficient for 180 LEDs.
- Power: Mean Well LRS-100-5 (5V, 20A).
- Wiring: 20 AWG stranded copper, Wago 221-212 lever nuts for quick splices.
- Estimated Cost: $45 (excluding LED strip).
Kit B: The "Gamer" Audio-Reactive Sync Box
Target: Behind-monitor bias lighting and desk edge (WS2812B, 200 LEDs) with real-time music sync.
- Brain: ESP32-S3 DevKitC-1 with pre-soldered I2S INMP441 microphone module.
- Signal: SN74AHCT125N breakout board.
- Power: 5V 15A Desktop switching supply (brick style for easy desk mounting).
- Enclosure: 3D-printed PLA+ vented housing with 5.5x2.1mm DC barrel jacks.
- Estimated Cost: $65 (excluding LED strip).
Kit C: The "Outdoor Roofline" Permanent Install
Target: 25 meters of exterior eaves (12V WS2815, 30 LEDs/m).
- Brain: ESP32-WROOM-32 housed in an IP65 PVC junction box.
- Power: Mean Well HLG-320H-12 (IP67 Rated, 12V).
- Protection: 12V automotive inline fuses (10A) at every power injection point.
- Wiring: 14 AWG UV-resistant outdoor rated wire for main trunk lines.
- Estimated Cost: $180 (excluding LED strip).
Essential Wiring Tools for Clean Installations
Hardware selection is only half the battle. The physical execution of installing WLED requires specialized tools to ensure longevity, especially when dealing with high-current 5V systems where poor crimps lead to resistance, heat, and fires.
- Knipex 12 62 180 Wire Strippers: Essential for cleanly stripping 22 AWG to 10 AWG silicone wire without nicking the copper strands, which reduces amperage capacity.
- Wago 221 Lever-Nuts: The absolute best method for joining power injection wires to main trunk lines. Screw terminals loosen over time due to thermal expansion/contraction; Wago spring clamps maintain constant pressure.
- Fluke 117 True-RMS Multimeter: Mandatory for checking voltage drop at the end of your LED runs. If your 5V line reads below 4.2V at the far end of the strip, you need to add another power injection point.
- Hot Air Rework Station (858D): For soldering waterproof IP67 connectors and heat-shrinking data line splices to prevent outdoor corrosion.
Final Verdict and Sourcing Advice
Successfully installing WLED in 2026 requires treating the project like a low-voltage electrical installation, not a simple craft project. By upgrading from legacy ESP8266 boards to the ESP32-S3, utilizing the SN74AHCT125N for flawless data transmission, and specifying genuine Mean Well power supplies, you eliminate 95% of the troubleshooting headaches that plague beginners.
Source your microcontrollers from reputable vendors like DigiKey or Mouser to avoid counterfeit silicon, and always calculate your wattage requirements with a 20% safety margin. For the latest firmware binaries and pinout diagrams, always refer back to the official WLED knowledge base before powering on your first strip.