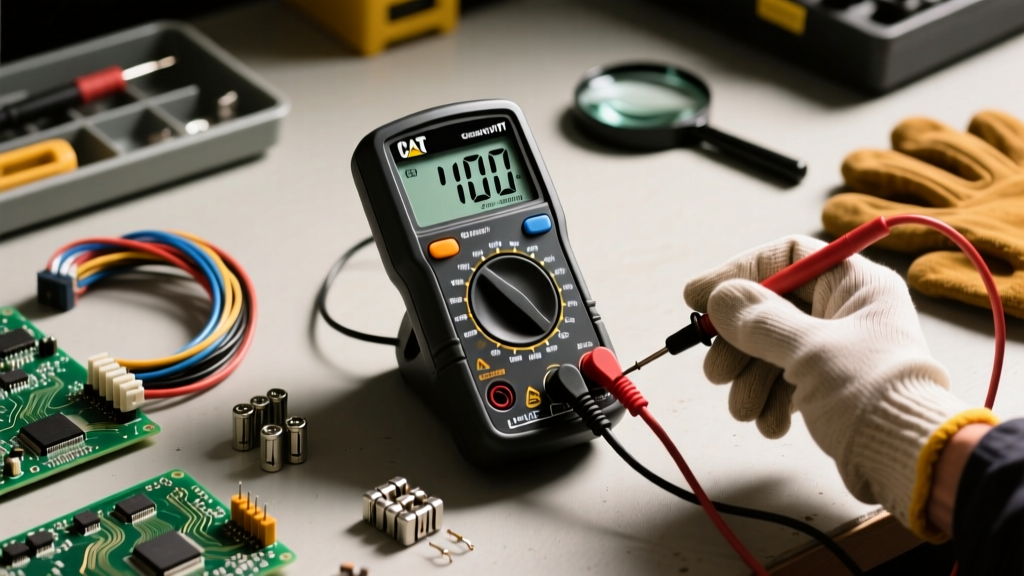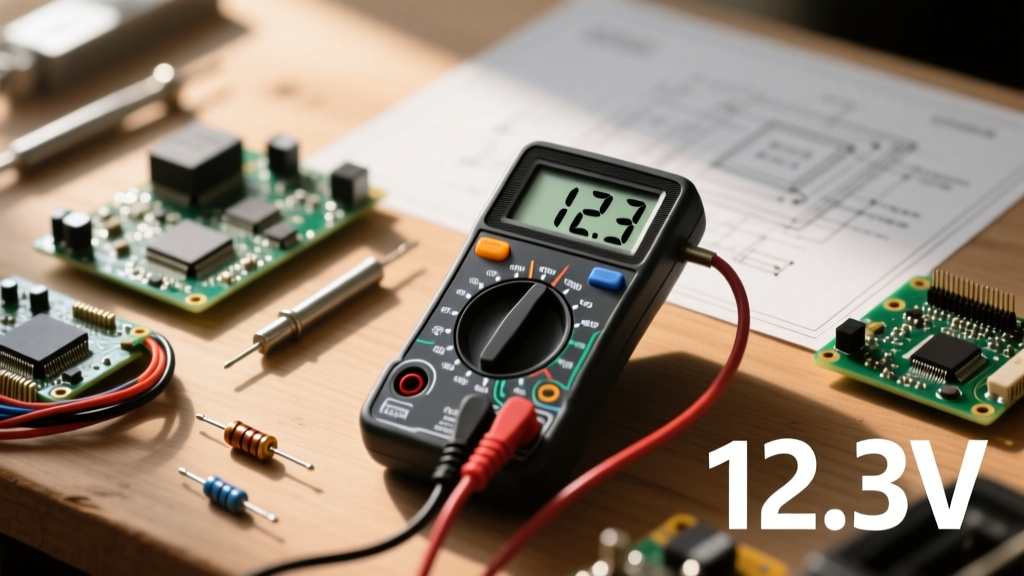

The Multimeter Learning Curve: Where to Start
Learning how to use a digital multimeter (DMM) is not a single event; it is a progressive skill-building path. Many beginners buy a meter, test a AA battery, and then leave the tool in a drawer because they lack a structured framework for troubleshooting complex circuits. Whether you are diagnosing a parasitic draw in a vehicle or testing a microcontroller's I/O pins, mastering a DMM requires moving from basic validation to advanced diagnostic interpretation.
This guide is structured as a four-level progression path. By following this sequence, you will build the muscle memory and theoretical understanding required to troubleshoot safely and accurately, avoiding the catastrophic mistakes that destroy meters and cause electrical injuries.
Level 1: Safety, Anatomy, and the CAT Rating System
Before you touch a single probe, you must understand the safety architecture of your tool. According to Fluke's official safety guidelines, using a meter with an inadequate category (CAT) rating in a high-energy environment can result in an arc flash.
Decoding CAT Ratings and HRC Fuses
- CAT II (up to 600V): Safe for standard household appliances, portable tools, and standard 120V/240V receptacles.
- CAT III (up to 600V/1000V): Required for building wiring, distribution panels, and fixed motor loads. This is the minimum standard for professional electricians.
- CAT IV (up to 600V/1000V): Necessary for utility connections, outdoor service entrances, and primary overcurrent protection.
Beyond the CAT rating, inspect the internal fuses. High-quality meters use High Rupturing Capacity (HRC) ceramic fuses filled with sand to quench arcs. If your meter uses cheap glass fuses, it is a significant safety hazard for mains-level troubleshooting.
Level 2: The Core Trio (Continuity, DC Voltage, Resistance)
Level 2 focuses on the foundational measurements that solve 80% of basic electronics and household wiring issues. As noted in the All About Circuits textbook, understanding the difference between series and parallel measurement is critical here.
Continuity: The Circuit Tracer
Continuity testing sends a tiny current through the probes to verify a complete path. It is your go-to function for checking fuses, tracing broken wires, and verifying switch operation. Golden Rule: Never test continuity on a live circuit. The presence of external voltage will confuse the meter's logic board and can blow the internal mA fuse.
DC Voltage: The Power Validation
DC voltage is measured in parallel. To test a 12V automotive battery or a 5V Arduino logic pin, place the black probe on the ground reference and the red probe on the test point. If your meter is manual-ranging, always start at the highest voltage setting and step down to avoid overloading the display (often indicated by an 'OL' or '1' on the far left of the LCD).
Resistance: Finding the Weak Link
Resistance (measured in Ohms, Ω) is crucial for verifying heater elements, thermistors, and resistors. Like continuity, the circuit must be completely de-energized. Measuring resistance on a live circuit will yield false readings and potentially destroy the meter's precision resistor network.
Level 3: Intermediate Diagnostics (AC Voltage and Capacitance)
As you move into HVAC, industrial controls, or advanced power supplies, you will encounter complex waveforms and energy storage components that require deeper interpretation.
AC Voltage and the 'Ghost Voltage' Phenomenon
When measuring AC mains, standard averaging meters assume a perfect sine wave. However, modern non-linear loads (like LED drivers and Variable Frequency Drives) distort the wave. This is where a True-RMS (Root Mean Square) meter becomes mandatory. True-RMS meters calculate the actual heating value of the distorted wave, providing an accurate reading where averaging meters will fail.
You may also encounter 'ghost voltage'—a phantom reading of 40V to 90V on a disconnected wire caused by capacitive coupling from adjacent live wires. Advanced meters feature a LoZ (Low Impedance) mode that places a low-resistance load on the circuit to bleed off this ghost voltage, revealing the true zero-volt state.
Capacitance Testing: The Hidden Failure Mode
Capacitors fail frequently in power supplies and motor start circuits. To test capacitance (measured in Farads), you must first safely discharge the capacitor using a high-wattage bleeder resistor. Connecting a DMM directly to a charged 400V DC capacitor will instantly vaporize the meter's input protection. Once discharged, connect the probes; a healthy motor run capacitor should read within +/- 5% of its printed microfarad (µF) rating.
Level 4: Advanced Troubleshooting (Current and Semiconductors)
Level 4 is where most beginners destroy their equipment. Measuring current requires a fundamental shift in how you connect the meter to the circuit.
Current Measurement and the 'Blown Fuse' Failure Mode
Unlike voltage, current (Amps) must be measured in series. The circuit must be broken, and the meter inserted so that all electrons flow through the DMM's internal shunt resistor. The Fatal Mistake: Leaving the red probe in the '10A' current jack and then placing the probes in parallel across a battery or power supply. This creates a dead short through a tiny piece of wire, instantly blowing the 10A fuse and, in cheap meters, melting the probe tips.
Parasitic Draw Testing (Automotive)
To find a parasitic battery drain in a vehicle, wait for the CAN-bus modules to go to sleep (usually 20-30 minutes). Set the meter to the 10A range, disconnect the negative battery terminal, and place the red probe on the disconnected cable and the black probe on the battery post. A normal draw is typically under 50mA (0.05A). If you see 2.5A, you have a severe short or a module failing to sleep.
Diode and Transistor Junction Testing
The diode test function applies roughly 2-3V to the probes. A standard silicon diode should show a forward voltage drop of 0.5V to 0.7V, and an 'OL' (open loop) in reverse bias. This function is also invaluable for identifying the base, collector, and emitter pins on unmarked bipolar junction transistors (BJTs) by mapping the internal PN junctions.
Common DMM Mistakes and Prevention Framework
Review this table before every major diagnostic session to ensure you are applying the correct measurement topology.
| Mistake | Consequence | Prevention Protocol |
|---|---|---|
| Measuring Voltage with probes in Current (A) jacks | Dead short, blown 10A fuse, potential arc flash | Visually verify probe positions before touching circuit |
| Testing Continuity on live mains voltage | Destroys meter logic board, shocks user | Always use a non-contact voltage tester first |
| Using CAT II meter on industrial 480V panels | Catastrophic meter explosion due to transient spikes | Verify CAT III/IV rating matches the environment |
| Ignoring 'Low Battery' indicator | Erratic readings, false continuity, inaccurate voltage | Replace 9V/AA batteries immediately when icon appears |
Recommended Gear for Your Progression Path
Your tool should match your current skill level and safety requirements. Do not buy a $300 meter if you only test 12V car batteries, but never use a $15 meter on 240V mains.
- Level 1-2 (Hobbyist/DIY): Klein Tools MM400 (~$45). Auto-ranging, CAT III 600V, survives basic drops. Perfect for learning the core trio.
- Level 3 (Advanced DIY/Entry Pro): Brymen BM235 (~$120). Exceptional build quality, True-RMS, LoZ mode, and robust HRC fuses. The best safety-to-price ratio on the market.
- Level 4 (Industrial/Master Tech): Fluke 87V (~$350+). The industry standard. Features a built-in thermometer, 10,000V input protection, and a lifetime warranty. Essential for daily industrial troubleshooting.
Mastering how to use a digital multimeter is a journey of disciplined habits. By respecting the safety categories, understanding measurement topology, and progressing through these diagnostic levels, you transform a simple handheld tool into a powerful window into the invisible world of electricity.