
The Smart Home Case for Location Tracking
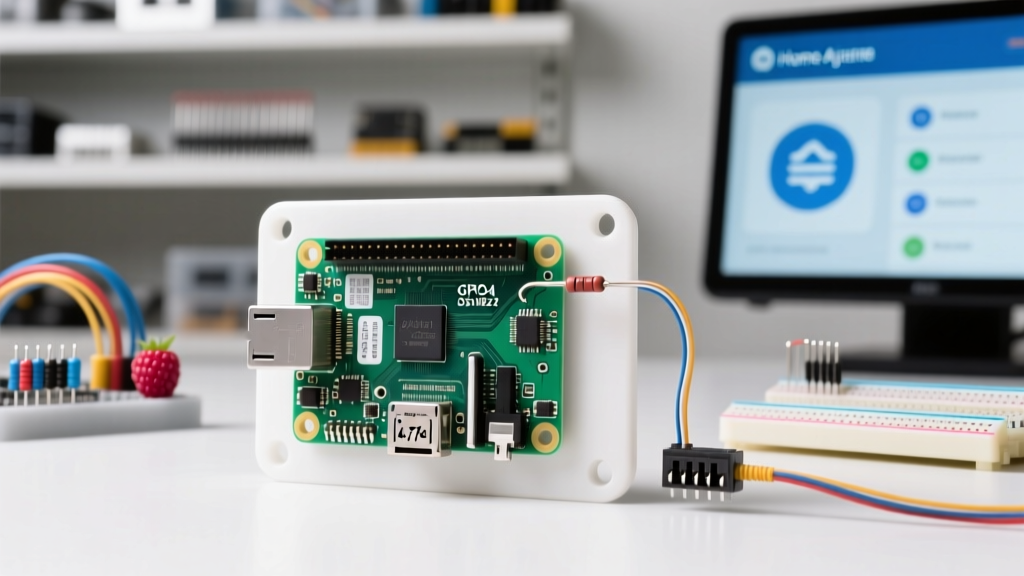
While most smart home automations rely on static sensors or Wi-Fi presence detection, integrating a physical location tracker opens up advanced geofencing and fleet management capabilities. When building a custom GPS module Raspberry Pi integration, you bridge the gap between physical movement and digital home automation. This is particularly valuable for tracking off-grid solar arrays, monitoring property boundaries for automated gate triggers, or logging the exact coordinates of a Pi-powered mobile robot or delivery vehicle back to your Home Assistant dashboard.
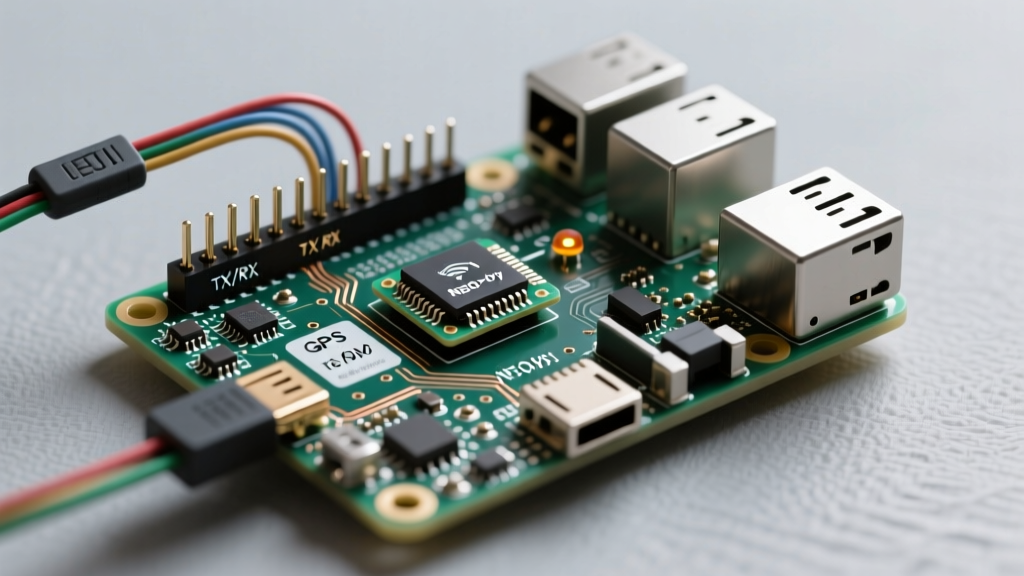
Unlike Bluetooth or Wi-Fi RSSI tracking, which suffers from severe signal degradation over distance, a dedicated Global Navigation Satellite System (GNSS) receiver provides sub-meter accuracy globally. In this guide, we will bypass generic USB dongles and wire a dedicated UART-based GPS module directly to the Raspberry Pi's GPIO header, daemonize the NMEA data stream, and publish it to Home Assistant via MQTT.
Hardware Selection Matrix: Choosing the Right GNSS Receiver
Not all GPS modules are created equal. The market is flooded with cheap clones and high-end surveying gear. For a reliable smart home integration, you need a balance of multi-constellation support and 3.3V logic compatibility.
| Module | Chipset | Constellations | Channels | Avg. Price | Best Use Case |
|---|---|---|---|---|---|
| Generic NEO-6M | u-blox NEO-6M | GPS (L1) | 50 | $8 - $12 | Basic hobbyist projects, open-sky tracking |
| u-blox NEO-M8N | u-blox NEO-M8N | GPS, GLONASS, Galileo, BeiDou | 72 | $16 - $22 | Urban canyons, partial tree cover, high reliability |
| Adafruit Ultimate GPS | MediaTek MTK3339 | GPS, GLONASS | 66 | $38 - $45 | Projects requiring built-in RTC and SD logging |
Expert Recommendation: For Home Assistant integrations where reliability is paramount, the u-blox NEO-M8N is the undisputed sweet spot. Its ability to concurrently track multiple constellations (GPS + GLONASS) drastically reduces the 'Time to First Fix' (TTFF) in challenging environments compared to the aging NEO-6M.
UART Pinout and the 3.3V Logic Level Warning
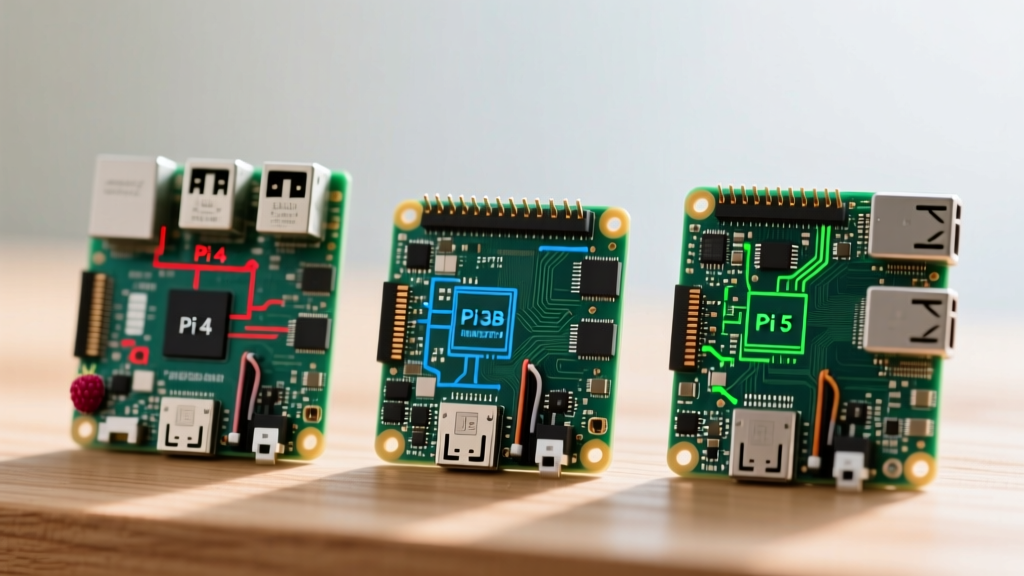
The Raspberry Pi 4 and Pi 5 utilize a 3.3V logic level on their GPIO pins. Connecting a 5V GPS module directly to the Pi's RX/TX pins will permanently destroy the BCM2711 or BCM2712 SoC. Always verify your module's logic level. Most bare u-blox breakout boards operate at 3.3V, but shielded USB-to-serial adapters or specific Arduino-centric shields may output 5V. If you must use a 5V module, employ a bidirectional logic level shifter (like the BSS138) between the module's TX pin and the Pi's RX pin.
Wiring the NEO-M8N to the Raspberry Pi
- VCC: Connect to Pi 3.3V (Pin 1)
- GND: Connect to Pi Ground (Pin 6)
- TXD: Connect to Pi RXD / GPIO 15 (Pin 10)
- RXD: Connect to Pi TXD / GPIO 14 (Pin 8)
Disabling the Serial Console
By default, the Raspberry Pi routes the Linux serial console to the primary UART. You must disable this to free up the port for NMEA sentences. According to the official Raspberry Pi UART configuration documentation, you can achieve this via the terminal:
- Run
sudo raspi-config - Navigate to Interface Options > Serial Port
- Select No for 'login shell to be accessible over serial'
- Select Yes for 'serial port hardware to be enabled'
- Reboot the Pi.
Daemonizing Location Data with gpsd
Raw NMEA 0183 sentences (like $GPGGA and $GPRMC) are difficult to parse manually for edge cases like dropped packets or checksum errors. The gpsd daemon acts as a middleware layer, translating raw serial data into clean JSON or socket streams.
Install the daemon and client tools:
sudo apt update
sudo apt install gpsd gpsd-clients python3-paho-mqtt
Configure gpsd to listen to the hardware UART (/dev/ttyAMA0 on Pi 4/5):
sudo nano /etc/default/gpsdModify the parameters to match the following:
START_DAEMON="true"
GPSD_OPTIONS="-n"
DEVICES="/dev/ttyAMA0"
USBAUTO="false"
Restart the service with sudo systemctl restart gpsd. You can verify the satellite lock by running cgps -s in the terminal. A 3D fix requires a minimum of four satellites.
Publishing Coordinates to Home Assistant via MQTT
Home Assistant excels at mapping when fed data via the MQTT Device Tracker or Sensor integrations. We will write a lightweight Python script using the paho-mqtt library to poll gpsd and publish the payload. For more details on structuring MQTT payloads, refer to the Home Assistant MQTT integration docs.
import gpsd
import paho.mqtt.client as mqtt
import json
import time

# Connect to local gpsd socket
gpsd.connect()

# Configure MQTT Broker
broker_ip = '192.168.1.100'
client = mqtt.Client('Pi_GPS_Tracker')
client.username_pw_set('mqtt_user', 'mqtt_password')
client.connect(broker_ip, 1883, 60)

print('Connected to MQTT Broker. Polling gpsd...')

while True:
    try:
        packet = gpsd.get_current()
        # Mode 2 = 2D Fix, Mode 3 = 3D Fix
        if packet.mode >= 2:
            payload = {
                'latitude': packet.lat,
                'longitude': packet.lon,
                'gps_accuracy': packet.error.get('s', 99.0),
                'speed': packet.speed * 3.6, # Convert m/s to km/h
                'satellites': packet.sats
            }
            client.publish(
                'homeassistant/sensor/pi_fleet_gps/state',
                json.dumps(payload),
                retain=True
            )
        else:
            print('Waiting for satellite fix...')

        # Poll every 15 seconds to respect broker rate limits
        time.sleep(15)
    except Exception as e:
        print(f'Error reading gpsd: {e}')
        time.sleep(5)
Save this script as gps_mqtt_bridge.py and run it as a systemd service to ensure it survives reboots and network blips.
Overcoming Signal Degradation and Cold Starts
Integrating physical hardware into a smart home ecosystem introduces environmental variables that pure software developers often overlook. GNSS signals operate at extremely low power levels (around -130 dBm) and are easily blocked by solid structures.
Pro-Tip on Antenna Placement: The ceramic patch antenna on the NEO-M8N must face the sky directly. If your Raspberry Pi is housed in a metal enclosure (like the official Pi 4 aluminum case or a Flirc case), the GPS module must be mounted externally. A 30cm U.FL to SMA extension cable allows you to route the antenna outside a metal weather-proof junction box while keeping the Pi safe inside.
Understanding Cold vs. Warm Starts
When you first power on the Raspberry Pi, the GPS module performs a 'Cold Start'. It has no almanac data and must search all possible frequencies and PRN codes. This can take anywhere from 1 to 15 minutes. If your smart home automation relies on an immediate location lock upon boot, you must configure the GPS module's EEPROM to store the last known position, enabling a 'Hot Start' (typically under 5 seconds). The Adafruit Ultimate GPS guide provides excellent insights into sending specific MTK or UBX commands via Python to force EEPROM saves and tune the update rate from the default 1Hz to 5Hz or 10Hz for moving vehicles.
Creating the Home Assistant Map Dashboard
Once the MQTT topics are populated, add a device_tracker or sensor entity in your configuration.yaml using the MQTT JSON schema. You can then utilize the native Home Assistant Map Card to visualize the Pi's location in real-time. By combining this with the Zone integration, you can trigger automations—such as opening a motorized gate or turning on exterior floodlights—the exact moment the Pi's coordinates cross the geofence boundary of your property.