
The 3.3V Logic Threshold: Level Shifting ESP32 Sensors
The ESP32 has revolutionized DIY electronics and IoT prototyping, but its transition from the 5V-tolerant Arduino Uno ecosystem to a strict 3.3V logic architecture introduces significant compatibility hurdles. When integrating ESP32 sensors, the most common point of failure is ignoring the logic level threshold. Feeding a 5V I2C SDA/SCL signal directly into an ESP32 GPIO pin will degrade the silicon over time, leading to erratic readings and eventual thermal failure of the input buffer.
While some legacy sensors like the DHT11 or HC-SR04 operate strictly at 5V, modern environmental sensors usually support a range. However, the ESP32 requires a minimum of 0.75 × VDD (approximately 2.475V) to reliably register a logic HIGH. If you are using a 5V sensor with open-drain outputs, you must use a bidirectional logic level converter based on BSS138 MOSFETs, rather than a simple resistor voltage divider, to preserve the sharp rising edges required for high-speed I2C communication.
Native 3.3V vs 5V Tolerant Modules
| Sensor Module | Protocol | Native Voltage | ESP32 Compatibility Notes |
|---|---|---|---|
| BME280 | I2C / SPI | 1.8V - 5.0V | Safe for direct 3.3V connection. Onboard regulators handle the rest. |
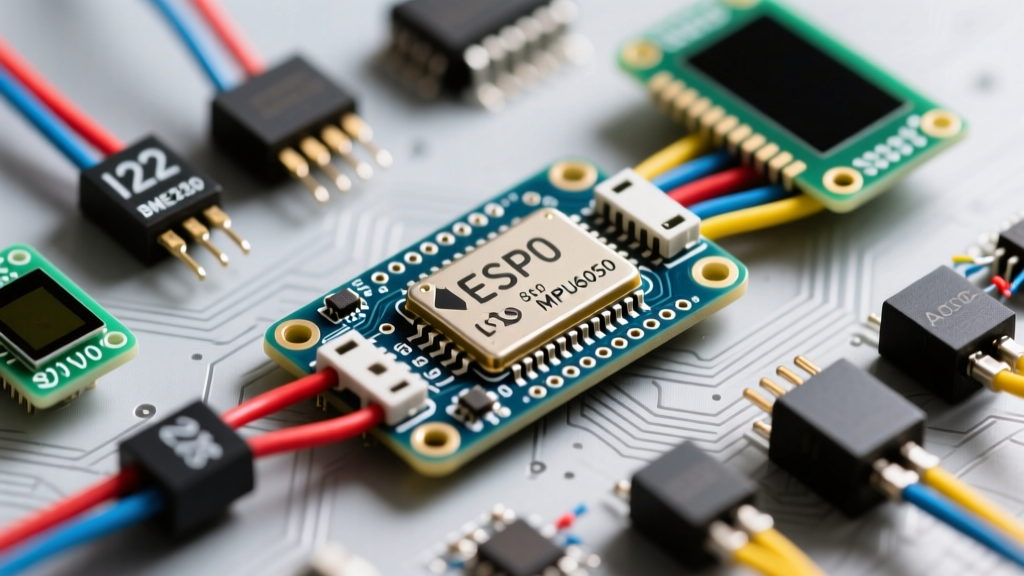
| MPU6050 | I2C | 3.0V - 5.0V | Logic HIGH threshold is 0.7*VLOGIC. Connect VLOGIC to 3.3V, VDD to 5V. |
| MQ-135 (Gas) | Analog | 5.0V | Requires Level Shifter. Outputs up to 5V. Use a voltage divider. |
| DS18B20 | 1-Wire | 3.0V - 5.5V | Parasitic power mode works on 3.3V, but external 3.3V power is recommended. |
The Infamous ESP32 ADC: Non-Linearity and WiFi Conflicts
Analog sensors like Light Dependent Resistors (LDRs), NTC thermistors, and soil moisture probes rely on the microcontroller's Analog-to-Digital Converter (ADC). The ESP32 features two 12-bit SAR ADCs (ADC1 and ADC2), but they are notoriously difficult to use for precision measurements due to hardware-level quirks.
Expert Insight: The ESP32's internal ADC is non-linear at the extremes of its range. Even with 11dB attenuation (allowing reads up to ~3.3V), readings below 0.15V and above 2.5V are highly inaccurate. If your ESP32 sensor requires precision analog reading, bypass the internal ADC entirely and use an external I2C ADC like the ADS1115.
ADC1 vs ADC2: The WiFi Collision
A critical failure mode in IoT projects occurs when developers map an analog sensor to ADC2 and then initialize the WiFi radio. The ESP32's WiFi subsystem takes exclusive control of ADC2 during transmission. If your soil moisture sensor is wired to GPIO 25, 26, or 27 (ADC2 pins), your sensor readings will flatline or return garbage data the moment the ESP32 connects to your router. Always route critical analog ESP32 sensors to ADC1 pins (GPIO 32, 33, 34, 35, 36, 39). For a comprehensive breakdown of safe pin mappings, refer to the ESP32 Pinout Reference by Random Nerd Tutorials.
SPI Routing: HSPI, VSPI, and Strapping Pin Hazards
When I2C bandwidth is insufficient for high-speed ESP32 sensors like the BME280, TFT displays, or SD card modules, the SPI bus is required. The ESP32 has four SPI buses, but SPI0 and SPI1 are reserved for the internal flash memory. Makers must use HSPI or VSPI. By default, the Arduino IDE maps the SPI library to VSPI, but you can remap these pins to almost any GPIO using the SPI.begin() function.
| SPI Bus | MOSI | MISO | SCK | Default CS |
|---|---|---|---|---|
| VSPI | GPIO 23 | GPIO 19 | GPIO 18 | GPIO 5 |
| HSPI | GPIO 13 | GPIO 12 | GPIO 14 | GPIO 15 |
The Strapping Pin Boot Loop
When wiring SPI sensors, you must avoid ESP32 strapping pins. GPIO 12 (MTDI) is a critical strapping pin that dictates the internal SPI flash voltage. If your sensor module has an internal pull-up resistor on the MISO line and you wire it to GPIO 12, the ESP32 will read a logic HIGH on boot. This forces the chip to expect 3.3V flash memory, but most WROOM modules use 1.8V flash. The result? A continuous boot loop with the error flash read err, 1000. Always verify your sensor's CS and MISO pins against the official Espressif ESP32 Technical Reference before soldering.
Advanced I2C: Bus Capacitance and Multiplexing
I2C is the most popular protocol for ESP32 sensors, but it is highly susceptible to bus capacitance. The I2C specification limits bus capacitance to 400pF. When you connect multiple sensors using long jumper wires, or use modules with large parasitic capacitance, the signal edges degrade. The ESP32's internal pull-up resistors are approximately 45kΩ—far too weak to overcome this capacitance at 400kHz.
The Fix: Disable internal pull-ups in your code and solder external 4.7kΩ (or 2.2kΩ for long runs) pull-up resistors from SDA and SCL directly to the 3.3V rail.
Solving Address Collisions
What happens when your project requires three BME280 sensors, but they all share the same hardcoded I2C address (0x76 or 0x77)? Software remapping is impossible here. Instead, introduce an I2C multiplexer like the TCA9548A. This module acts as a switchboard, allowing the ESP32 to toggle between 8 separate I2C buses. You can find detailed wiring and code implementations for this chip in the Adafruit TCA9548A Multiplexer Guide.
Master Troubleshooting Matrix for ESP32 Sensor Integration
Use this diagnostic matrix to isolate hardware and software faults when your ESP32 sensors fail to initialize.
| Symptom | Probable Cause | Hardware / Software Solution |
|---|---|---|
| I2C Scanner returns 0x00 or no devices | Missing pull-up resistors or 5V/3.3V logic mismatch. | Add 4.7kΩ pull-ups to 3.3V. Use a BSS138 level shifter for 5V modules. |
| Sensor works until WiFi connects, then freezes | Sensor is wired to an ADC2 pin. | Rewire analog sensor to an ADC1 pin (e.g., GPIO 34, 35, 36). |
| ESP32 boot loops when SPI sensor is attached | MISO wired to GPIO 12 (Strapping Pin). | Move MISO to GPIO 19 (VSPI) or GPIO 13 (HSPI). |
| ADC readings fluctuate wildly (Noise) | High impedance sensor or 60Hz mains interference. | Add a 0.1µF ceramic capacitor between the ADC pin and GND. |
Integrating ESP32 sensors requires a shift in mindset from the forgiving 5V Arduino days. By respecting the 3.3V logic boundaries, understanding the physical limitations of the internal SAR ADC, and carefully routing SPI and I2C buses away from strapping pins, you can build robust, production-ready IoT hardware that operates flawlessly in the field.