
Why Pair an ESP32 OLED Display with Home Assistant via ESPHome?
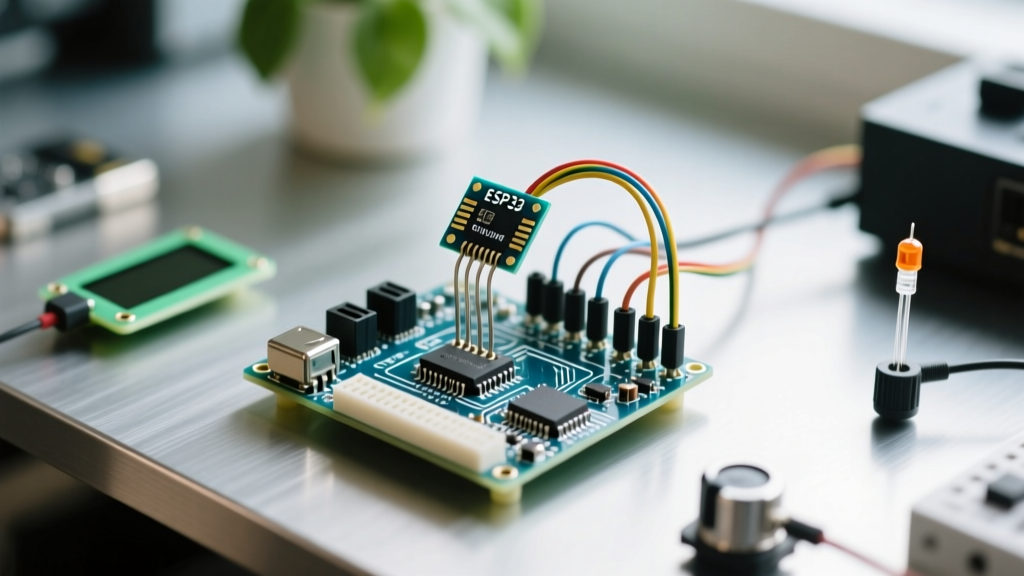
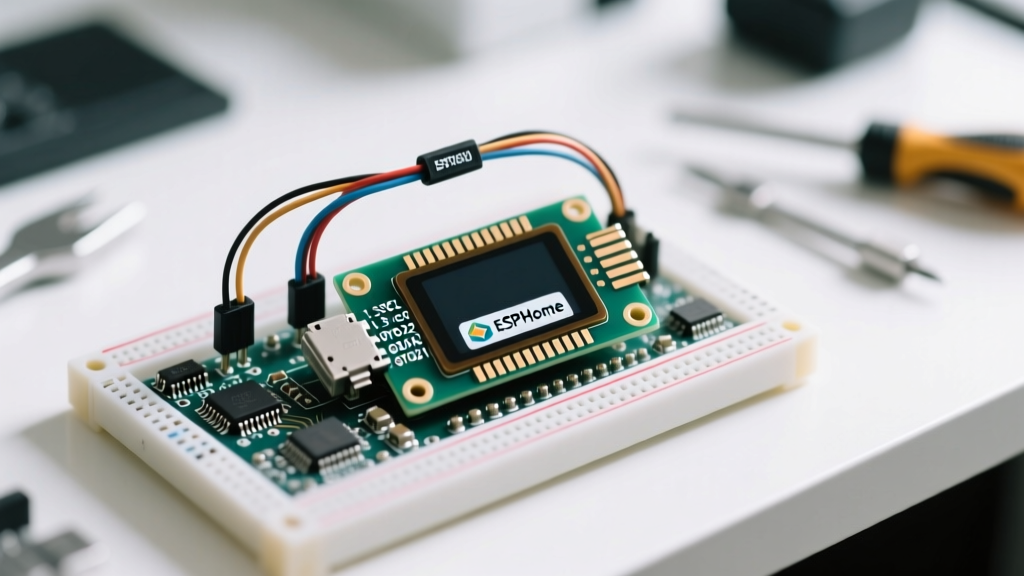
Building a localized, physical dashboard is one of the most rewarding smart home projects you can tackle. While smartphones and wall-mounted tablets are common, a compact ESP32 OLED display Home Assistant ESPHome setup offers a low-power, always-on glanceable interface for critical telemetry. Whether you are monitoring indoor air quality, tracking solar battery states, or displaying local weather forecasts, pushing Home Assistant sensor data to an I2C OLED via ESPHome eliminates the latency and reliance on cloud dashboards.
In this comprehensive wiring and code guide, we will cover the exact hardware specifications, safe I2C pinout configurations for the ESP32, and the complete ESPHome YAML required to render dynamic Home Assistant entities on a 0.96-inch OLED screen.
Hardware Selection: SSD1306 vs. SH1106 OLED Modules
Before soldering or wiring, it is critical to identify the controller chip on your OLED module. The two most common variants found in DIY electronics kits are the SSD1306 and the SH1106. While they look identical, their internal memory mapping differs, which will result in a scrambled display if the wrong ESPHome driver is selected.
| Feature | 0.96" SSD1306 (Most Common) | 1.3" SH1106 (Larger Alternative) |
|---|---|---|
| Resolution | 128 x 64 pixels | 128 x 64 pixels |
| I2C Address | 0x3C (sometimes 0x3D) | 0x3C |
| ESPHome Model String | "SSD1306 128x64" |
"SH1106 128x64" |
| Average Price (2026) | $3.50 - $5.00 | $6.00 - $8.50 |
Expert Tip: If you purchase a generic 0.96-inch OLED from AliExpress or Amazon, 95% of the time it will be an SSD1306. However, always run an I2C scanner sketch in the Arduino IDE first if the display shows 'snow' or static upon boot.
Exact I2C Wiring Diagram for ESP32 DevKit V1
Wiring an I2C display to an ESP32 seems straightforward, but incorrect logic level handling is the number one cause of premature ESP32 GPIO degradation. The ESP32 operates at 3.3V logic. Feeding 5V into the OLED's VCC pin will pull the SDA and SCL lines up to 5V via the module's onboard pull-up resistors, potentially damaging the ESP32's I2C pins over time.
Safe 3.3V Pinout Table
| OLED Pin | ESP32 DevKit V1 Pin | Notes & Warnings |
|---|---|---|
| GND | GND | Ensure a common ground reference. |
| VCC | 3V3 (3.3V) | Do NOT use VIN/5V. Keeps I2C logic at 3.3V. |
| SCL | GPIO 22 | Default ESPHome I2C Clock pin. |
| SDA | GPIO 21 | Default ESPHome I2C Data pin. |
Troubleshooting I2C Capacitance: If your wires exceed 30cm (12 inches), the parasitic capacitance on the I2C bus will cause data corruption. To fix this, solder 4.7kΩ pull-up resistors between the 3.3V line and both the SDA and SCL lines near the ESP32. For more on I2C bus physics, refer to the Adafruit OLED Breakout Guide.
ESPHome YAML Configuration: The Core Code Guide
With the hardware wired safely, we move to the ESPHome YAML configuration. This code block initializes the I2C bus, defines a TrueType font, sets up the display component, and pulls live sensor data directly from Home Assistant.
# 1. Initialize the I2C Bus
i2c:
  sda: GPIO21
  scl: GPIO22
  scan: true
  id: bus_a

# 2. Define Fonts (Using Google Fonts integration)
font:
  - file: 'gfonts://Roboto'
    id: font_title
    size: 14
  - file: 'gfonts://Roboto'
    id: font_data
    size: 20

# 3. Pull Home Assistant Sensor Data
sensor:
  - platform: homeassistant
    id: ha_living_room_temp
    entity_id: sensor.living_room_temperature
    unit_of_measurement: '°C'

  - platform: homeassistant
    id: ha_outdoor_humidity
    entity_id: sensor.outdoor_humidity
    unit_of_measurement: '%'

# 4. Configure the OLED Display
display:
  - platform: ssd1306_i2c
    model: 'SSD1306 128x64'
    address: 0x3C
    id: my_oled
    update_interval: 5s
    lambda: |-
      // Draw Title
      it.printf(0, 0, id(font_title), "Home Assistant");
      it.line(0, 14, 128, 14);

      // Draw Living Room Temp
      if (id(ha_living_room_temp).has_state()) {
        it.printf(0, 18, id(font_data), "In: %.1f°C", id(ha_living_room_temp).state);
      } else {
        it.print(0, 18, id(font_data), "In: --.-°C");
      }

      // Draw Outdoor Humidity
      if (id(ha_outdoor_humidity).has_state()) {
        it.printf(0, 40, id(font_data), "Out: %.0f%%", id(ha_outdoor_humidity).state);
      } else {
        it.print(0, 40, id(font_data), "Out: --%");
      }
For deeper documentation on display rendering and lambda functions, consult the official ESPHome SSD1306 Display Component documentation.
Understanding the Lambda Rendering Engine
The lambda: |- block uses C++ syntax powered by the ESPHome display engine. The it.printf() function is your primary tool. Notice the use of has_state() before printing the value. When the ESP32 first boots, it may take a few seconds to establish the Home Assistant ESPHome API connection. If you attempt to print a float value before the state is populated, the OLED will display NaN (Not a Number) or crash the ESP32 task watchdog. The if/else fallback ensures a clean dashboard during boot sequences.
Common I2C Wiring Failures and Troubleshooting
Even with perfect code, physical layer issues frequently plague I2C peripherals. Here is a diagnostic framework for the most common ESP32 OLED failures:
- Display is completely blank: Verify the I2C address. Some manufacturers bridge the SA0 pad on the back of the PCB, shifting the address from 0x3C to 0x3D. Check the ESPHome boot logs in the Home Assistant add-on console for the
I2C scanoutput to confirm the detected address. - Display shows random static/snow: This is almost always a driver mismatch. You have likely defined
model: 'SSD1306 128x64'in YAML, but the physical chip is an SH1106. Change the model string and recompile. - Screen flickers or drops out intermittently: This indicates I2C bus noise or voltage sag. Ensure your ESP32 is powered by a high-quality 5V/2A USB power supply. The ESP32's WiFi radio draws significant current spikes during transmission, which can brown out the 3.3V LDO regulator on cheap DevKit boards, causing the OLED to reset.
- Text is cut off on the left edge: Some 1.3-inch SH1106 displays have a 132x64 internal memory buffer but only a 128x64 physical screen. If using an SH1106, ESPHome handles the offset automatically, but if you are forcing an SSD1306 driver on an SH1106 chip, the X-axis will shift by 4 pixels.
Advanced Formatting: Multi-Page Dashboards
A 128x64 screen offers limited real estate. To display multiple Home Assistant entities (e.g., solar production, grid usage, and battery level) without cluttering the UI, utilize ESPHome's pages feature. This allows the display to cycle through different layouts automatically.
display:
  - platform: ssd1306_i2c
    model: 'SSD1306 128x64'
    address: 0x3C
    id: my_oled
    update_interval: 10s
    pages:
      - id: page1
        lambda: |-
          it.printf(0, 0, id(font_title), "Solar Status");
          it.printf(0, 20, id(font_data), "Yield: %.1f kW", id(solar_yield).state);
      - id: page2
        lambda: |-
          it.printf(0, 0, id(font_title), "Battery Bank");
          it.printf(0, 20, id(font_data), "SOC: %.0f %%", id(battery_soc).state);
By structuring your ESPHome YAML with pages, the OLED will alternate between Page 1 and Page 2 every 10 seconds (dictated by the update_interval). This transforms a simple sensor readout into a fully functional, multi-tiered smart home kiosk, bridging the physical and digital worlds seamlessly.