
Why the ESP 32 Arduino Toolchain Requires Specific Configuration
Unlike traditional 8-bit AVR microcontrollers, the ESP32 is a dual-core, 32-bit powerhouse running FreeRTOS. When you configure an ESP 32 Arduino environment, you are not just compiling a simple sketch; you are wrapping your C++ code around the Espressif IoT Development Framework (ESP-IDF). This architectural complexity means that default settings often fail to account for specific hardware variations, flash memory layouts, and USB-to-UART bridge chipsets. A proper configuration guide is essential to prevent the most common maker headaches: compilation errors, port mapping failures, and boot-looping brownouts.
Phase 1: Installing the Espressif Board Manager Core
The foundation of your ESP 32 Arduino setup relies on the official Espressif board manager index. While third-party forks exist, the official repository is mandatory for stable production firmware.
Adding the JSON Index URL
Open your Arduino IDE (v1.8.x or v2.x) and navigate to File > Preferences. In the 'Additional boards manager URLs' field, paste the official Espressif JSON link:
https://raw.githubusercontent.com/espressif/arduino-esp32/gh-pages/package_esp32_index.jsonFor deeper technical documentation on how the IDE parses these JSON files, refer to the Arduino Boards Manager Documentation. Once added, open the Boards Manager, search for 'esp32', and prepare to select your core version.
Selecting the Correct Core Version (v2.x vs v3.x)
As of late 2024 and moving into 2025/2026, Espressif has transitioned from Core v2.x to Core v3.x. This is a critical decision point:
- Core v2.0.14 (Legacy Stable): Based on ESP-IDF v4.4. Use this if you are maintaining older projects or relying on legacy I2S and WiFi libraries that have not been updated for the new API.
- Core v3.0.0+ (Modern Standard): Based on ESP-IDF v5.1. This version introduces massive performance improvements, native USB CDC support for the ESP32-S2/S3, and unified peripheral APIs. However, it introduces breaking changes to the
ledcandi2sdrivers. New projects should strictly use v3.x.
Phase 2: USB-to-UART Driver Configuration & Port Mapping
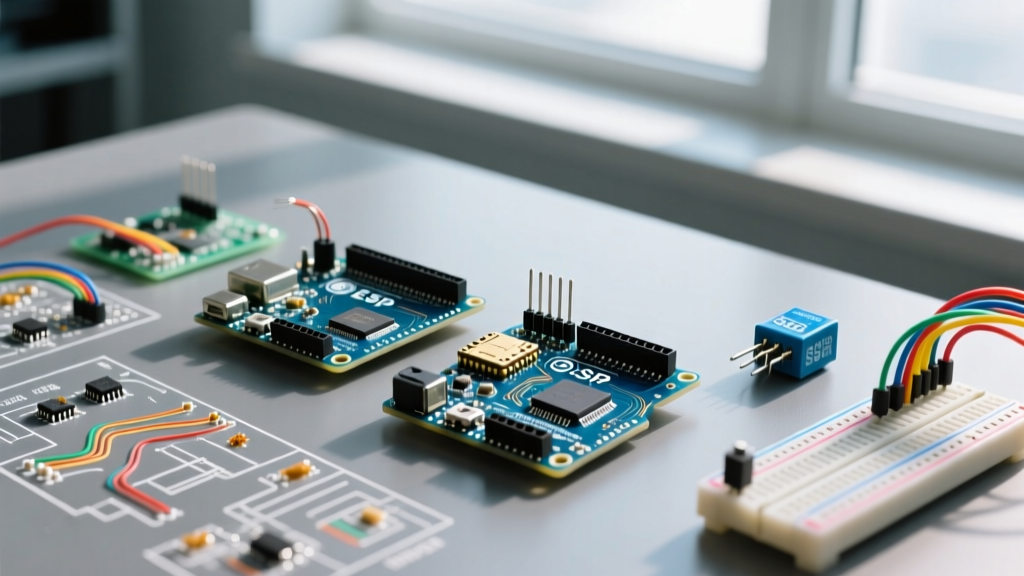
The physical connection between your PC and the ESP32 is mediated by a USB-to-UART bridge chip. Identifying this chip is the most common stumbling block in the ESP 32 Arduino configuration process.
Diagnosing CP2102 vs. CH340 Chipsets
Genuine Espressif DevKitC V4 boards typically utilize the Silicon Labs CP2102N chip. Conversely, the vast majority of budget-friendly, third-party 'DevKit V1' clones sourced from Amazon or AliExpress use the WCH CH340G or CH340C chipset.
- CP210x Drivers: Required for genuine boards. Download the official VCP (Virtual COM Port) drivers directly from the Silicon Labs CP210x Driver Page.
- CH340 Drivers: Required for clone boards. Modern Windows 10/11 installations often fetch a generic driver via Windows Update, but it frequently causes 'Failed to connect' errors. You must manually install the WCH CH340 driver to ensure stable baud rates up to 921600.
The GPIO0 Strapping Pin & Manual Boot Mode
Many early 30-pin DevKit V1 boards lack the necessary DTR/RTS auto-reset circuitry. If the IDE output window hangs on 'Connecting...' and eventually throws a 'Timed out waiting for packet header' error, you must manually force the ESP32 into download mode. Press and hold the BOOT button (which pulls GPIO0 LOW), tap the EN (Reset) button, and release the BOOT button only after the IDE begins the flashing percentage count.
Phase 3: IDE Menu Settings for ESP32 DevKit V1
Once the board is selected (usually 'DOIT ESP32 DEVKIT V1' or 'ESP32 Dev Module'), the Tools menu dictates how the binary is partitioned and executed. Misconfiguring these settings will result in silent failures or immediate bootloops.
- CPU Frequency: Set to 240MHz (WiFi/BT) for standard applications. Drop to 80MHz only if you are building a strict low-power sensor node and disabling WiFi.
- Flash Frequency: Always 80MHz for optimal SPI bus performance.
- Flash Mode: QIO (Quad I/O) is standard for WROOM-32 modules. If you are using specific W25Qxx flash chips that fail to boot, fallback to DIO.
- Partition Scheme: This is the most critical setting. The default Default 4MB with spiffs allocates roughly 1.2MB for your app and 1.5MB for SPIFFS. If your compiled sketch exceeds 100% (common with heavy web servers or audio libraries), you must change this to Huge APP (3MB No OTA/SPiffs).
- PSRAM: Disable for standard WROOM-32. Enable OPI PSRAM or QPI PSRAM only if you are using an ESP32-WROVER-E module equipped with external 8MB RAM.
Troubleshooting Compilation and Upload Failures
Even with perfect ESP 32 Arduino configuration, hardware realities can interrupt the toolchain. Here are the exact failure modes and their engineering solutions.
The 'Brownout detector was triggered' Error
If your serial monitor spams this error immediately upon boot or when WiFi initializes, your board is experiencing a voltage drop. The ESP32 can draw transient current spikes exceeding 500mA during RF transmission. Standard, thin USB cables (often 28AWG) cannot deliver this current without dropping the voltage below the 2.7V brownout threshold. Solution: Use a high-quality, short USB cable rated for data and 2A charging (22AWG or thicker), or power the DevKit via the 5V/GND pins using a dedicated bench power supply.
Watchdog Timer (WDT) Resets in Loop
Because the ESP32 runs FreeRTOS, the Arduino loop() function is executed as a task on Core 1. If your code contains a blocking while() loop or a delay() that prevents the IDLE task from feeding the watchdog, the system will hard-reset. Always use yield() or delay(1) inside tight polling loops to allow the RTOS background tasks to execute.
Reference Table: Optimal ESP 32 Arduino Settings by Use Case
Use this matrix to configure your Tools menu based on your specific project architecture.
| Project Type | Partition Scheme | Core Debug Level | Erase All Flash |
|---|---|---|---|
| Simple Sensor Node (MQTT) | Default 4MB with spiffs | None | Disabled |
| Heavy Web Server (Async) | Huge APP (3MB No OTA) | Info | Enabled (First Upload) |
| Audio/I2S Streaming | Minimal SPIFFS (1.9MB APP) | Verbose | Disabled |
| Factory Firmware Reset | Any | None | Enabled |
For continuous updates on the underlying ESP-IDF architecture and to report toolchain bugs, always consult the Official Espressif Arduino Core GitHub Repository. Mastering these configuration nuances transforms the ESP32 from a frustrating black box into the most reliable prototyping platform in modern electronics.