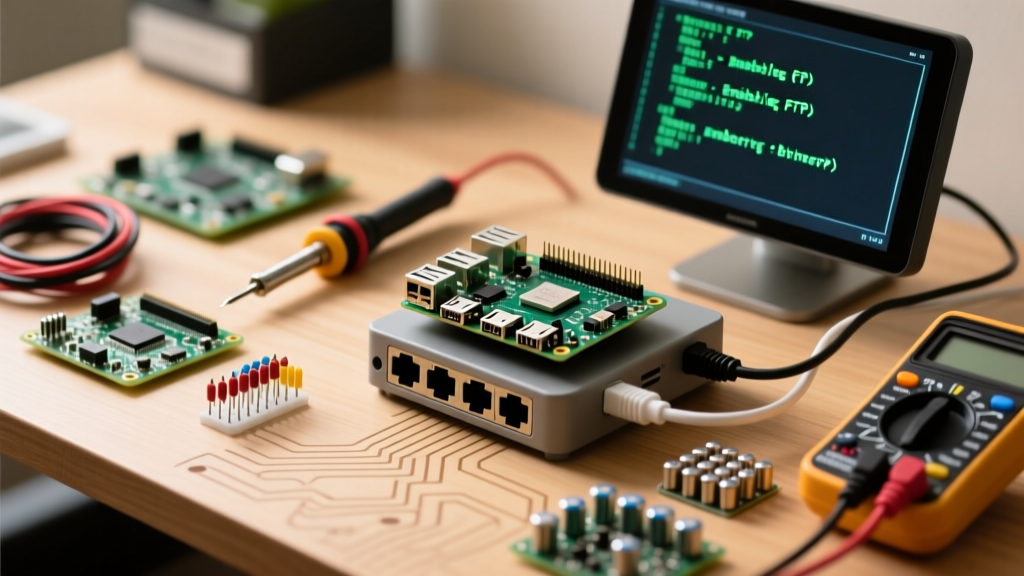

When building a headless smart home hub, media server, or AI vision node with a Raspberry Pi 4 or 5, transferring large datasets and configuration files over the network is a daily requirement. While USB drives work, they are impractical for remote setups. This is where learning how to enable FTP on Raspberry Pi systems becomes an essential skill for beginners and veterans alike.
⚠️ Security Note: Standard FTP (Port 21) transmits credentials and data in plain text. For internet-facing setups, always use SFTP (Port 22) or FTPS. This guide covers standard FTP for isolated Local Area Networks (LANs), but includes a comparison to help you choose the right protocol.
Why Install an FTP Server on Your Pi?
Before diving into the terminal, it is important to understand the practical use cases for an FTP daemon like VSFTPD (Very Secure FTP Daemon) on a Single Board Computer (SBC):
- Headless File Management: Drag and drop files from your Windows or Mac desktop directly to your Pi's SSD without typing SSH commands.
- Media Server Ingestion: Automatically route downloaded media from your main PC to a Pi-based Plex, Jellyfin, or Frigate NVR storage directory.
- 3D Printer Management: Push G-code files directly to a Pi-hosted OctoPrint or Klipper setup from your slicer software.
- Web Development: Push HTML/PHP files directly to a Pi-hosted Apache or Nginx web server directory.
Protocol Comparison: FTP vs. SFTP vs. FTPS
Many beginners search for FTP setup guides when they actually need SFTP. Review this table before installing extra software:
| Protocol | Default Port | Encryption | Setup Effort | Best Use Case |
|---|---|---|---|---|
| FTP | 21 | None (Plain Text) | Medium | Isolated home LANs, legacy hardware |
| SFTP | 22 | SSH (AES-256) | Zero (If SSH enabled) | Internet-facing, secure remote access |
| FTPS | 990 / 21 | TLS/SSL | High (Cert mgmt) | Enterprise servers, public cloud |
Expert Tip: If you have already enabled SSH on your Raspberry Pi via sudo raspi-config, SFTP is already active! You can connect using FileZilla on Port 22 using your standard Pi login credentials without installing any extra daemons.
Step-by-Step: How to Enable FTP on Raspberry Pi
If your specific application requires a traditional FTP server (e.g., a legacy IP camera that only supports FTP uploads to store security footage), follow these steps to configure VSFTPD on Raspberry Pi OS (Debian-based).
Step 1: Update and Install VSFTPD
Open your terminal (or SSH into your Pi) and ensure your package list is current. Then, install the VSFTPD package.
sudo apt update && sudo apt upgrade -y
sudo apt install vsftpd -y
Step 2: Configure the vsftpd.conf File
The default configuration is locked down for security. We need to enable local user logins and write permissions. Open the configuration file in the Nano text editor:
sudo nano /etc/vsftpd.confLocate the following lines and ensure they are uncommented (remove the # at the start of the line) and set exactly as shown:
anonymous_enable=NO
local_enable=YES
write_enable=YES
local_umask=022
Step 3: Jail Users to Their Home Directory (Chroot)
To prevent FTP users from browsing your entire Pi root filesystem, enable the chroot jail. Add these lines to the very bottom of the vsftpd.conf file:
chroot_local_user=YES
allow_writeable_chroot=YES
user_sub_token=$USER
local_root=/home/$USER/ftp
Note: The allow_writeable_chroot=YES flag is a common workaround for the "550 OOPS: vsftpd: refusing to run with writable root inside chroot()" error. While convenient for beginners, it slightly reduces security. For production, create a dedicated upload subfolder inside the chroot directory instead.
Save the file (Ctrl+O, Enter) and exit (Ctrl+X).
Step 4: Create the FTP Directory Structure
Based on our configuration, we need to create the ftp folder and a writable files subfolder for the user.
mkdir -p /home/$USER/ftp/files
chown nobody:nogroup /home/$USER/ftp
chmod a-w /home/$USER/ftp
Step 5: Restart the FTP Service
Apply the changes by restarting the daemon and checking its status.
sudo systemctl restart vsftpd
sudo systemctl status vsftpd
You should see a green active (running) status.
Creating a Dedicated FTP User (Best Practice)
Using the default pi or admin user for FTP is a security risk, especially if port 21 is forwarded on your router. Create a dedicated user specifically for file transfers.
sudo adduser ftpuser
sudo passwd ftpuser
When prompted, set a strong password. You can press Enter through the user info prompts (Full Name, Room Number, etc.). Next, ensure their home directory is set up with the folder structure from Step 4, replacing $USER with ftpuser.
Troubleshooting Common FTP Errors
When learning how to enable FTP on Raspberry Pi setups, beginners frequently encounter specific daemon errors. Here is how to resolve the most common failure modes:
- Error 530 Login Incorrect: This usually means PAM (Pluggable Authentication Modules) is rejecting the user. Ensure the user exists in
/etc/passwdand has a valid shell. If using a dedicated FTP user, you may need to change their shell to/usr/sbin/nologinand add that shell to/etc/shells. - Error 550 Permission Denied: Occurs when trying to upload files. Verify that the
write_enable=YESline is in your config, and that the target directory is owned by the FTP user (e.g.,sudo chown ftpuser:ftpuser /home/ftpuser/ftp/files). - Connection Timed Out (Directory Listing Failed): This is a passive mode issue caused by your router's NAT firewall. Add
pasv_enable=YES,pasv_min_port=40000, andpasv_max_port=50000to your config, and forward those ports on your router if accessing from outside the LAN. - UFW Firewall Blocking Traffic: If you have UFW (Uncomplicated Firewall) enabled on your Pi, FTP traffic will be blocked silently. Run
sudo ufw allow 21/tcpandsudo ufw allow 40000:50000/tcpto open the necessary ports.
Connecting to Your Pi via FileZilla
With the server running, download a client like FileZilla. Open the Site Manager and enter:
- Host: Your Pi's local IP address (e.g., 192.168.1.50)
- Protocol: FTP - File Transfer Protocol
- User: ftpuser
- Password: Your chosen password
Click Quickconnect. You will now have seamless drag-and-drop access to your Raspberry Pi's storage, making it incredibly easy to manage Home Assistant backups, OctoPrint G-code files, or media libraries.
Final Thoughts on Pi Network Storage
Enabling FTP on your Raspberry Pi transforms it from a standalone microcomputer into a fully accessible network-attached storage (NAS) node. While traditional FTP is perfect for quick, isolated LAN transfers, always remember to leverage SFTP for any traffic that crosses the public internet. By configuring VSFTPD with chroot jails and dedicated users, you maintain a balance between accessibility and the strict security required for modern smart home environments.
For more advanced networking configurations, consult the official Raspberry Pi remote access documentation to explore SSH tunneling and secure port forwarding.