
Beyond the Basics: Answering 'What Can I Use a Raspberry Pi For?' in High-Stakes Environments
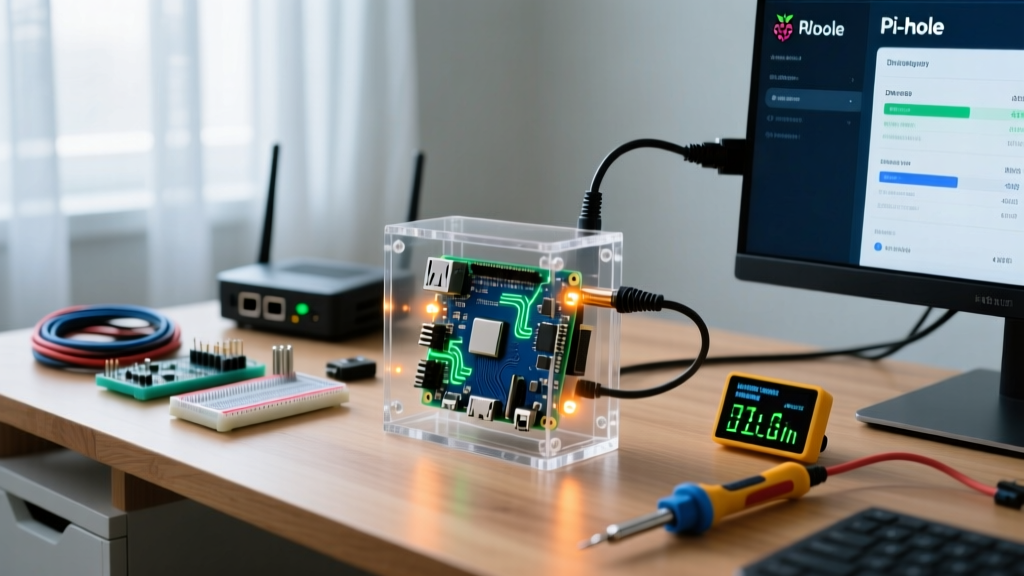
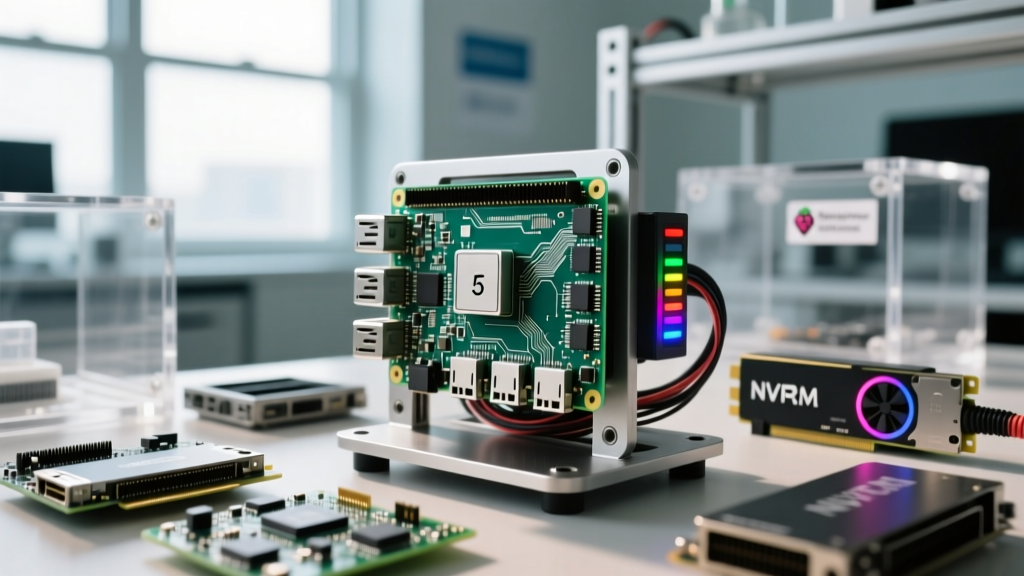
When enthusiasts first ask, 'what can i use a raspberry pi for,' the standard answers are usually lightweight: a Pi-hole DNS sinkhole, a basic RetroPie emulator, or a simple MQTT broker. However, the release of the Raspberry Pi 5 (8GB) fundamentally shifted the single-board computer (SBC) landscape from low-power tinkering to high-performance edge computing. With a quad-core Arm Cortex-A76 running at 2.4GHz, LPDDR4X-4267 memory, and an exposed PCIe 2.0 x1 interface, the Pi 5 is capable of handling enterprise-adjacent workloads, provided you know how to tune the hardware and software stack.
This guide ignores beginner projects and focuses strictly on performance tuning for advanced use cases. We will explore how to saturate the PCIe bus, offload AI inference to dedicated silicon, optimize network interrupt affinity, and manage thermal throttling thresholds to extract every ounce of compute from the BCM2712 SoC.
The PCIe Paradigm: NVMe Storage and IOPS Tuning
One of the most transformative answers to 'what can i use a raspberry pi for' is a high-IOPS network-attached storage (NAS) or database server. The Pi 5 features a PCIe 2.0 x1 lane, which theoretically caps at 500 MB/s. However, the BCM2712 silicon actually supports PCIe Gen 3.0, and you can force this mode to nearly double your bandwidth.
Overcoming the Gen 2.0 Bottleneck
To enable Gen 3.0 speeds (yielding up to 900 MB/s sequential reads on drives like the Samsung 980 Pro), you must edit the /boot/firmware/config.txt file and append the following parameter:
dtparam=pciex1_gen=3
Warning on Signal Integrity: Forcing Gen 3.0 on the Pi 5 is technically an overclock of the PCIe bus. Because the Raspberry Pi Foundation did not design the board's traces to strict Gen 3.0 impedance specifications, signal degradation can occur. To mitigate packet loss and NVMe controller resets, you must use a high-quality, short Flexible Printed Circuit (FPC) cable. Adapters like the Pineberry Pi HatDrive or the Geekworm X1000 are engineered to maintain signal integrity at Gen 3 speeds. If you experience random I/O hangs under heavy fio stress tests, revert to Gen 2.0 or add pcie_aspm=off to your kernel boot parameters to disable aggressive link-state power management, which often causes latency spikes on SBCs.
Edge AI and Computer Vision: Pushing the Hailo-8L Accelerator
Running local computer vision models on the Pi's CPU will quickly max out all four Cortex-A76 cores, causing severe thermal throttling. If your answer to 'what can i use a raspberry pi for' involves multi-camera security analytics, you must offload inference to an NPU (Neural Processing Unit).
Tuning Frigate NVR with the Hailo-8L M.2 HAT+
The official Raspberry Pi AI Kit pairs a Hailo-8L M.2 module with the Pi 5's PCIe lane, delivering 13 TOPS (Tera Operations Per Second) of INT8 compute. When integrating this with Frigate NVR, performance tuning is critical to prevent memory bus saturation.
- Detection Resolution Tuning: Do not feed the Hailo-8L native 4K streams. Configure your camera's sub-stream to 640x352 or 1280x720. The Hailo chip scales inputs internally; feeding it massive tensors wastes LPDDR4X bandwidth.
- Threshold Calibration: In your
config.yml, setmin_score: 0.6andthreshold: 0.75for object detection. This prevents the NPU from wasting cycles tracking low-confidence artifacts like shadows or swaying branches. - Shared Memory (shm-size): Docker's default
/dev/shmallocation is 64MB, which will cause Frigate to crash when handling more than two 1080p streams. Increase this in yourdocker-compose.ymlto at leastshm-size: '512mb'to allow zero-copy frame passing between the detection pipeline and the recording threads.
Comparative Analysis: SBC Storage Performance in Tuned Workloads
To understand why NVMe tuning is mandatory for database and containerized workloads, review the empirical I/O metrics below. These numbers represent sustained workloads, not just peak burst speeds.
| Storage Medium | Sequential Read | Random 4K IOPS | Latency Profile | Best Use Case |
|---|---|---|---|---|
| UHS-I microSD (A2) | 90 MB/s | ~2,500 | High / Inconsistent | Boot media, read-only OS |
| USB 3.0 SATA SSD | 420 MB/s | ~45,000 | Medium (UASP overhead) | Media storage, basic NAS |
| NVMe (PCIe Gen 2.0 x1) | 480 MB/s | ~110,000 | Low | Home Assistant, Docker |
| NVMe (PCIe Gen 3.0 x1 Forced) | 890 MB/s | ~165,000 | Ultra-Low | Databases, AI model loading |
Network Throughput: Saturating the Gigabit NIC via IRQ Affinity
If you are using the Pi 5 as a high-throughput router, a software-defined WAN edge, or an iSCSI target, you will quickly notice that the Gigabit Ethernet port (bcmgenet driver) rarely exceeds 750 Mbps under heavy concurrent connections. This is not a hardware limitation; it is a kernel interrupt bottleneck.
By default, the Linux kernel routes all network hardware interrupts to CPU Core 0. When Core 0 hits 100% utilization handling interrupt requests (IRQs), the other three cores sit idle, and network packets drop. To resolve this, you must tune your SMP (Symmetric Multiprocessing) IRQ affinity.
- Identify the IRQ number for the
eth0interface by parsing/proc/interrupts. - Navigate to
/proc/irq/[IRQ_NUMBER]/. - Modify the
smp_affinityhex mask. Setting the mask tof(binary 1111) allows the kernel to distribute network interrupts across all four Cortex-A76 cores dynamically. - For automated tuning, install and enable the
irqbalancedaemon, which dynamically migrates IRQs away from cores currently executing heavy user-space threads (like your AI inference or database queries).
According to extensive testing documented in Jeff Geerling's Raspberry Pi 5 benchmarks, optimizing interrupt handling and utilizing native PCIe lanes rather than USB-to-Ethernet bridges is the only way to achieve true, low-latency gigabit saturation on the platform.
Thermal Management and Power Delivery Realities
Performance tuning is useless if the SoC hits its thermal limits. The BCM2712 chip initiates a soft thermal throttle at 80°C, reducing the clock speed from 2.4GHz to 1.5GHz. A hard throttle occurs at 85°C, dropping the clock to 600MHz and severely throttling the GPU and NPU.
Active Cooling and Overclocking Headroom
The official Raspberry Pi Active Cooler utilizes a PWM-controlled fan and a vapor-chamber-style heatsink that interfaces directly with the SoC and the PMIC (Power Management IC). Under a sustained stress-ng --cpu 4 workload, the Active Cooler maintains the SoC at approximately 58°C, leaving massive thermal headroom for overclocking.
When pushing the Pi 5 to 2.8GHz or 3.0GHz, you must adjust the voltage delta. Unlike older Pis, the Pi 5 uses
over_voltage_deltain microvolts. Addingover_voltage_delta=50000(50mV) inconfig.txtis usually sufficient to stabilize a 2.8GHz overclock without voiding the hardware's long-term electromigration lifespan.
Furthermore, ensure you are using a 27W USB-C PD (Power Delivery) power supply capable of negotiating 5V at 5A. If the Pi 5 detects a standard 5V/3A supply, it will artificially limit the USB ports to 600mA total output, which will instantly starve an NVMe drive and a Hailo-8L HAT+ during peak spin-up and inference loads, resulting in kernel panics and I/O errors.
Authoritative Sources and Further Reading
To continue optimizing your SBC deployments, consult the following technical resources:
- Raspberry Pi Official Hardware Documentation - For exact pinouts, PMIC specifications, and PCIe lane routing details.
- Frigate NVR Hardware Acceleration Guide - For configuring hardware-specific object detection pipelines and memory allocation.
- Jeff Geerling's Pi 5 PCIe and Storage Benchmarks - For empirical data on NVMe adapters, Gen 3.0 forcing, and I/O latency metrics.
Ultimately, answering 'what can i use a raspberry pi for' is no longer about finding lightweight tasks to fill idle time. It is about engineering a highly tuned, thermally managed, and I/O optimized micro-server capable of handling demanding modern workloads at the edge.