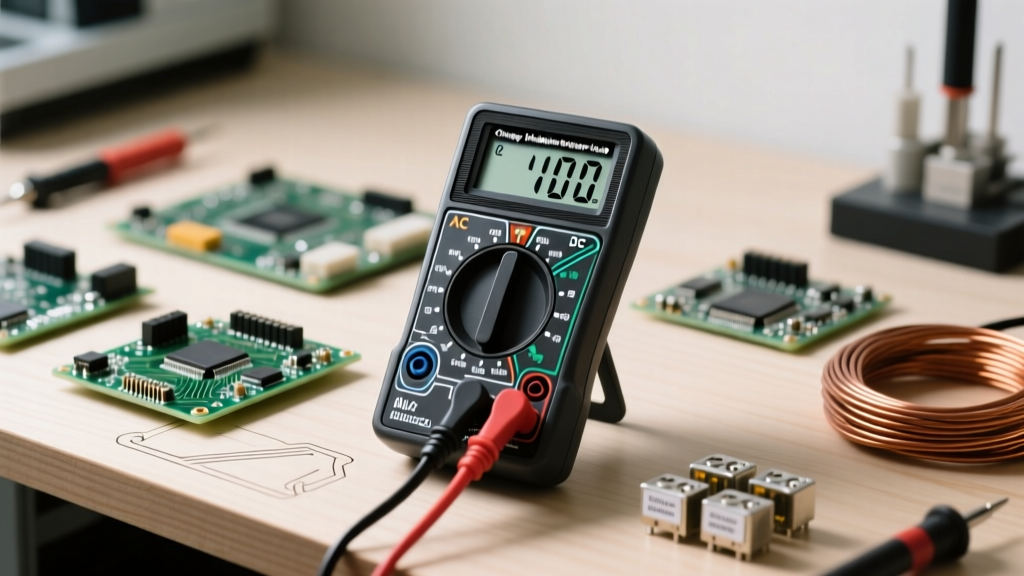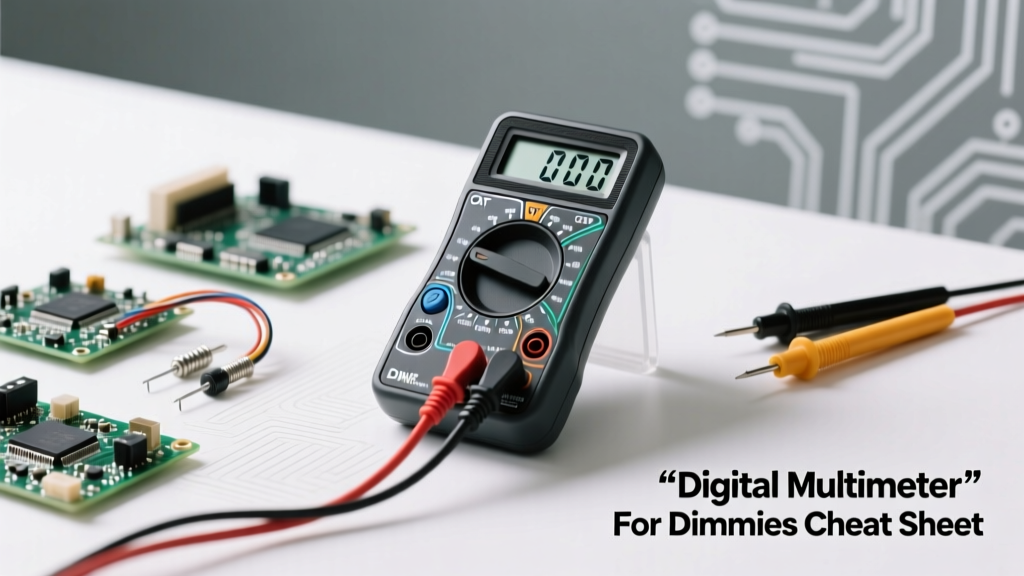

Whether you are diagnosing a dead car battery, troubleshooting an Arduino circuit, or checking a wall outlet, a digital multimeter (DMM) is your primary diagnostic window into the electrical world. However, staring at a dial covered in cryptic symbols can be intimidating. This multimeter for dummies reference guide strips away the jargon, providing a practical, field-tested cheat sheet for beginners and hobbyists.
The Dial Symbol Decoder: What Do Those Icons Mean?
Before taking a single measurement, you must understand the language of the dial. Most entry-level DMMs divide the dial into four primary quadrants: Voltage, Resistance, Current, and Continuity/Diode.
Voltage Settings (The Most Common Measurements)
- V⎓ or VDC (Direct Current Voltage): Used for batteries, solar panels, and DC electronics (like microcontrollers). The solid line with dashed dots underneath represents a steady, unidirectional flow of electrons.
- V~ or VAC (Alternating Current Voltage): Used for wall outlets, mains power, and home appliances. The wavy line represents the sinusoidal wave of AC power.
Resistance and Continuity
- Ω (Ohms): Measures electrical resistance. Essential for checking if a resistor is within tolerance or if a heating element is broken.
- Sound Wave Icon (Continuity): The most used setting on any workbench. It sends a small current through the circuit and beeps if the resistance is near zero (typically under 15 ohms), confirming a continuous electrical path.
Specialty Settings
- Diode Symbol (➤| ): Outputs a small voltage to test semiconductor junctions. A good silicon diode will show a forward voltage drop between 0.5V and 0.7V.
- -||- (Capacitance): Measures the charge-storing capacity of capacitors in Farads. Note: Always discharge capacitors before testing to avoid destroying the DMM's internal circuitry.
Port Configuration: Where to Plug the Probes
Plugging your probes into the wrong jacks is the number one reason beginners blow the internal fuse—or worse, create an arc flash. A standard DMM has three or four ports.
- COM (Common): The black probe always goes here. It is the ground or reference point for all measurements.
- VΩmA (or V/Ω): The red probe goes here for measuring Voltage, Resistance, Continuity, and low Current (usually up to 400mA). This port is protected by an internal fast-acting fuse.
- 10A (or 10A MAX): The red probe moves here only when measuring high current (above 400mA, up to 10 Amps). This port bypasses the fragile internal shunt and uses a heavy-duty, often unfused, thick wire shunt.
Golden Rule: Never leave your red probe in the 10A port when you are done measuring current. If you forget and subsequently probe a live voltage source, you will create a dead short across the mains, resulting in an explosive arc flash.
Quick-Reference Measurement Cheat Sheet
Use this table as a quick-reference guide before powering on your circuit or touching live wires.
| Measurement Goal | Dial Setting | Red Probe Port | Circuit State | Probe Placement |
|---|---|---|---|---|
| Wall Outlet Voltage | V~ (AC Voltage) | VΩ | Live (Powered) | Parallel (into slots) |
| AA Battery Health | V⎓ (DC Voltage) | VΩ | Live (Powered) | Parallel (across terminals) |
| Checking a Fuse | Continuity (Beep) | VΩ | Dead (Unpowered) | Parallel (across fuse ends) |
| LED Resistor Value | Ω (Ohms) | VΩ | Dead (Unpowered) | Parallel (across component) |
| Motor Current Draw | A⎓ (DC Amps) | 10A (if >400mA) | Live (Powered) | Series (break the circuit) |
The "Current Measurement" Catastrophe
The most common fatal mistake for beginners learning how to use a multimeter for electronics is attempting to measure current in parallel.
Voltage is measured in parallel (across a component). Current must be measured in series (the electricity must flow through the meter). If you set your dial to Amps, plug into the VΩ port, and touch the probes across a live battery or power supply, the meter's internal 400mA fuse will instantly vaporize to protect the circuitry. Always break the circuit open and place the meter in-line to measure current.
Safety First: Understanding CAT Ratings
Not all multimeters are created equal. A $15 generic DMM from an online marketplace might claim to measure up to 600V, but it lacks the transient overvoltage protection required for mains electricity. According to Fluke's safety guidelines, you must pay attention to the CAT (Category) rating printed near the input jacks.
- CAT II: Safe for single-phase receptacle connected loads (e.g., testing a toaster or a desktop PC power cord).
- CAT III: Safe for three-phase distribution, including single-phase commercial lighting and hardwired appliances. Essential for home electricians.
- CAT IV: Safe for three-phase utility connections, outdoor service entrances, and main breaker panels.
Furthermore, always check the internal fuses of your DMM. High-quality meters use HRC (High Rupturing Capacity) ceramic fuses filled with sand to quench an electrical arc if the meter is misused on high-energy circuits. Cheap meters use glass fuses that can shatter and cause the plastic casing to melt or explode in your hands.
Top Entry-Level DMM Recommendations
If you are upgrading from a basic hardware store model, consider these field-tested favorites:
- Klein Tools MM400: The undisputed king of entry-level DIY meters. It features auto-ranging, CAT III 600V safety, and survives drops from a ladder. (Approx. $45)
- Fluke 115: The professional standard. True-RMS accuracy, incredibly fast continuity beeper, and unmatched build quality. (Approx. $170)
- AstroAI DM6000AR: A budget-friendly auto-ranging option for pure breadboard electronics and low-voltage DC hobbyists. Not recommended for mains AC work. (Approx. $35)
Final Troubleshooting Checklist
Before blaming your circuit, verify your tool. If your multimeter is acting up, run through this quick checklist:
- Display shows '1' or 'OL':** You are out of range. Switch to a higher measurement scale or check if your auto-ranging meter has a dead battery.
- Continuity mode isn't beeping:** Check the probe wires for internal breaks. Touch the metal tips together; if no beep, your test leads are likely frayed inside the insulation.
- Erratic voltage readings:** Ensure you aren't measuring 'ghost voltages' on long, unconnected wires. Use a meter with a low-impedance (LoZ) mode if available, or apply a small load to the circuit.
For deeper dives into semiconductor testing and advanced diagnostics, the Adafruit Multimeter Guide offers excellent visual walkthroughs for microcontroller enthusiasts. Keep this cheat sheet on your workbench, respect the CAT ratings, and always measure twice before cutting or soldering.