
The Verdict Up Front: Who Should Actually Buy the DHT11?
If you are building a high-precision weather station, a climate-controlled incubator, or a commercial greenhouse monitor, stop reading and buy a Bosch BME280 or Sensirion SHT31. However, if you are a beginner looking to spend under two dollars to learn how microcontrollers read digital sensor data, the DHT11 sensor remains a rite of passage. In this comprehensive tool review, we tear down the DHT11 to evaluate its real-world accuracy, protocol quirks, and notorious failure modes, helping you decide if it belongs in your next DIY electronics project.
Under the Blue Shell: Hardware and Protocol Deep Dive
The DHT11 is housed in a distinctive blue, single-row 4-pin plastic package. Inside this enclosure lies a resistive-type humidity measurement component, an NTC (Negative Temperature Coefficient) thermistor, and an embedded 8-bit single-chip microcontroller. This internal MCU is responsible for ADC (Analog-to-Digital) conversion, internal calibration, and managing the communication protocol.
Unlike standard I2C or SPI sensors, the DHT11 uses a custom 'single-bus' serial protocol. It is crucial to note that this is not the Dallas/Maxim 1-Wire protocol used by the DS18B20. The DHT11 protocol relies on strict microsecond-level timing (bit-banging). A read cycle begins with the microcontroller pulling the data line LOW for at least 18 milliseconds. The DHT11 then responds by pulling the line LOW for 80 microseconds, followed by a HIGH for 80 microseconds, before streaming 40 bits of data (8-bit humidity integer, 8-bit humidity decimal, 8-bit temp integer, 8-bit temp decimal, and an 8-bit checksum).
Because of this timing-critical architecture, the DHT11 is notoriously difficult to read reliably on multitasking operating systems like Linux (e.g., Raspberry Pi) or RTOS environments (like FreeRTOS on ESP32) without dedicating a specific hardware timer or disabling interrupts during the read sequence. As noted in the Adafruit DHT guide, context switching in an OS can easily disrupt the microsecond pulse-width measurements, resulting in checksum errors.
Real-World Performance and Known Failure Modes
The Condensation Trap and Hysteresis
The most common failure mode reported by DIYers is sensor saturation due to condensation. The DHT11's resistive humidity sensor relies on a moisture-absorbing polymer. If exposed to environments exceeding 95% RH, or if condensation physically forms on the internal element, the sensor will 'lock up' and read 99% humidity until the polymer fully dries out, which can take hours or even days. Furthermore, the sensor exhibits significant hysteresis; moving from a cold, dry environment to a warm, humid one often results in temporary readings that lag behind reality by several minutes.
Thermal Drift and Resolution Limits
The DHT11's temperature resolution is a mere 1°C, and its humidity resolution is 1% RH. In practice, the accuracy is rated at ±2°C for temperature and ±5% for humidity. When compared to a calibrated reference thermocouple, DHT11 units frequently exhibit a +1.5°C offset right out of the factory due to the self-heating of the internal 8-bit MCU and the NTC thermistor's tolerance binning.
Software Ecosystem: Handling Interrupts and Timeouts
When coding for the DHT11 on platforms like Arduino or ESP32, standard delay functions are often insufficient. Because the protocol requires reading pulse widths that vary between 26 microseconds (for a '0' bit) and 70 microseconds (for a '1' bit), any background interrupt—such as WiFi stack operations on an ESP8266—can pause the CPU and cause the read to fail. Professional firmware implementations disable global interrupts (noInterrupts() in Arduino) immediately before sending the 18ms start signal, and re-enable them only after the 40th bit is received. Failing to do so results in the infamous 'Timeout waiting for start signal' error that plagues many beginner forums. For deeper insights into ESP32 GPIO handling during these critical windows, refer to the Espressif GPIO API Reference.
Specification Showdown: DHT11 vs. Modern Alternatives
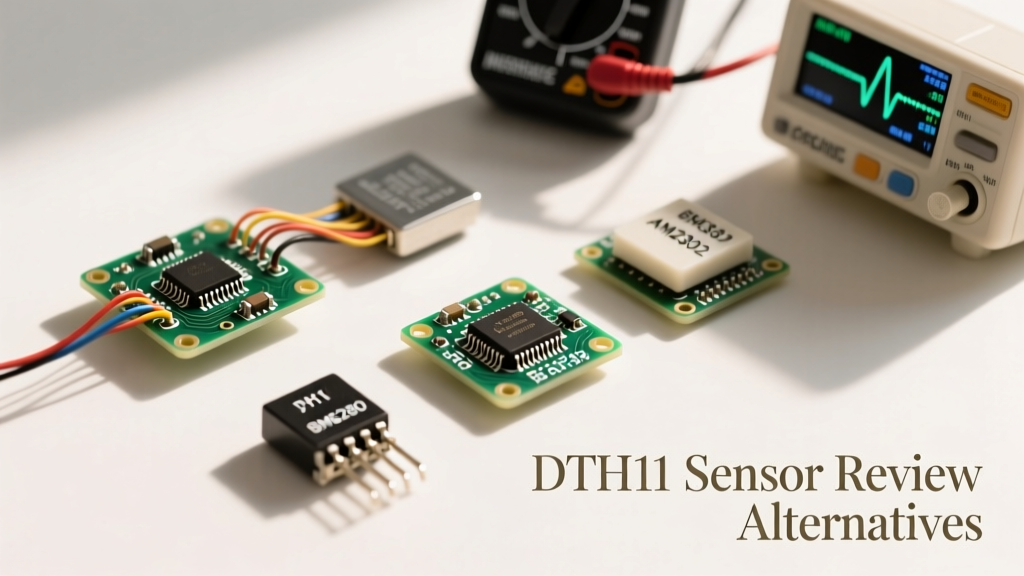
When evaluating environmental sensors for your workbench, it is vital to look past the price tag and consider the cost of debugging. Below is a direct comparison of the DHT11 against its most common upgrade paths.
| Feature | DHT11 | DHT22 (AM2302) | Bosch BME280 | Sensirion SHT31-D |
|---|---|---|---|---|
| Temp Range | 0°C to 50°C | -40°C to 80°C | -40°C to 85°C | -40°C to 125°C |
| Temp Accuracy | ±2.0°C | ±0.5°C | ±1.0°C | ±0.3°C |
| Humidity Range | 20% to 90% RH | 0% to 100% RH | 0% to 100% RH | 0% to 100% RH |
| Interface | Custom Single-Bus | Custom Single-Bus | I2C / SPI | I2C |
| Sampling Rate | 1 Hz (1 per sec) | 0.5 Hz (2 per sec) | Up to 157 Hz | Up to 18 Hz |
| Avg. Price (USD) | $1.20 | $4.50 | $8.50 | $7.00 |
For projects requiring I2C communication and barometric pressure, the Bosch BME280 is the undisputed champion, entirely bypassing the bit-banging timing issues inherent to the DHT family.
Wiring Nuances: The Pull-Up Resistor Debate
A frequent source of frustration for beginners is the DHT11's data line configuration. The sensor requires a pull-up resistor on the data pin to ensure the line returns to a HIGH state after the MCU or sensor pulls it LOW.
- 4-Pin Bare Modules: If you are using the bare 4-pin DHT11 component, you must solder a 4.7kΩ to 10kΩ pull-up resistor between VCC (Pin 1) and Data (Pin 2). Pin 3 is unconnected (NC), and Pin 4 is GND.
- 3-Pin PCB Modules: Most breakout boards sold on Amazon or AliExpress feature a 3-pin header. These boards already include the required surface-mount 10kΩ pull-up resistor and a small filtering capacitor. Do not add an external pull-up resistor to these modules, as parallel resistance will drop the total resistance too low, potentially causing logic level threshold failures on 3.3V microcontrollers like the ESP32 or Raspberry Pi Pico.
Pro-Tip for 3.3V Logic: The DHT11 is natively a 5V device. While it often 'works' on 3.3V logic, the HIGH threshold voltage (VIH) can be marginal. If you experience intermittent checksum errors on an ESP8266 or ESP32, power the DHT11 VCC pin with 5V, but use a simple logic level shifter or a voltage divider on the data line to protect your 3.3V GPIO.
Calibration and Offset Mapping: Salvaging Accuracy
If you already have a batch of DHT11 sensors and need to deploy them, you can mitigate the factory offset through software calibration. Because the internal NTC thermistor and resistive polymer are non-linear, a simple flat offset (e.g., subtracting 1.5°C) only works within a narrow temperature band. For better results, perform a two-point calibration using a trusted reference thermometer and a saturated salt solution (which creates a stable 75% RH environment). Map the raw DHT11 readings to the reference values using a linear interpolation function in your microcontroller's code. While this does not fix the sensor's slow response time or condensation vulnerabilities, it drastically improves steady-state accuracy for indoor room monitoring.
Final Recommendation and Upgrade Paths
As a tool for learning, the DHT11 sensor is highly recommended for its sheer affordability and the valuable lesson it teaches in reading raw, timing-dependent digital signals without relying on hardware I2C/SPI peripherals. Writing a bit-bang script for the DHT11 in C++ or MicroPython is an excellent exercise in understanding microsecond delays, GPIO state manipulation, and checksum validation.
However, as a reliable measurement tool for any serious home automation, greenhouse monitoring, or weather logging project, we cannot recommend it. The 1-second polling limit, poor accuracy, and condensation vulnerabilities make it a liability in production environments.
The Upgrade Path: If you have already mastered the DHT11 and need better range without changing your code architecture, upgrade to the DHT22 (AM2302). It uses the exact same single-bus protocol but offers 0.1°C resolution and a wider operating range. If you are migrating to an I2C bus and want professional-grade reliability, skip the DHT family entirely and design your next PCB around the Sensirion SHT31 or Bosch BME280.