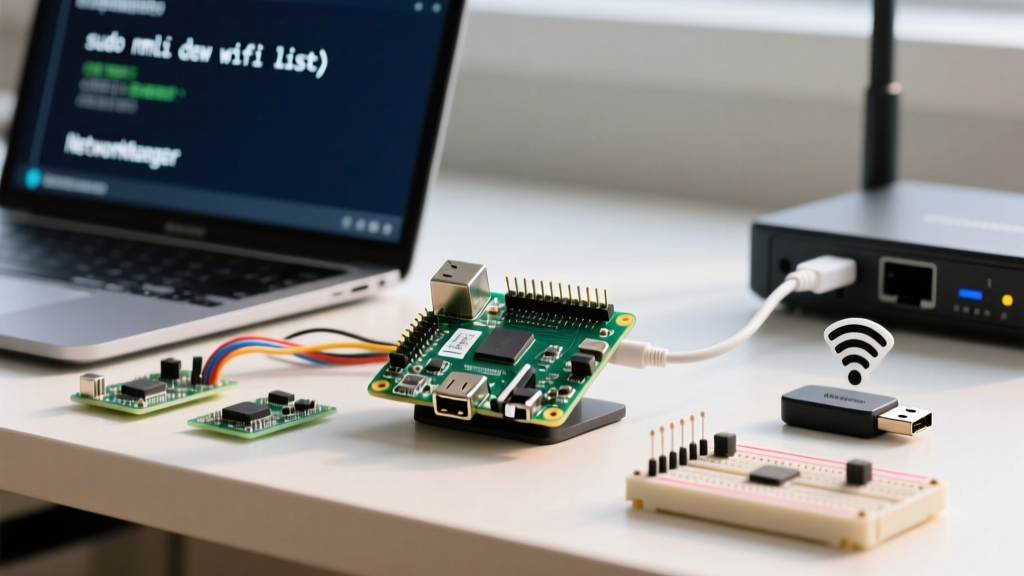

Setting up wireless internet on a single-board computer used to be a simple matter of dropping a wpa_supplicant.conf file into the boot partition. However, with the architectural shift in Raspberry Pi OS Bookworm, the underlying network stack transitioned to NetworkManager. If you are trying to figure out how to connect a Raspberry Pi to Wi-Fi on a modern board, relying on outdated tutorials will leave you stranded with a headless Pi that refuses to join your network.
This comprehensive setup and configuration guide covers the exact methods required for modern Raspberry Pi environments, alongside legacy fallbacks, hardware limitations, and advanced troubleshooting for stubborn connections.
Hardware Prerequisites and Wi-Fi Chip Capabilities
Before configuring your software, it is critical to understand the physical limitations of your specific Raspberry Pi model. Not all boards support 5GHz networks, and attempting to force a 2.4GHz-only board onto a modern 5GHz mesh network will result in silent failures.
| Raspberry Pi Model | Wi-Fi Standard | Frequency Bands | Antenna Type |
|---|---|---|---|
| Pi 5 (4GB/8GB) | 802.11ac (Wi-Fi 5) | 2.4 GHz & 5 GHz | Onboard PCB Trace |
| Pi 4 Model B | 802.11ac (Wi-Fi 5) | 2.4 GHz & 5 GHz | Onboard PCB Trace |
| Pi 3 Model B+ | 802.11ac (Wi-Fi 5) | 2.4 GHz & 5 GHz | Onboard PCB Trace |
| Pi Zero 2 W | 802.11n (Wi-Fi 4) | 2.4 GHz Only | Onboard PCB Trace |
| Pi Zero W | 802.11n (Wi-Fi 4) | 2.4 GHz Only | Onboard PCB Trace |
Expert Note: The Raspberry Pi 5 does not natively support Wi-Fi 6 (802.11ax). If your home router is configured to use WPA3-Only or 802.11ax-exclusive modes on the 5GHz band, older Pi models and the Pi 5 will fail to authenticate. Ensure your router enables WPA2/WPA3 transitional mode.
Method 1: Pre-Configuring Wi-Fi via Raspberry Pi Imager
The most reliable way to establish a Wi-Fi connection—especially for headless setups where you lack a monitor and keyboard—is to inject the network credentials before you ever flash the SD card.
- Download and open the official Raspberry Pi Imager.
- Select your specific hardware model and choose Raspberry Pi OS (64-bit or 32-bit).
- Click Next. A prompt will appear asking if you want to apply OS customisation settings. Click Edit Settings.
- Navigate to the Wireless LAN section.
- Enter your exact SSID and Password. Crucial: You must select the correct Wireless LAN Country from the dropdown. The Wi-Fi chip will remain disabled at the hardware level until a legal regulatory domain is set.
- Save, write the image, and boot your Pi. It will automatically connect to your network on the first boot, allowing immediate SSH access.
Method 2: Modern Terminal Setup Using NetworkManager
If you are running Raspberry Pi OS Bookworm (or newer) and already have terminal access via Ethernet or a serial console, you must use NetworkManager. The legacy dhcpcd and wpa_supplicant daemons have been deprecated.
Using nmtui (The Visual Terminal Approach)
For users who prefer a pseudo-graphical interface in the terminal, nmtui is an excellent tool.
- Type
sudo nmtuiand press Enter. - Use the arrow keys to select Activate a connection and press Enter.
- Select your Wi-Fi network from the list, press Enter, type your password, and confirm.
- Navigate back to Quit. Your Pi will now request a DHCP address from your router.
Using nmcli (The Command-Line Approach)
For automation scripts and rapid headless configuration, the nmcli command-line utility is the industry standard.
To scan for available networks:
sudo nmcli device wifi listTo connect to a standard WPA2 network:
sudo nmcli device wifi connect "Your_SSID" password "Your_Password"If you are connecting to a Hidden SSID, NetworkManager requires an explicit flag to broadcast the probe request:
sudo nmcli device wifi connect "Hidden_SSID" password "Your_Password" hidden yesMethod 3: The Legacy wpa_supplicant Fallback
If you are maintaining an older fleet of devices running Raspberry Pi OS Bullseye or Buster, or if you are using a specialized embedded Linux build that relies on wpa_supplicant, the configuration file method is still required.
Warning: In modern Bookworm releases, the boot partition mount point has changed from /boot to /boot/firmware. If you are creating this file on a Windows or Mac PC before booting the Pi, you place it in the root of the visible FAT32 boot partition.
Create a file named wpa_supplicant.conf and add the following syntax:
ctrl_interface=DIR=/var/run/wpa_supplicant GROUP=netdev
update_config=1
country=US

network={
    ssid="Your_Network_Name"
    psk="Your_Secret_Password"
    key_mgmt=WPA-PSK
}
Upon booting, the OS will read this file, move it to /etc/wpa_supplicant/wpa_supplicant.conf, and securely hash the plaintext password. If your Pi fails to connect using this method on a modern OS, it is because NetworkManager is actively overriding the legacy daemon.
Advanced Troubleshooting: Why Your Pi Won't Connect
When standard configuration fails, the issue usually lies in regulatory domain blocks, power delivery failures, or MAC randomization conflicts. Consult the Raspberry Pi Configuration Documentation for deep-dive kernel logs, but start with these three common failure modes.
The 5GHz Country Code Blockade
The 5GHz spectrum is heavily regulated and shared with radar systems (DFS channels). By default, the Raspberry Pi's Wi-Fi chip operates in a 'worldwide' safe mode that restricts it to 2.4GHz channels until a specific country code is provided. If your router is set to auto-select a DFS channel (like channel 52 or 100), your Pi physically cannot see the network.
The Fix: Run sudo raspi-config, navigate to Localisation Options > WLAN Country, and set it to your actual location. Alternatively, force your router's 5GHz band to use a non-DFS channel (36, 40, 44, or 48).
Power Supply Brownouts and Wi-Fi Chip Resets
The Wi-Fi/Bluetooth combo chip on Raspberry Pi boards is highly sensitive to voltage drops. If you are using a cheap USB-C phone charger instead of the official power supply, the Pi may boot successfully, but the moment the Wi-Fi chip attempts to transmit data (which causes a spike in current draw), the voltage dips below the threshold.
The Pi's firmware will silently reset the Wi-Fi chip to protect the board, resulting in intermittent disconnects or a failure to obtain an IP address. Ensure your Pi 4 is receiving a stable 5V/3A (15W) and your Pi 5 is receiving 5V/5A (27W) via USB-C Power Delivery. You can check for brownout throttling in the terminal by running vcgencmd get_throttled. A result of 0x0 means your power is clean.
MAC Randomization and Enterprise Networks
Modern versions of NetworkManager enable MAC address randomization by default to protect user privacy. While excellent for mobile devices, this will cause you to be blocked if your home router uses MAC filtering for parental controls, or if you are connecting to a University/Enterprise WPA2-Enterprise network that binds sessions to specific hardware MAC addresses.
To disable MAC randomization for a specific connection via nmcli:
sudo nmcli connection modify "Your_SSID" wifi.cloned-mac-address permanentThis forces the Pi to use its burned-in hardware MAC address, resolving authentication rejections on strict enterprise firewalls and IoT VLANs.