
Ditching the Monitor: The Headless Paradigm
Learning how to connect Raspberry Pi to computer systems without a dedicated monitor, keyboard, and mouse is a fundamental rite of passage for SBC enthusiasts. This 'headless' approach saves desk space, reduces power consumption, and allows you to deploy your Pi in remote locations—from attic-based Home Assistant servers to garden weather stations. Whether you are using a Raspberry Pi 4 Model B or the latest Raspberry Pi 5, establishing a reliable headless link requires understanding modern networking protocols and OS-level configurations.
The Debian Bookworm Reality Check
Before diving into the physical connections, we must address a massive shift in the Raspberry Pi ecosystem. If you are flashing the latest Raspberry Pi OS (based on Debian Bookworm), the old methods of headless setup are obsolete. The legacy wpa_supplicant.conf file is no longer recognized for Wi-Fi configuration, and the default pi user account has been permanently deprecated for security reasons. Furthermore, Bookworm utilizes NetworkManager instead of dhcpcd. To succeed, you must use the Raspberry Pi Imager's OS Customisation menu to pre-configure your username, password, and network credentials before the SD card ever touches the Pi.
Method 1: USB-C OTG Ethernet Gadget (Pi 4 & 5)
One of the most elegant ways to connect your Pi directly to your host computer is via the USB-C power port. Both the Raspberry Pi 4 and 5 support USB On-The-Go (OTG), allowing the Pi to emulate an Ethernet adapter over the same cable that provides power. This eliminates the need for a Wi-Fi network or a bulky Ethernet cable.
Configuring the Boot Partitions
To enable the Ethernet Gadget mode, you must edit two files on the bootfs partition of your microSD card immediately after flashing the OS via Raspberry Pi Imager.
First, open config.txt in a text editor and add the following line at the very bottom to enable the DWC2 USB controller in peripheral mode:
dtoverlay=dwc2,dr_mode=peripheralNext, open cmdline.txt. This file must remain on a single line. Find the word rootwait and add the module load command immediately after it, separated by a single space:
modules-load=dwc2,g_etherPro-Tip: When using the USB-C OTG method, ensure your host computer's USB-C port can deliver at least 3A of power. If you are using a standard laptop USB-A to USB-C cable, the Pi will likely throttle due to under-voltage. Use a powered USB-C hub or a dedicated high-amperage power brick connected to a USB-C data cable.
Method 2: Direct Ethernet & Wi-Fi (The Imager Way)
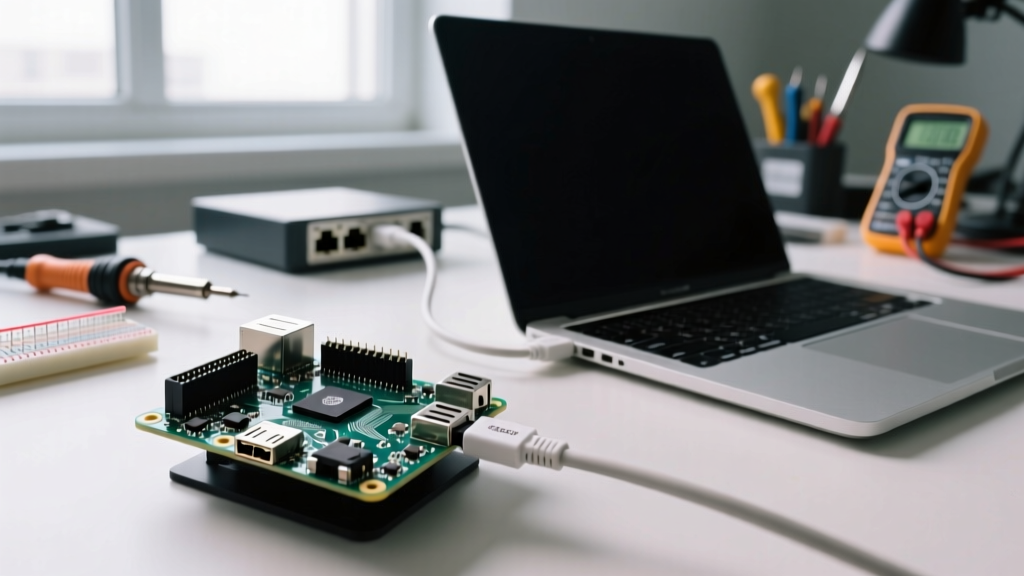
If your host computer has an Ethernet port (or a USB-to-Ethernet dongle), you can plug the Pi directly into your machine. Modern network interfaces support Auto-MDIX, meaning you no longer need a specialized 'crossover' cable; a standard Cat6 patch cable will work perfectly. Alternatively, if you rely on Wi-Fi, use the Raspberry Pi Imager's hidden settings menu.
- Open Raspberry Pi Imager and select your OS (Raspberry Pi OS Lite is recommended for headless servers).
- Click the OS Customisation settings icon (the gear).
- Set a custom Username and Password (e.g.,
admin). - Enter your Wireless LAN SSID and password.
- Under Services, enable SSH and select 'Use password authentication'.
This pre-seeds the NetworkManager configuration and injects the necessary SSH keys, ensuring the Pi connects to your network the second it boots.
Finding Your Pi: IP Resolution Tactics
The biggest hurdle when figuring out how to connect Raspberry Pi to computer setups is finding the device's IP address on the network. Below is a comparison of the most reliable IP resolution methods.
| Resolution Method | Protocol / Tool | Best Use Case | Success Rate |
|---|---|---|---|
| mDNS (Bonjour) | ping raspberrypi.local |
Wi-Fi networks; macOS/Linux native, Windows requires Apple Bonjour or iTunes installed. | High |
| Direct Ethernet ARP | arp -a in CMD/Terminal |
Direct cable connection to host PC when no DHCP server is present. | Very High |
| Network Scanner | Advanced IP Scanner / Fing | Complex home networks with mesh routers that obscure mDNS broadcasts. | Moderate |
| Router DHCP Table | Router Admin Panel | Finding the Pi on a corporate or isolated VLAN network. | High |
For direct Ethernet connections without a router, your host PC will assign itself an APIPA address (169.254.x.x). The Pi will do the same. You can find the Pi by opening your computer's terminal and typing arp -a. Look for a physical address (MAC) that starts with b8:27:eb or dc:a6:32, which are registered to the Raspberry Pi Foundation.
Establishing the SSH and VNC Link
Once you have your IP address or confirmed that raspberrypi.local resolves, it is time to establish the secure shell. Open your terminal (or PuTTY on Windows) and enter:
ssh your_username@raspberrypi.localIf you receive a 'Connection Refused' error, the SSH daemon may not have started yet. Wait 60 seconds after the Pi's power LED stops blinking erratically and try again. If you receive a 'Host Key Verification Failed' error, it means you previously connected to a different Pi using the same hostname. Clear your local known_hosts file using ssh-keygen -R raspberrypi.local to resolve this.
Enabling the GUI via VNC
If you need graphical access to run Node-RED dashboards or Home Assistant supervisors, SSH alone is not enough. Once logged in via SSH, launch the configuration tool:
sudo raspi-configNavigate to Interface Options > VNC and enable it. According to the official remote access documentation, Raspberry Pi OS now defaults to Wayland for the display server. The legacy RealVNC server often struggles with Wayland. For a frictionless experience, install wayvnc via the package manager:
sudo apt update
sudo apt install wayvnc
You can then connect using any standard VNC viewer on your host computer by pointing it to your Pi's IP address on port 5900.
Troubleshooting Common Headless Failures
Even with meticulous preparation, headless setups can fail. Here is a rapid-response checklist for common issues:
- The Pi boots but won't connect to Wi-Fi: Double-check your 2.4GHz vs 5GHz band. The Raspberry Pi 4 and 5 support 5GHz, but if your router uses Smart Connect (combining bands under one SSID), the Pi's
wpa_supplicantorNetworkManagermay fail to negotiate the handshake. Separate your bands or explicitly define the BSSID in your network settings. - USB-C OTG is not recognized by Windows: Windows requires the RNDIS driver to recognize the Pi as an Ethernet gadget. If it shows up as an 'Unknown Device' in Device Manager, manually update the driver and select 'Network Adapters > Microsoft > Remote NDIS Compatible Device'.
- Under-voltage warnings over SSH: If you see a lightning bolt icon or receive throttling warnings via
vcgencmd get_throttled, your USB-C cable is likely lacking the necessary wire gauge for both data and 3A+ power delivery. Swap to a shorter, high-quality cable.
Mastering these connection methodologies transforms the Raspberry Pi from a desktop novelty into a robust, deployable network appliance. For deeper dives into bootloader configurations, refer to the config.txt parameters documentation to further optimize your headless boot times.